herb planter
Homesteading

My First Herb Planter

Last year was my first time growing any type of herb. I found the saddest little half-dead pot of Lemon Balm at a home improvement store on clearance for $0.50. I took it home and planted it and boy did that little thing thrive. It flourished all summer and I was so proud. It really gave me an itch to plant more herbs, especially ones I cook with a lot. I imagine how lovely it would be to step right outside my front door and cut some fresh herbs for dinner.

herb planter

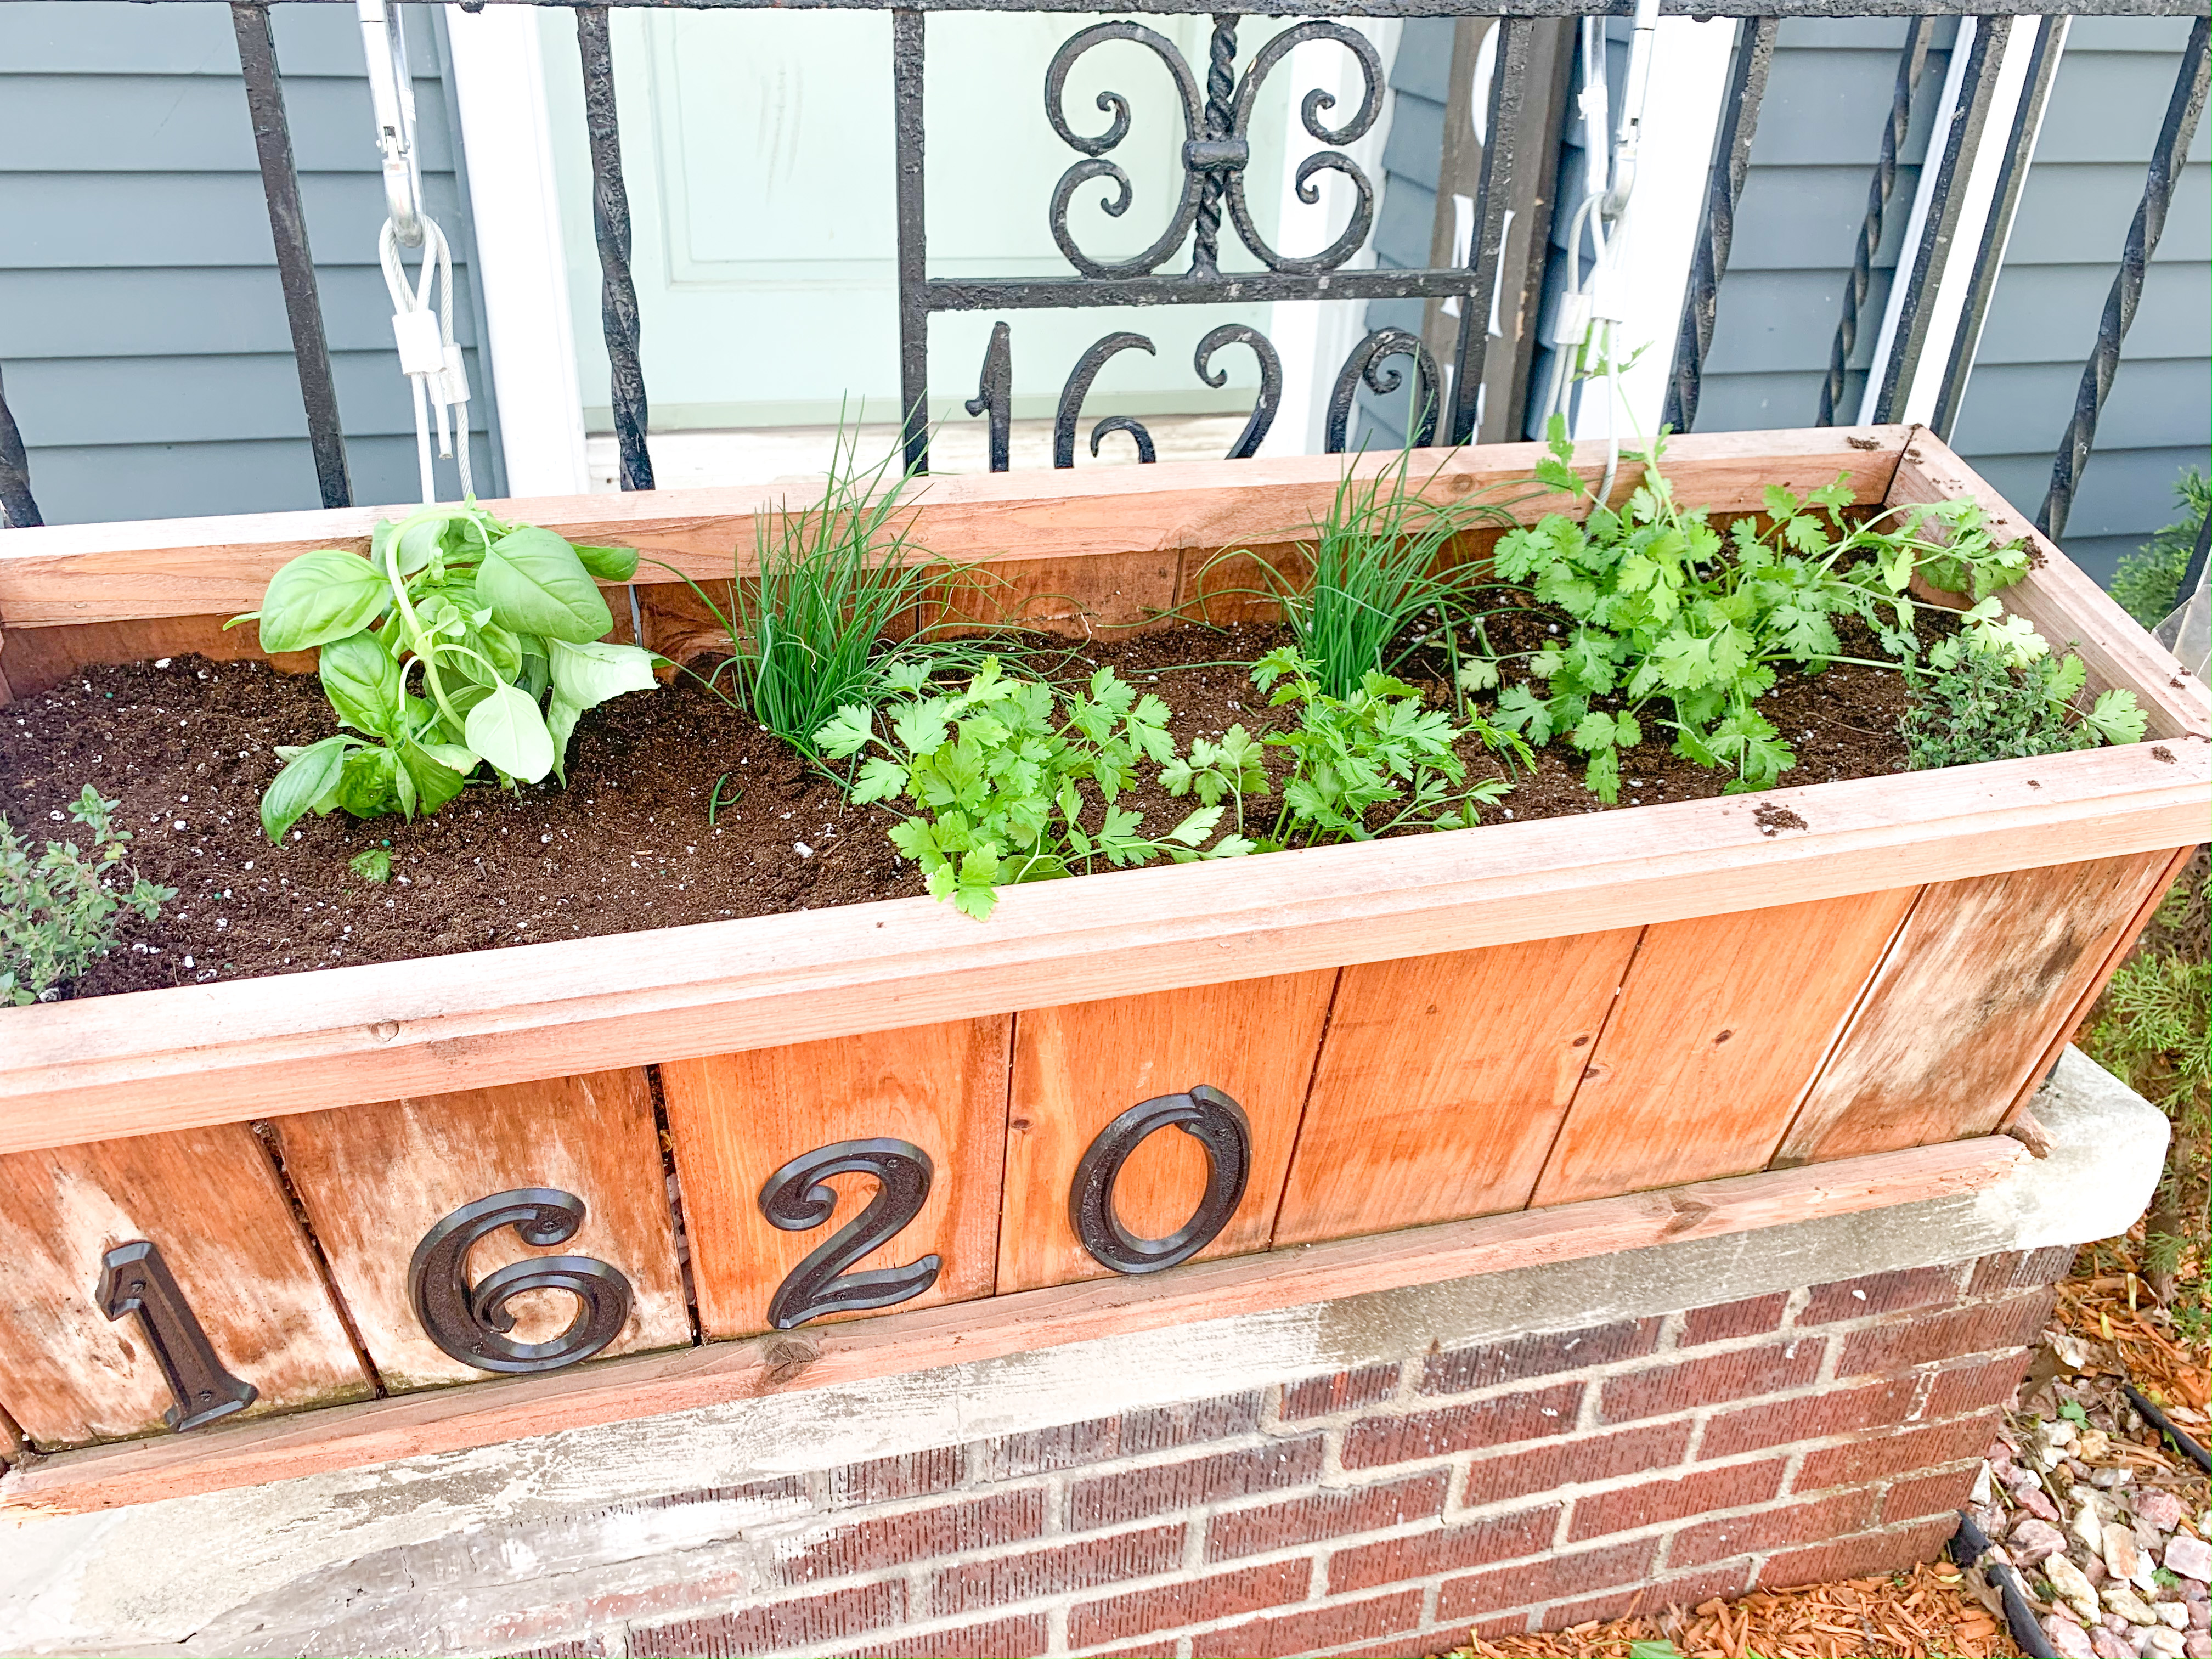
Well, I decided to transform this planter, which was a flower box last year, into my little herb garden. I spent a lot of time researching what herbs to plant based on what I knew I would use in my cooking, as well as what would be okay to plant together. I ordered all of my herbs from Iowa Backyard Farmer. It was easy to order and pickup my herbs and they all looked so beautiful and healthy. Here’s what I planted in my herb planter:

Lemon Thyme

lemon thyme herb planter

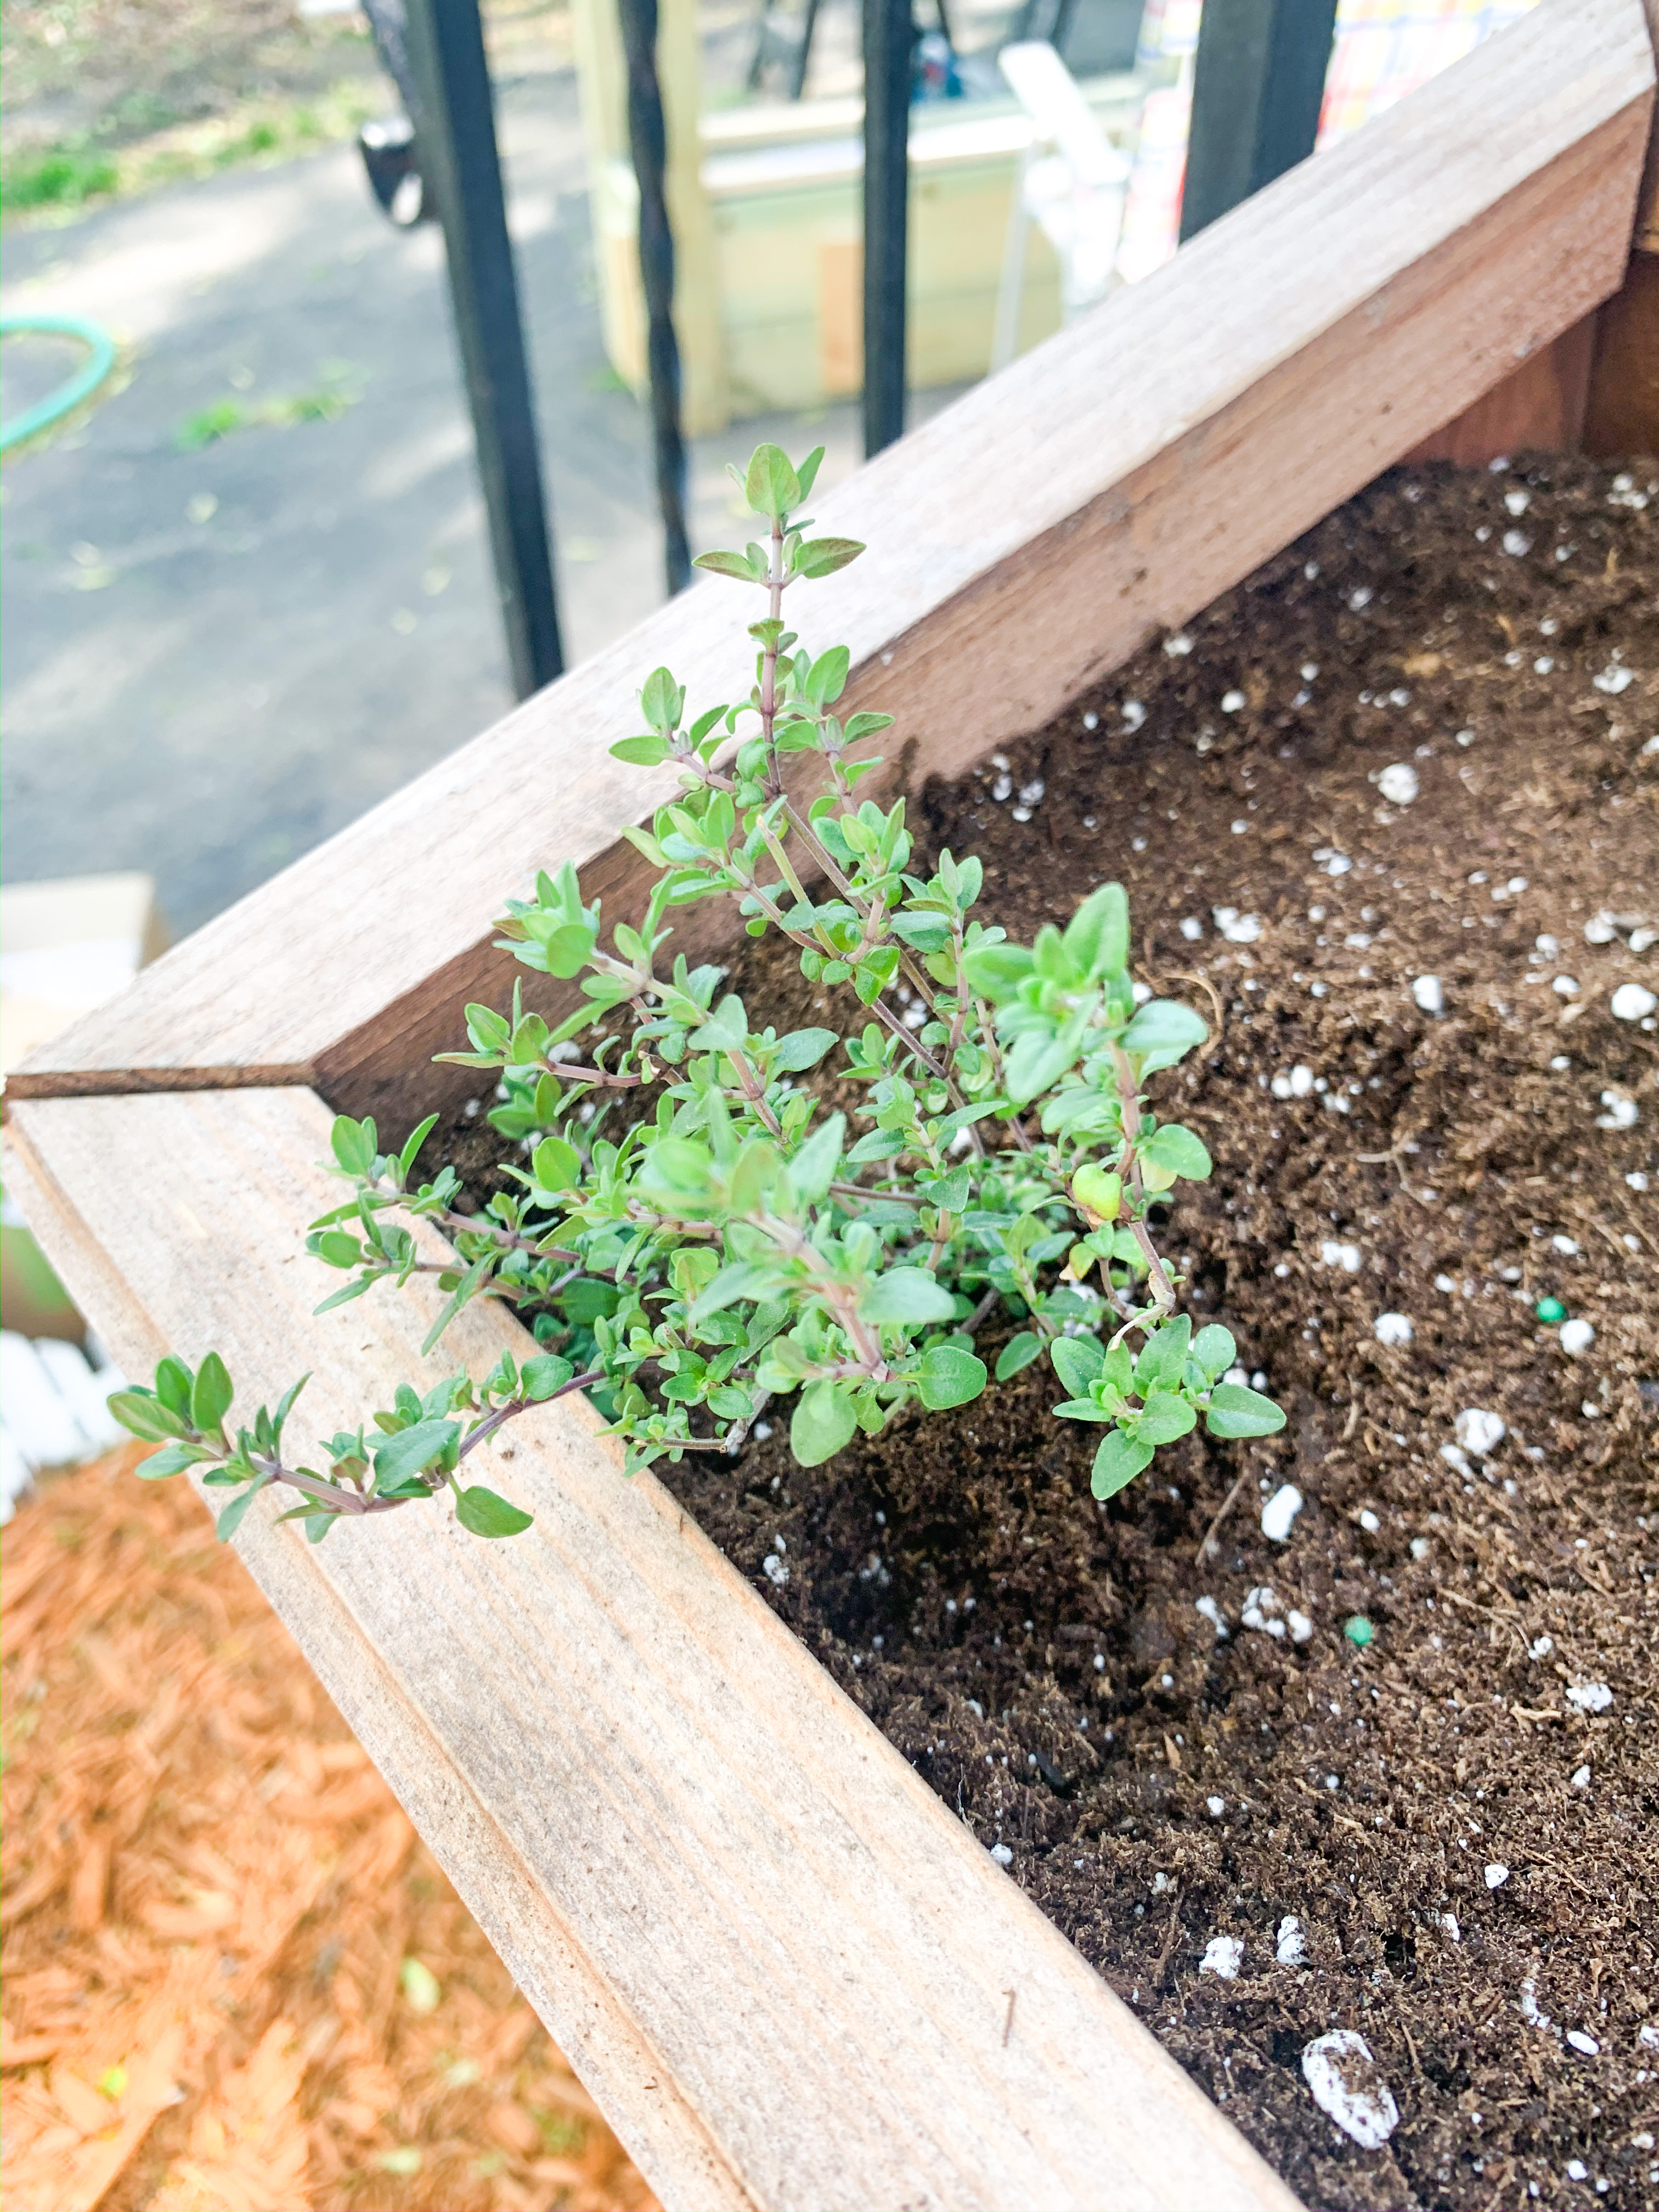
I’ve never used lemon thyme before, but I did get quite used to working with lemon balm last year, so I think this will be a fun herb to have. I planted to of these in each front corner of my herb planter.

Sweet Basil

sweet basil

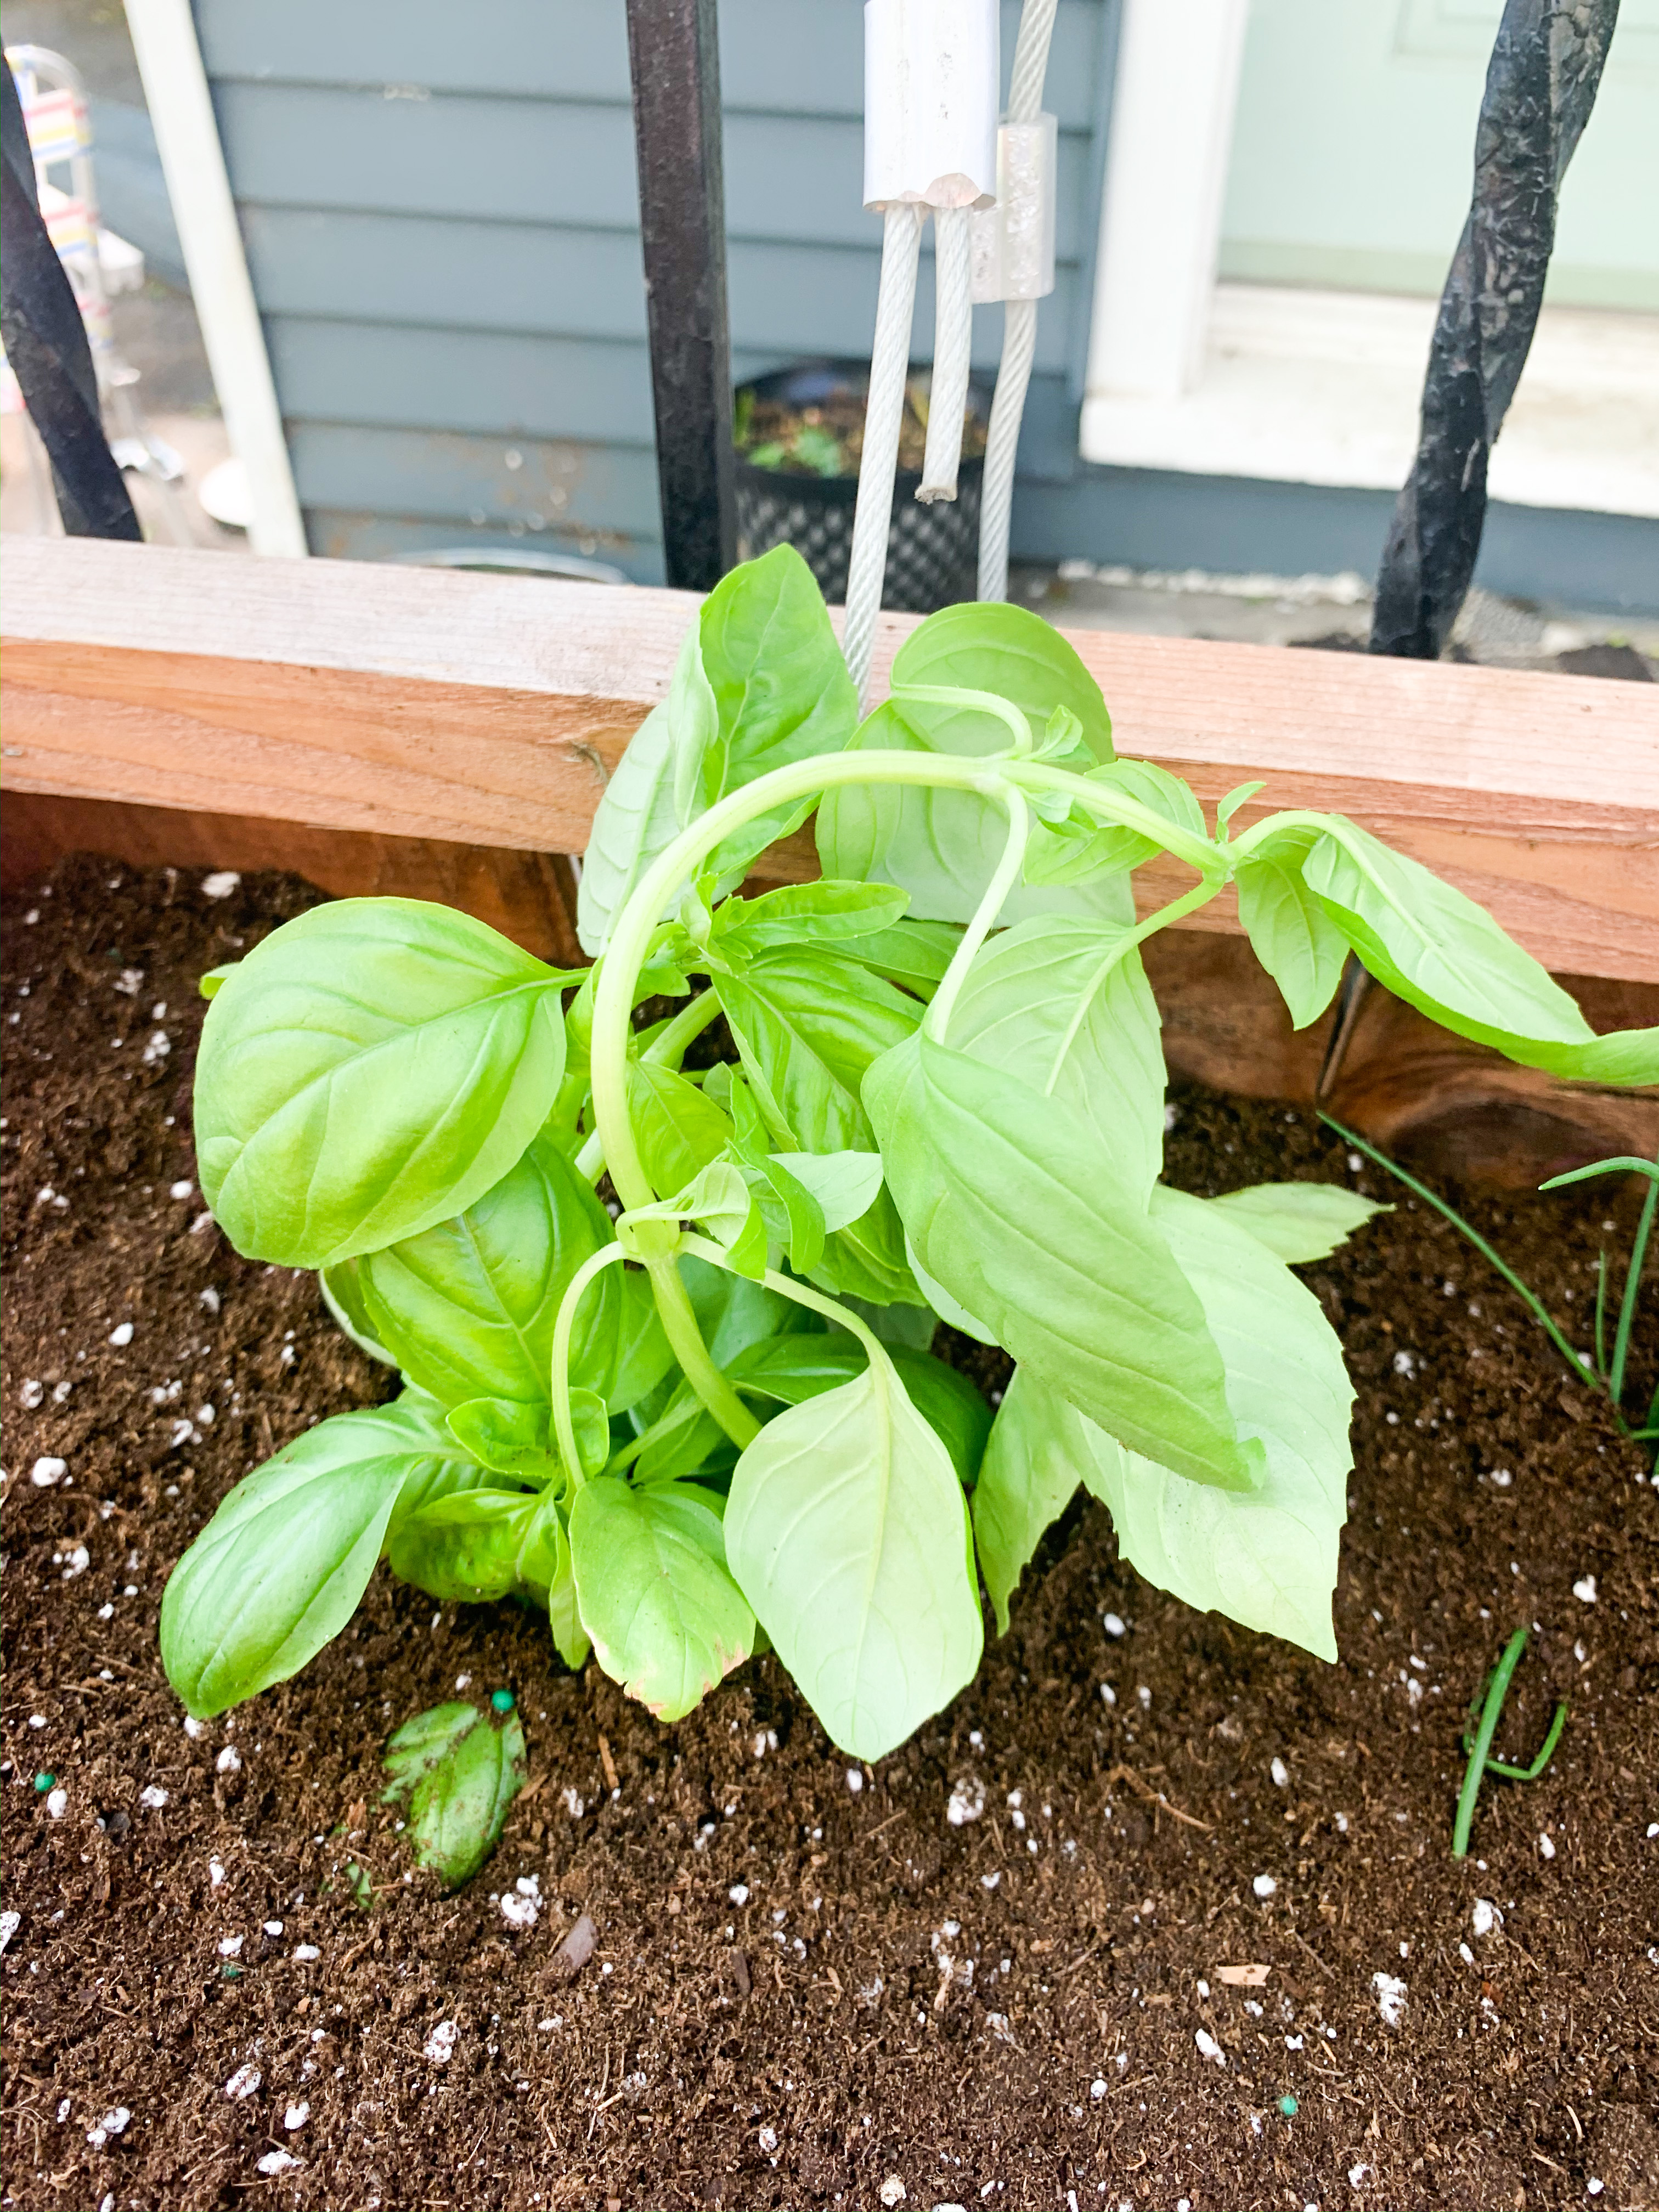
Basil is obviously one of the most frequently used culinary herbs, but it can be so expensive at the store. I usually never purchase fresh basil because of that and the fact that it will wilt so quickly. I’m super excited to have my own basil plant to have an unlimited supply of fresh basil for pizzas, pastas, etc. I left a lot of space around my sweet basil since I know that it can become quite large.

Chives

chives herb planter

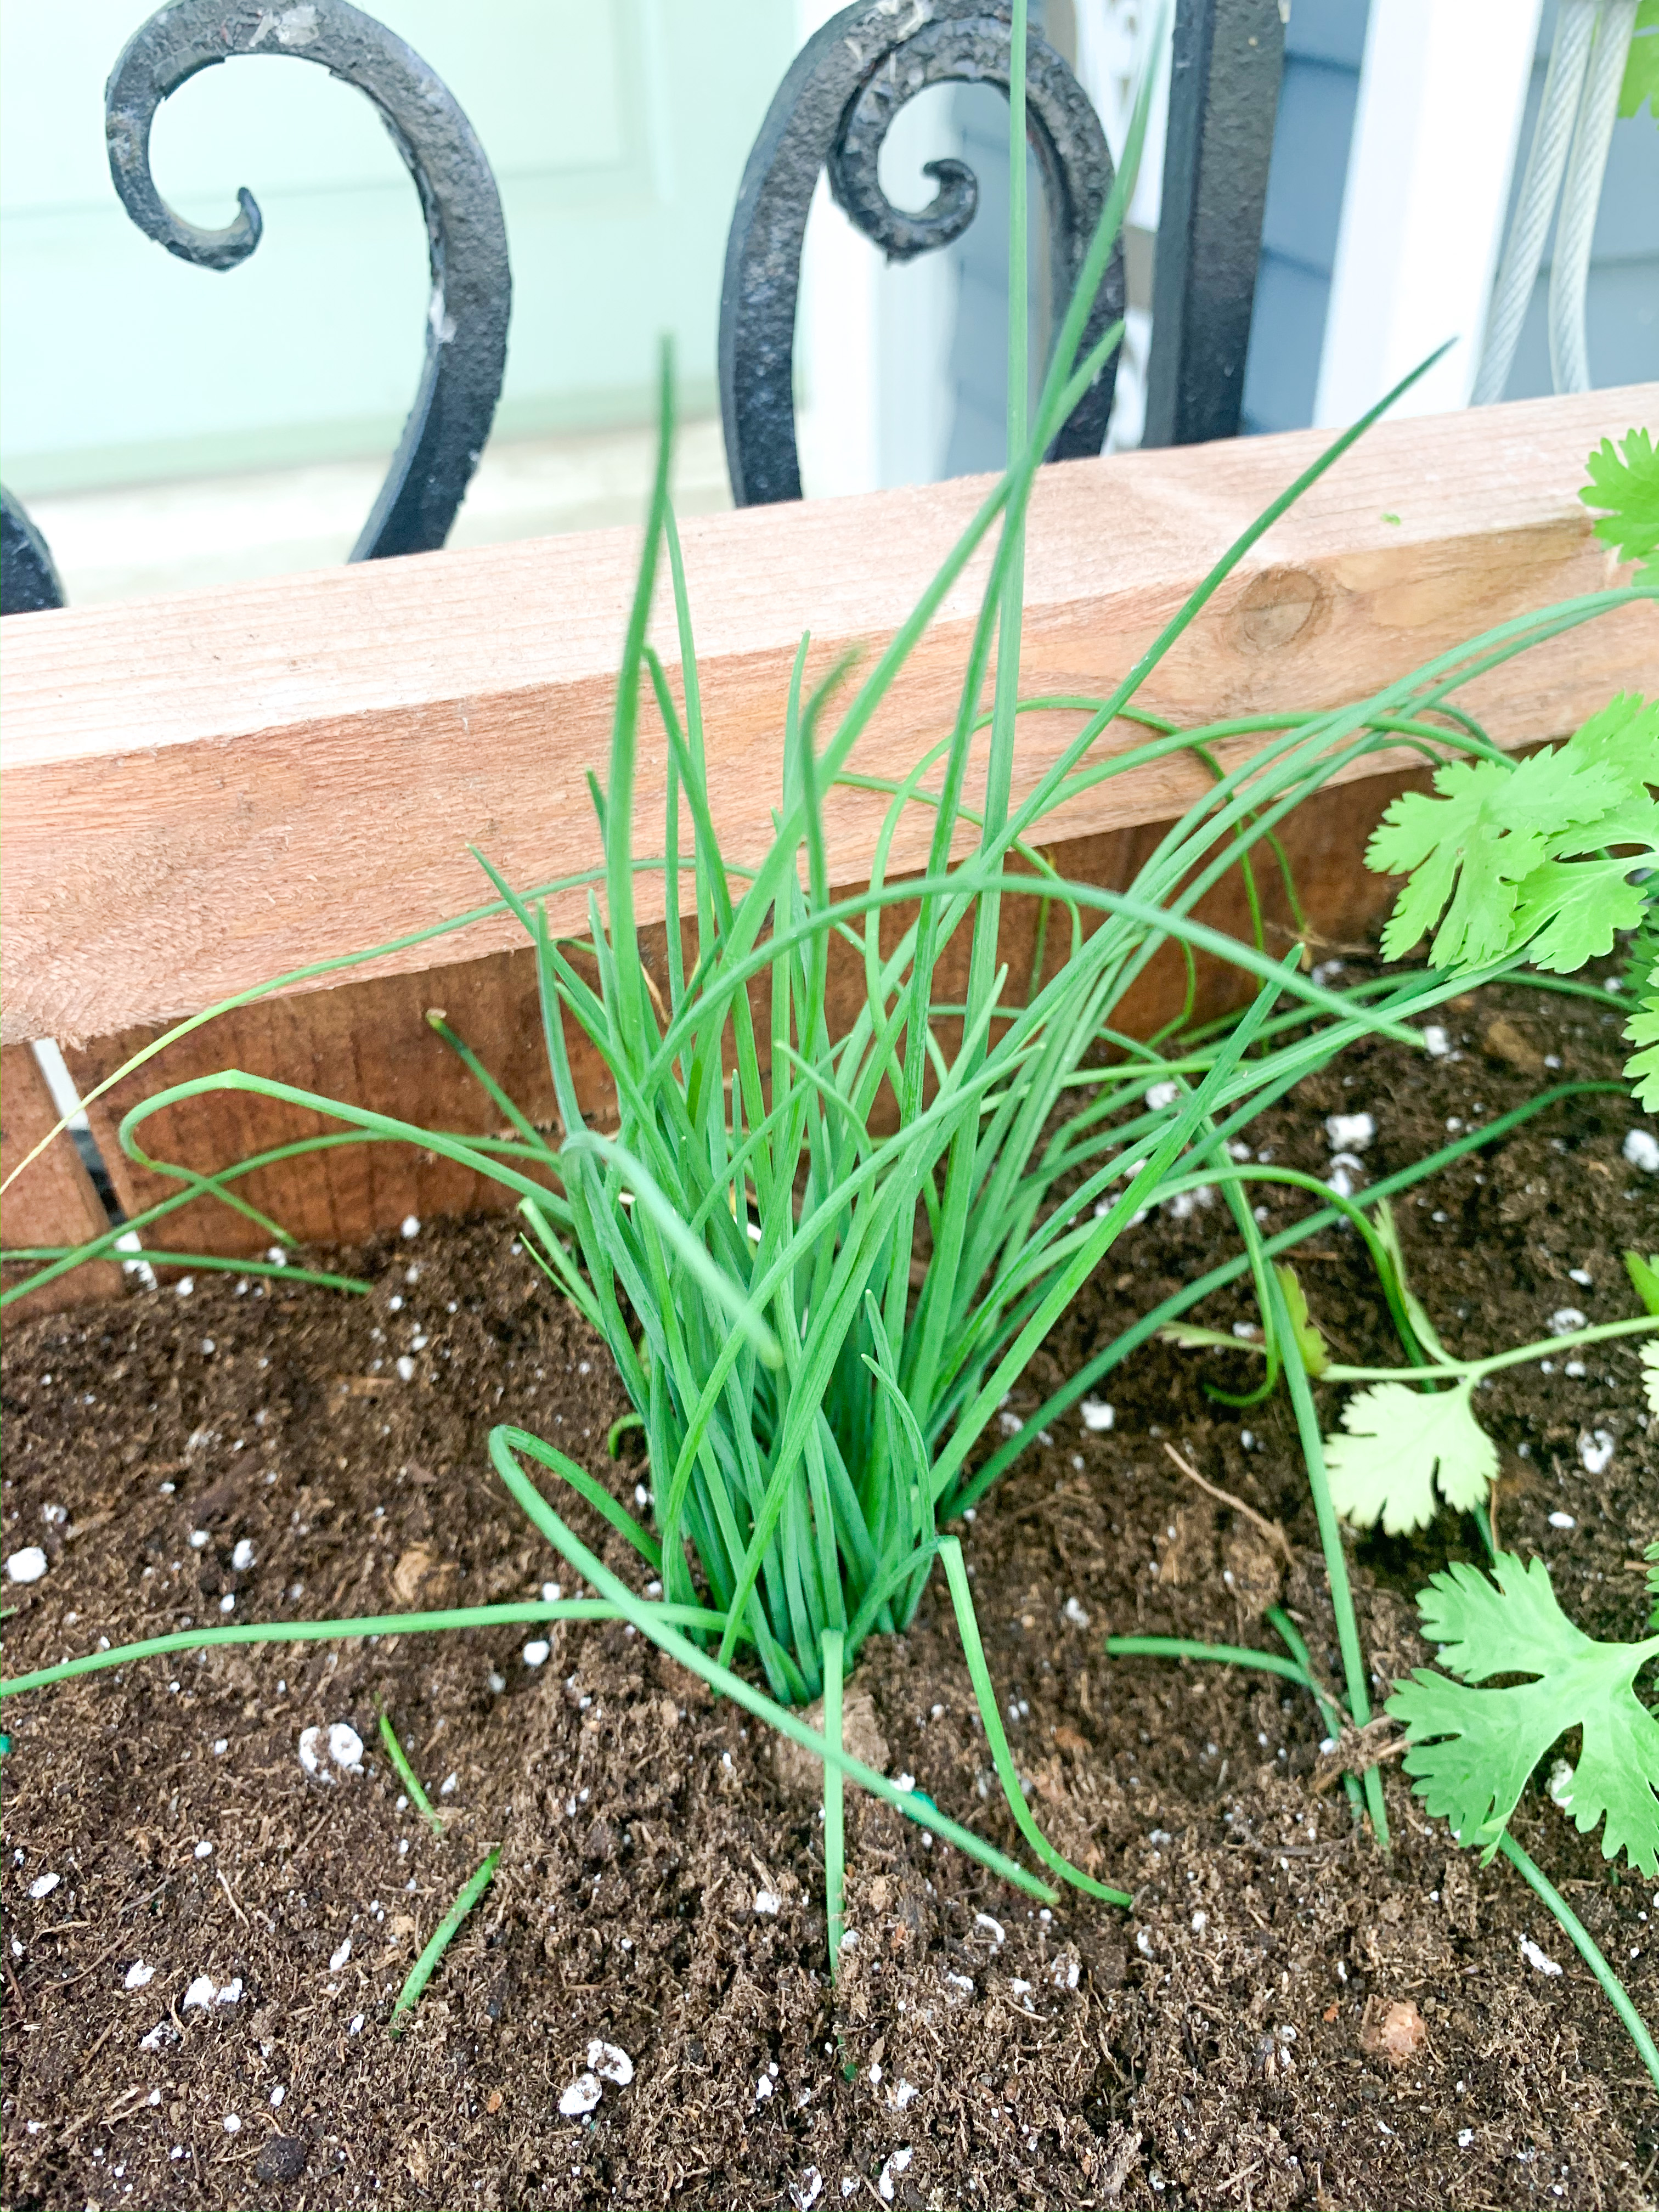
I planted two chive starts in the back of my herb planter, since they can become quite tall. I am especially excited to put fresh chives over mashed potatoes. I’m sure I will use them a lot.

Italian Flat Leaf Parsley

parsley herb planter

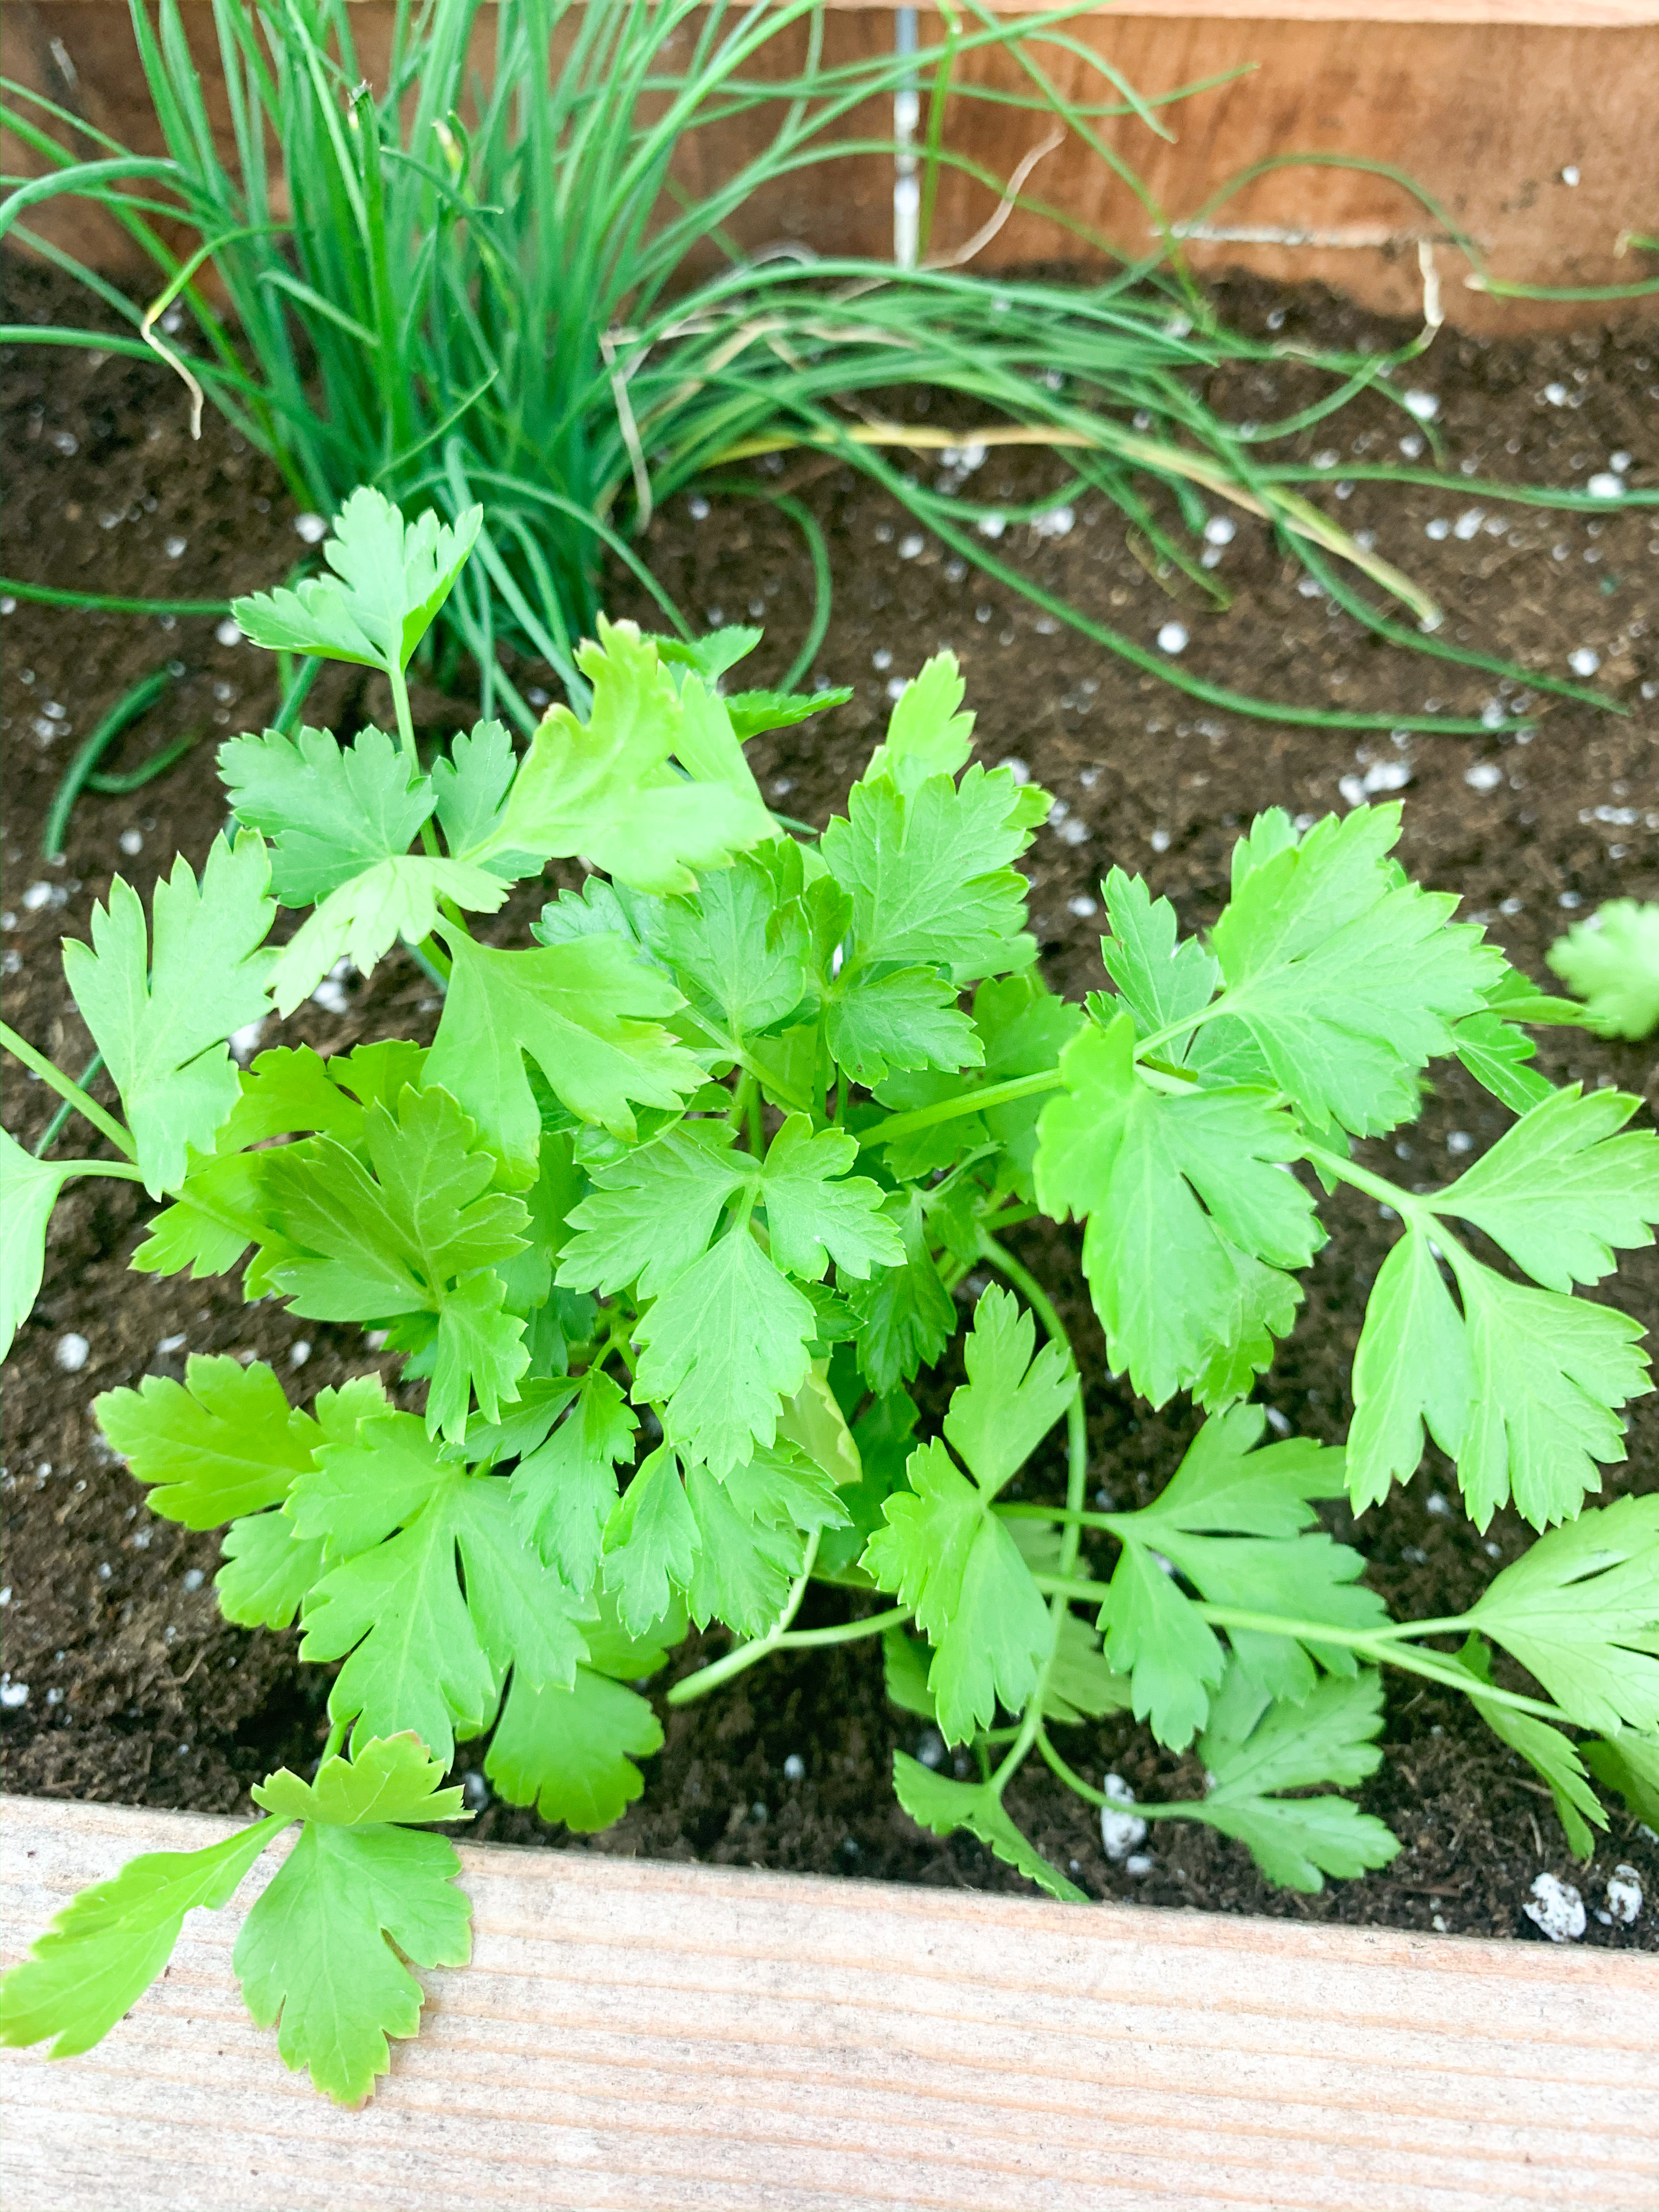
Of course, I needed parsley. So versatile, flavorful, and tasty. I planted two of these in the front of my herb planter. I will use this a lot in soups, sauces, roast chicken, and well, probaby most anything I cook.

Calypso Cilantro

cilantro herb planter

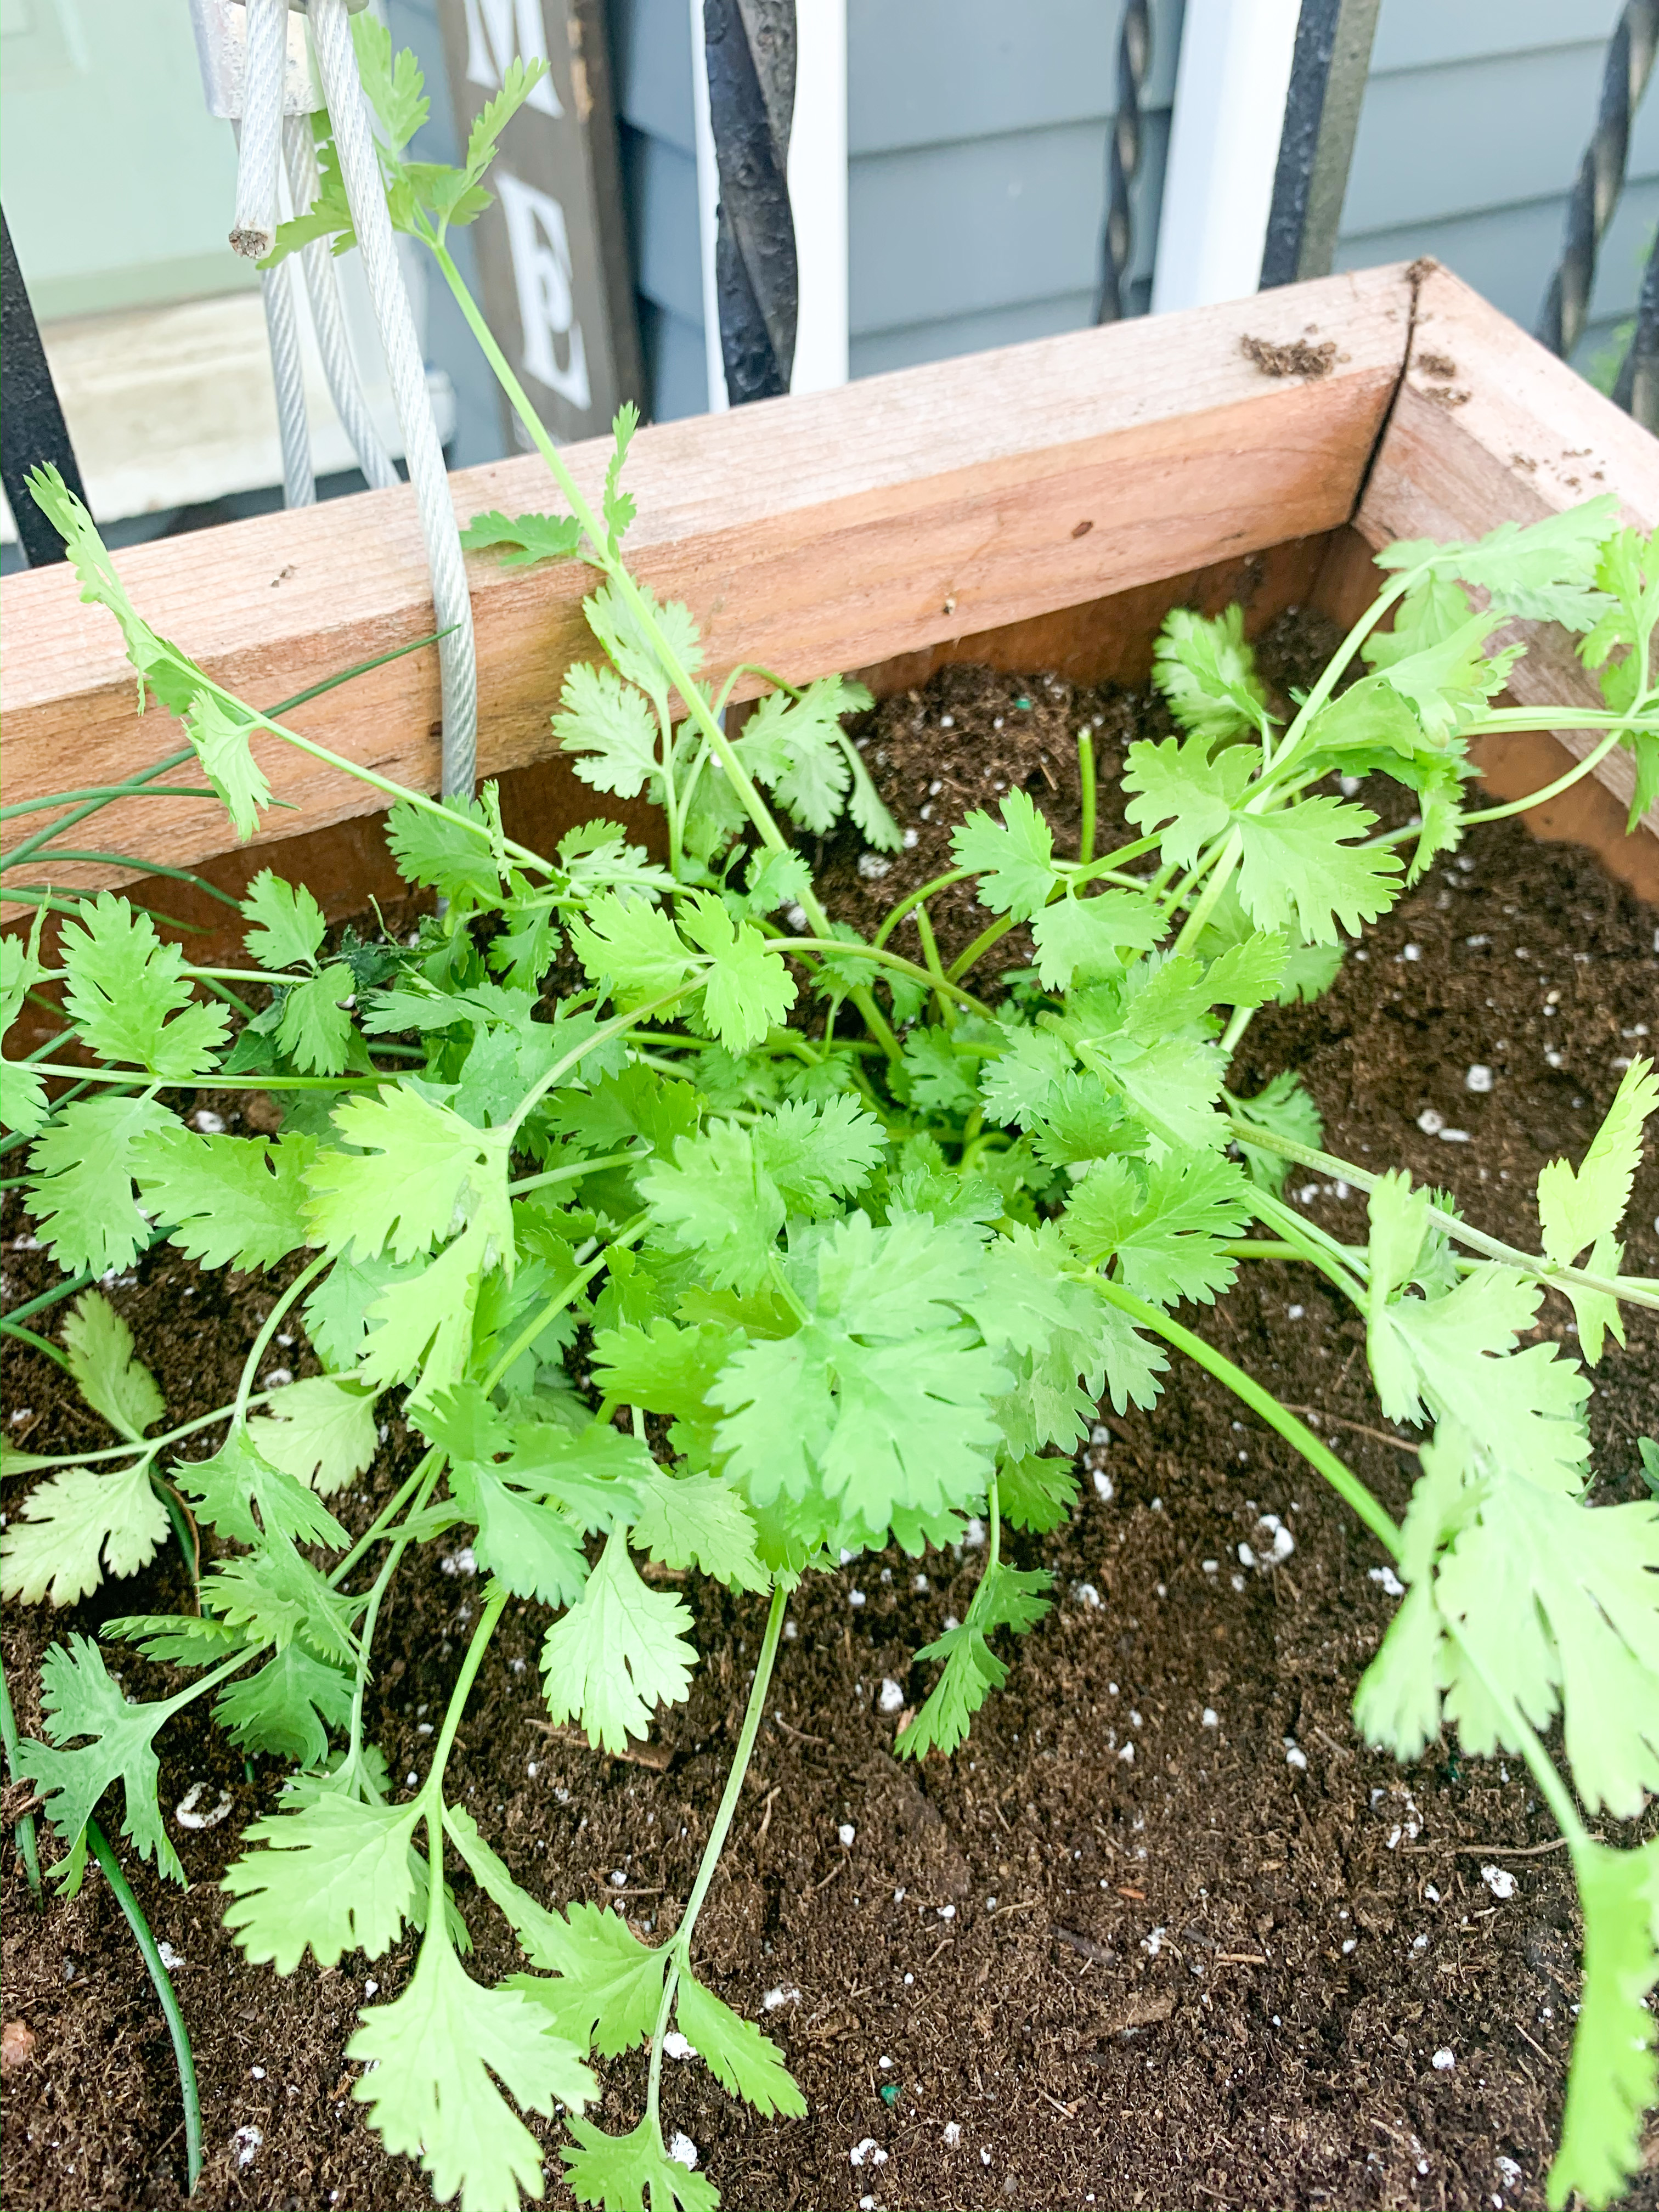
I use cilantro so much. I usually pick up a package every time I go to the store, so I’m so excited to start using my own. I find that a little fresh cilantro sprinkled over tacos, enchiladas, or a burrito bowl really elevates the flavor so much.

herb planter

I am really hoping that I will be as successful at growing all of these herbs as I was with my lemon balm last year. They have already grown so much since I planted them in the herb planter last week. Do you have a herb garden or herb planter? What are you growing this year?

homemade maple syrup
Homesteading

Making Homemade Maple Syrup

In the fall of 2019 we took a trip to Vermont and absolutely loved our time up there. If you’ve been to Vermont, you know that maple syrup is everything up there. We enjoyed visiting a maple farm, looking at all the maple trees with their taps, and eating all the maple flavored everything. This trip inspired my husband to research how we could tap our own backyard maple tree. Alex hates our maple trees because it has been so hard to grow anything in our yard because of them, so he was determined to get something useful out of them.

I originally kind of brushed off all of his talk about tapping our trees as a momentary obsession that would probably never come to fruition, but he proved me wrong. And let me tell you, I’m so glad he did. This was our very first experience making maple syrup, so we are nowhere near experts, in fact, we learned a lot in the process. But it was such a fun experience and we can’t wait to apply our knowledge next year to hopefully become more efficient and skilled at making maple syrup.

Alex purchased a tap online and we got some flat-back buckets. One thing that made this year hard was that you have to tap the maple trees when it is above freezing temperatures during the day and below freezing temperatures at night. Here in Iowa, we very quickly moved from freezing temps to above freezing temps, so we only had about a week of prime tapping conditions.

tapping maple trees

Alex just cut out some scrap wood to make tops for the buckets. These buckets would fill so fast during the days we had prime tapping weather. Sometimes we would have to empty them twice a day to keep them from overflowing.

homemade maple syrup

We ended up collecting around 14 gallons of sap. We stored it in our fridge and freezers until we were ready to boil it. Let me tell you, it took up so much space. I had maple sap everywhere.

We picked a nice warm Saturday to do our boil. You have to boil the maple sap outside because of all the steam it produces. I didn’t want to scorch my good cooking pots, so we went to Goodwill and found the perfect big stock pot to use for only $7. We have an outdoor fireplace with a grate over the fire, so we used that for our heat source.

making maple syrup

We started boiling around 8:00 AM and we were boiling until sunset. It was such a fun day. Alex was pretty much constantly chopping wood to keep the fire roaring, but I was able to do a lot of yard work in between tending to the sap. Once the sap would evaporate enough, I would just keep adding sap to the pot. Again and again and again. This is a very slow process and it took a long time to boil it all down.

making maple syrup

Once we had it all boiled down, it had become a light golden color. We strained it and put it back into the fridge until we could do the final boil. It still took up so much room in my fridge. The final boil is done inside so you can monitor the temperature and get to the perfect syrup consistency. I just poured all of the boiled down sap into my regular soup pot and brought it to a boil. I used a thermometer to monitor the temperature. I read that 219 degrees Fahrenheit should be the perfect temperature for syrup. It took a long time to reach this temperature. My sap hung out at 215 degrees for a very long time, but we finally reached 219 and it was perfect!

making our own maple syrup

When it reached temp, I began straining it through coffee filters. As this was our first time trying this, I didn’t feel like purchasing actual maple syrup strainers, so I just used what I had. It worked just fine, however, it took so much time. Next year, now that I know we enjoy making our own maple syrup, I will definitely invest in some proper supplies.

After all that work we got this single jar of maple syrup. It doesn’t look like much, but we definitely think it was worth it. This syrup is by far, the tastiest maple syrup we have ever had. Knowing that we made it completely by ourselves from our own maple tree gives us such a sense of accomplishment. It was very time consuming, but we had a blast.

homemade maple syrup

This year, we only tapped one of our trees, but next year I would really love to tap both of our trees and try to get a bigger batch. I also want to purchase some actual maple syrup supplies, like filters. Hopefully next year we will also have a longer tapping season. Have you ever tapped your maple tree? Would you ever go to this much work to make your own maple syrup? I would love to hear about your maple syrup making experience!

homemade maple syrup

Homesteading, Life

Why We Got Backyard Chickens

The day we brought them home.

This past June we started our backyard chicken flock with 6 young pullets and we have never regretted it! We love having chickens, and for us it is a no-brainer. However, I have had SO many people ask us “WHY?!?” So I thought I would do a post about how we decided to get them, why we love them, and some reasons that may convince you to start your own flock!

These are what the pullets looked like when we bought them.

Almost exactly one year ago we brought home a brand new Bloodhound puppy, Wilma. Being a bloodhound, she is a natural hunting dog, and knowing that someday we would love to live on a homestead with lots of animals, especially chickens, we wanted Wilma to grow up from puppyhood being around chickens so that we could train her to not be aggressive toward them.

The ladies are enjoying some hot, homemade porridge.

My parents conveniently had a small chicken coop that they were no longer using. So we hauled it to our small, city lot. My dad fixed it up for us by reinforcing some chicken wire and repairing the feed box and door.

So we started tossing around the idea of getting chicks in the spring. I’ll be honest, the thought of getting chicks kind of overwhelmed me. We don’t have a big garage, nor did we have a lot of the equipment you need to raise chicks such as heat lamps. I looked at many homemade chick brooders on Pinterest, but I was still overwhelmed by making one, so I started doing more research.

That’s when I discovered the term “pullet.” A pullet is a young hen, under one year, but older than a chick. Old enough that we could put it straight into the chicken coop and skip the brooder stage. We would also know that they were definitely females and avoid accidentally getting a rooster or two. This idea was very appealing to me. I knew that pullets would be more expensive than getting chicks, but since we were only wanting about half a dozen or so, I was willing to pay a bit more for the convenience of getting older birds. Also, they were a bit harder to find than just walking into your local farm supply store and getting chicks, but not impossible to find.

One of our first eggs.

I scoured Craiglist until I came across the perfect listing for us! I found a group of 6 Sapphire Gem pullets for $30. They hadn’t started laying yet. We hurried to get our coop all prepared and went and got them the next day.

For us, this worked out perfectly. We were able to put them right into the coop without having to worry about a brooder. Six birds also proved to be the perfect number for us. Our coop has 12 nesting boxes, so they have plenty of space, and when they started laying eggs we got about 3 dozens eggs a week, which is too much for just the two of us to eat, so we sell a dozen here and there for some extra money, which is a great perk!

We love having chickens for many reasons, so I’ll just make a quick list here for you.

  1. Fresh Eggs – This is obviously the most obvious perk of having chickens. I am never out of eggs. (Except the one time Alex sold 3 dozen in one day and didn’t tell me. It worked out fine though, because I just ran out to the coop and the girls had already laid 3 more.) It is so nice using the nutrient rich, dark yellow-yoked eggs that we get from our own backyard. We know exactly what the chickens are fed and can feel good knowing that we are eating something healthy.
  2. Extra Money – This ties in with having fresh eggs, but since our hens produce more than we can eat, we sell eggs for money! We usually put this money right back into the chickens with the purchase of straw, feed, etc. So it’s a great way to pay for having them, they just earn their own keep!
  3. Entertainment – If you haven’t just sat in an Adirondack chair with a cool drink and watched some chickens do their thing on a summer day, then you probably don’t know what I’m talking about. You need to do this. Chickens are so fun to watch! The way they strut across the yard, scratching for bugs, and randomly get scared and run to the other side of the yard is really very entertaining.
  4. Companionship – OK. This probably sounds so stupid, but our chickens love us and we love them! The girls will follow me throughout the yard wherever I go, and will run to us when they hear us coming outside. Our chickens are very tame and enjoy getting pet and held. I have caught Alex on a few occasions, just sitting with them, hand feeding them sunflower seeds.
  5. Compost – Chicken poop makes great compost! We have a little backyard compost bin that we toss all of their droppings and old straw in to make great fertilizer for my garden come spring!
  6. Education – We have learned so much about chickens since we started. We didn’t even begin to know it all, we just started and we are learning along the way! We learned how to care for a sick chicken, how to tell if one is sick, what foods they can eat, etc. It also teaches responsibility, just like any pet or animal. If we ever have children, it will be a great way to teach them responsibility (feeding, watering, gathering eggs).
Alex enjoying watching our little flock.

Most of all, we just really love having chickens. We may live in town, but we would love to someday live on an acreage and have a homestead. This is something we can do now (since our city allows it) to help our home feel more like a homestead. We are learning and building our skills so that someday, if we can have a big coop with 100 chickens then we know how to care for them!

The first dozen we sold.

I encourage you to check your local laws regarding backyard chickens, and if your city allows it, give it a try! We love ours and I think you will love it too!