Valentine’s Day is just around the corner! Are you a lover of all things sweet and red and pink or are you a V-day hater? I have to admit, all of the years I spent single on Valentine’s Day, I was definitely on the hater side. It just wasn’t fun and I didn’t see the point. But being in a relationship has definitely made Valentine’s Day something to look forward to!
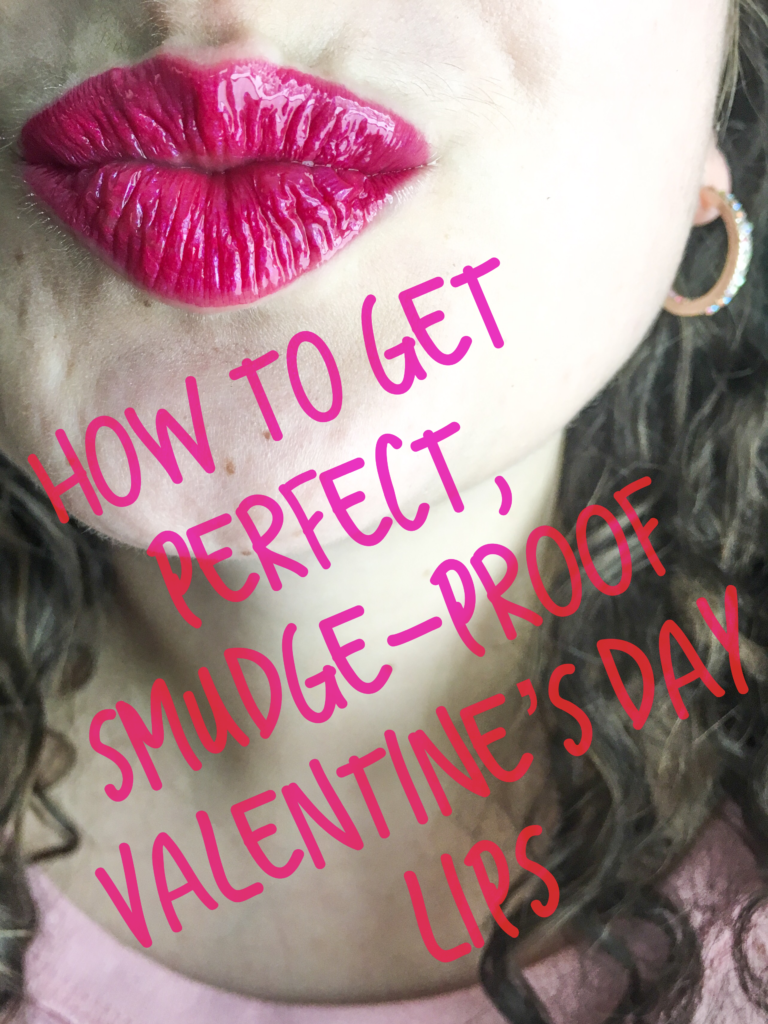
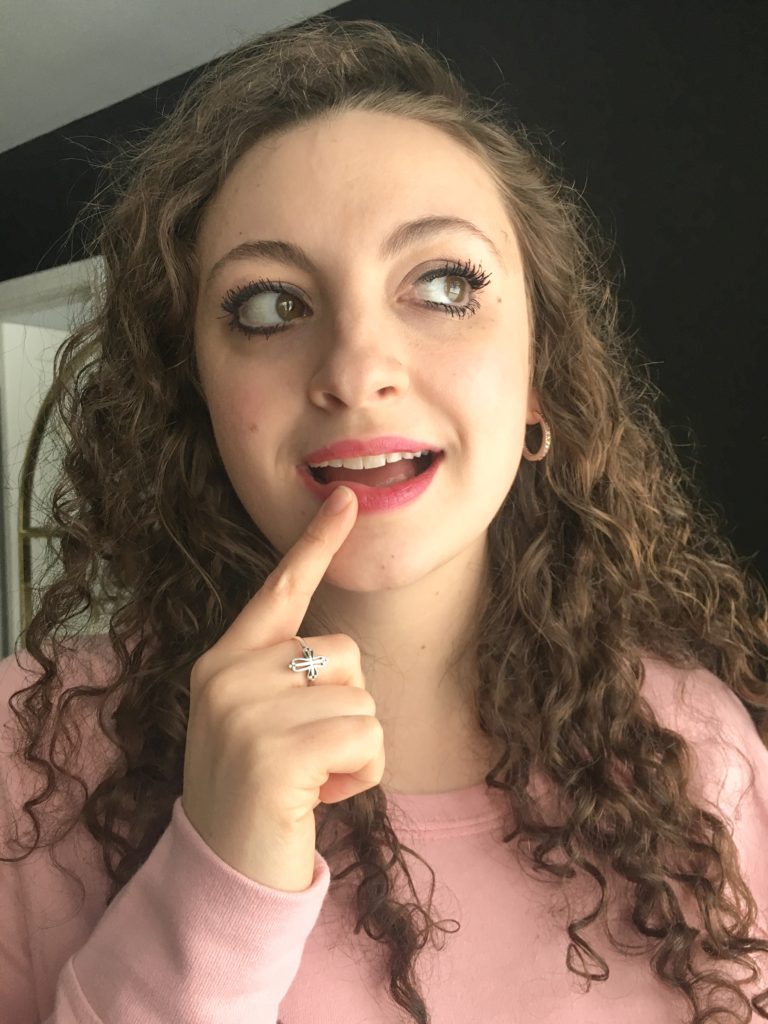
Whether you’ll be kissing your someone special this February 14th, or you’re going out for a fun Galentine’s Day dinner with your girlfriends, everyone needs a bold lipcolor to wear for the occasion. In the past, I would have hesitated on wearing a bright red or pink lipstick, especially if I was hoping for a few stolen kisses! How embarrassing to get red smudges all over your face! And what a hassle to have to keep checking your teeth throughout your date. Well, ladies, no more! I have the solution for you and I’m going to go through the process that I use for perfect, smudge-proof, kiss-proof lips that are perfect for Valentine’s Day.
Supplies you will need:
- a clean cloth
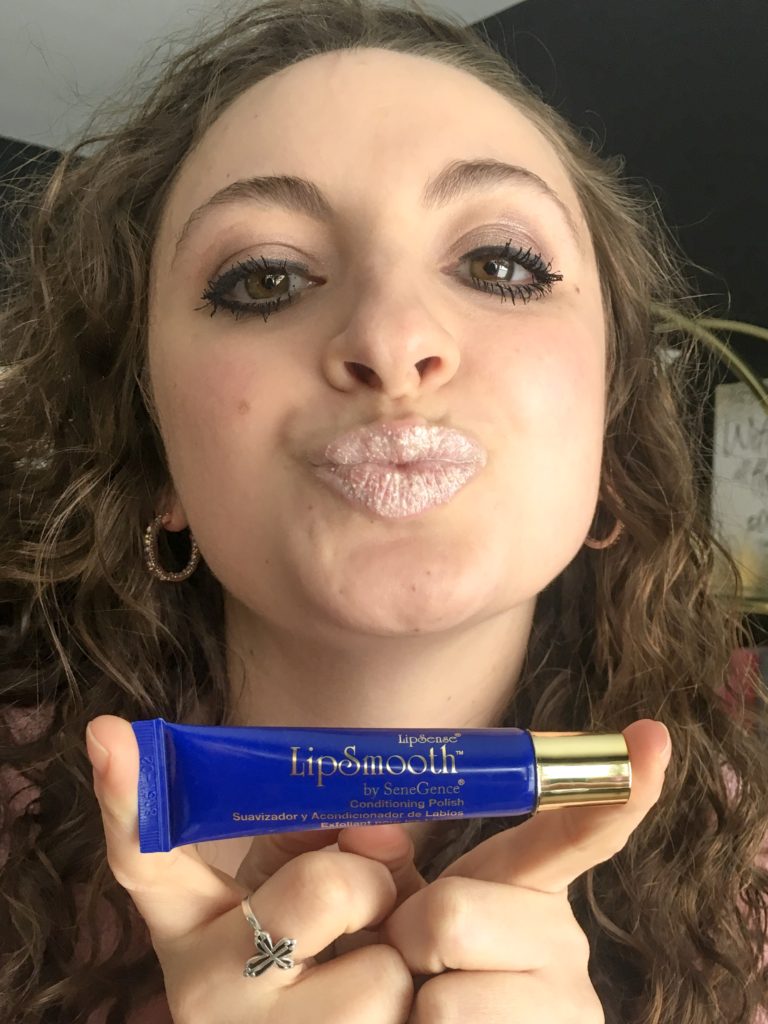
- a lip scrub – I use LipSmooth Conditioning Polish
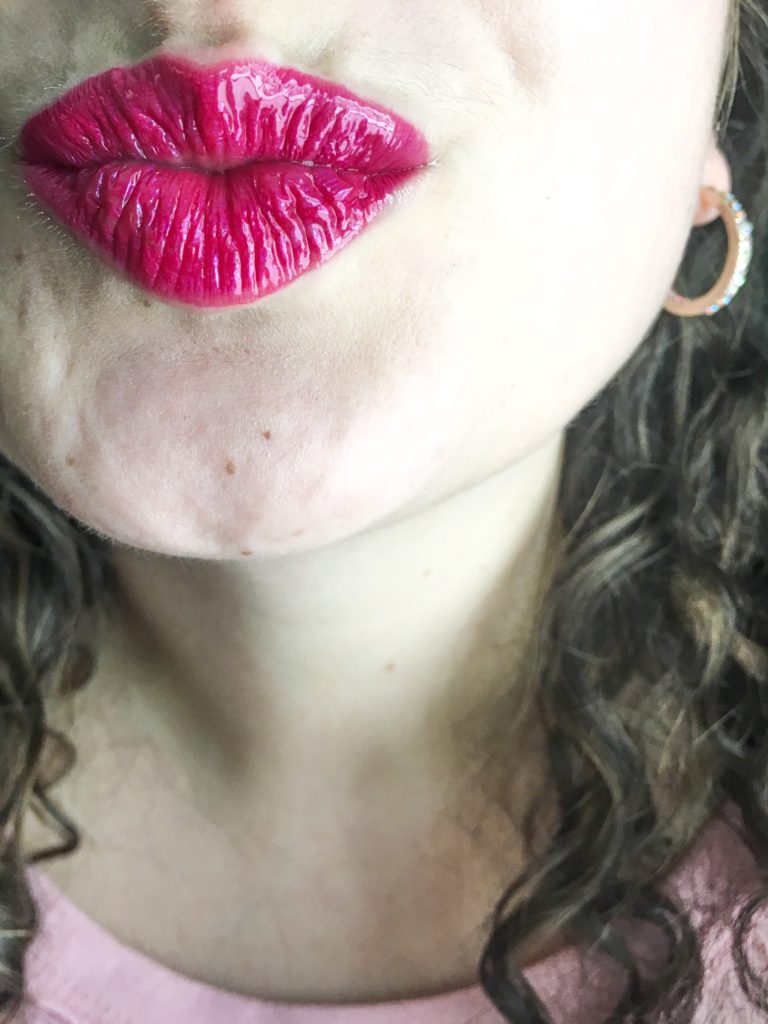
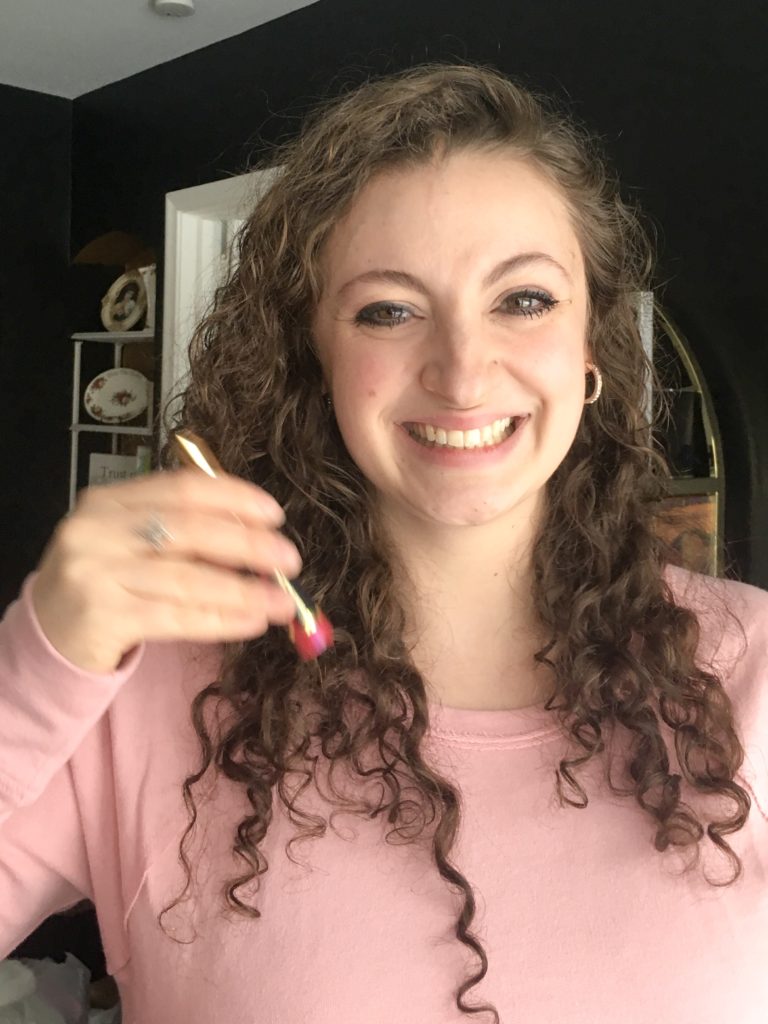
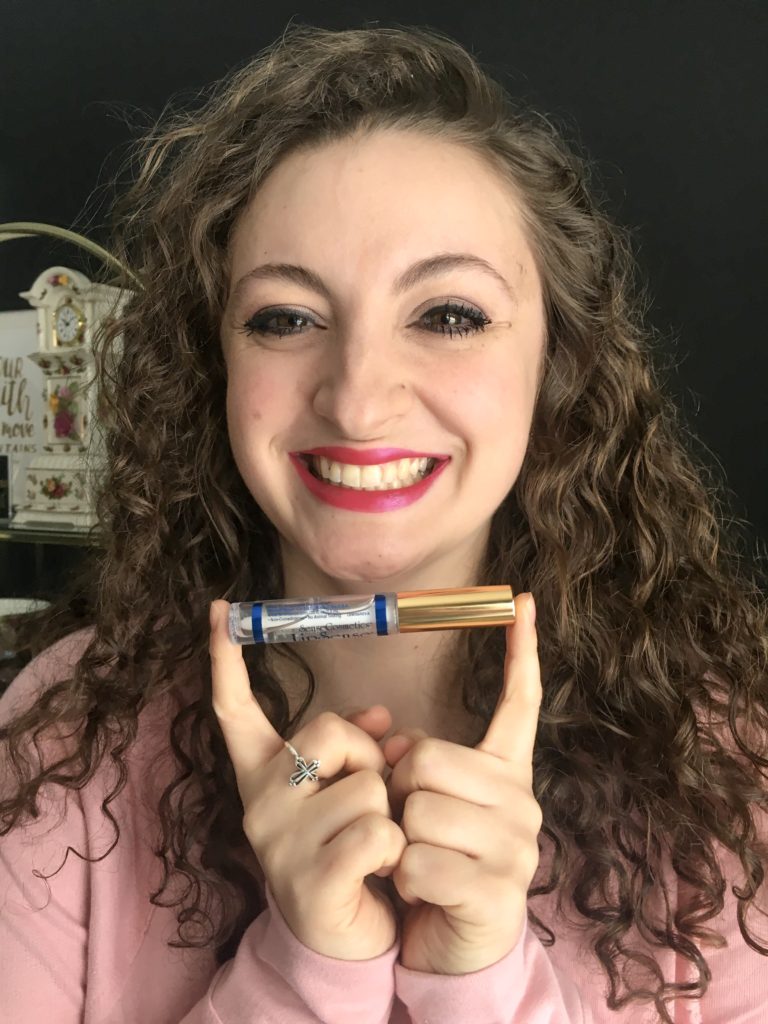
- a Lipsense color of your choice – I am wearing Kiss For A Cause
- a Lipsense Moisturizing gloss – I recommend the Glossy Gloss

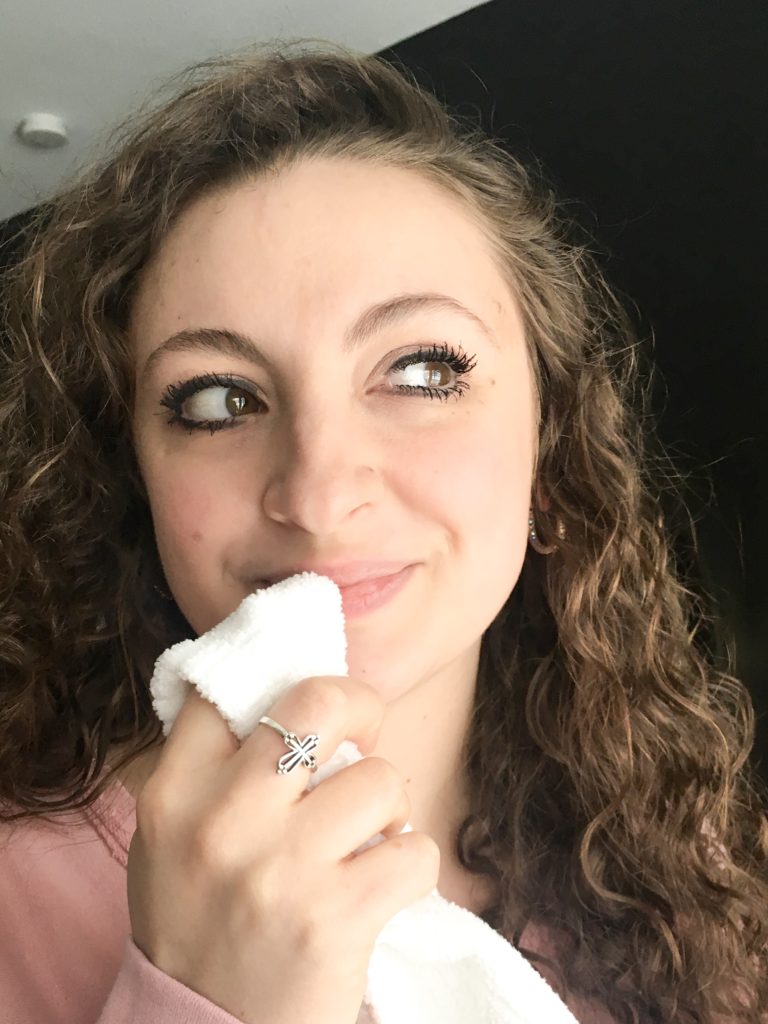
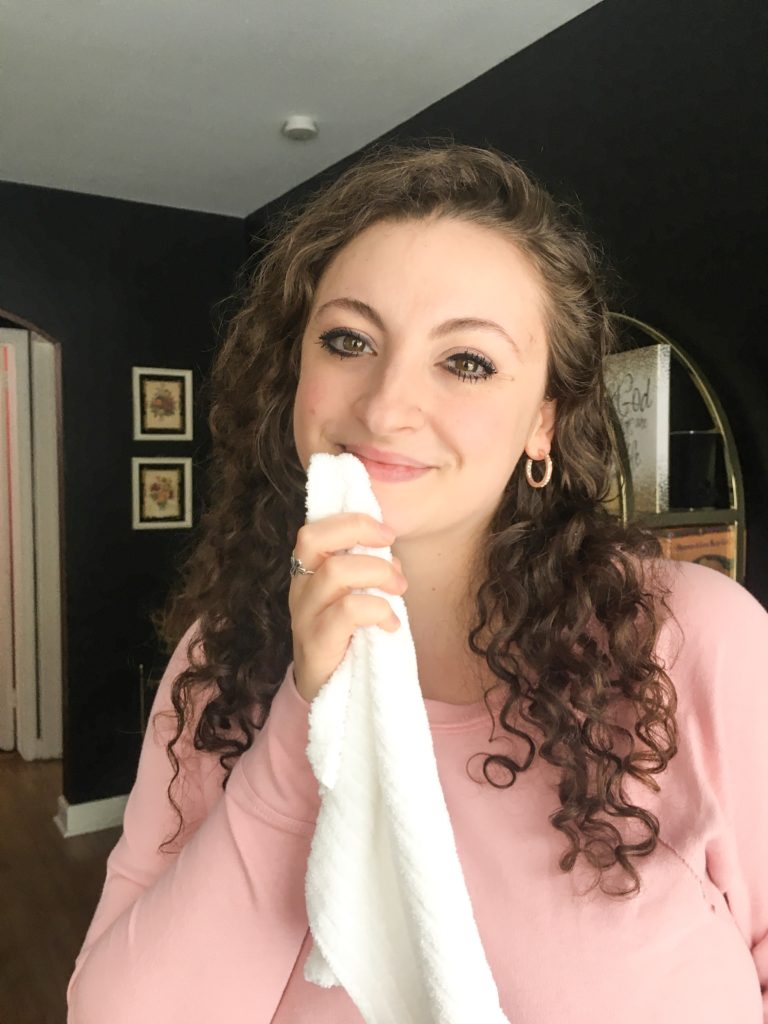
Step 1. Wipe your lips off with a clean, damp cloth. and then dry them thoroughly. You want to start with a clean surface.
Step 2. Scrub your lips with a lip scrub. I use LipSmooth Conditioning Polish. I spread it all over my lips and then rub my lips together until I can’t feel the grit anymore. This step will get rid of any dead skin cells you have hanging around on your lips to give you a nice, smooth surface for your color.
Step 3. Wipe those smooth lips clean. Use just a damp cloth and then dry them well. This is important because Lipsense will actually molecularly bond to your lips and that how the color will last so long. You don’t want there to be any residue (makeup, saliva, etc.) on your lips that the Lipsense will bond to. You want it to bond directly to your lips.
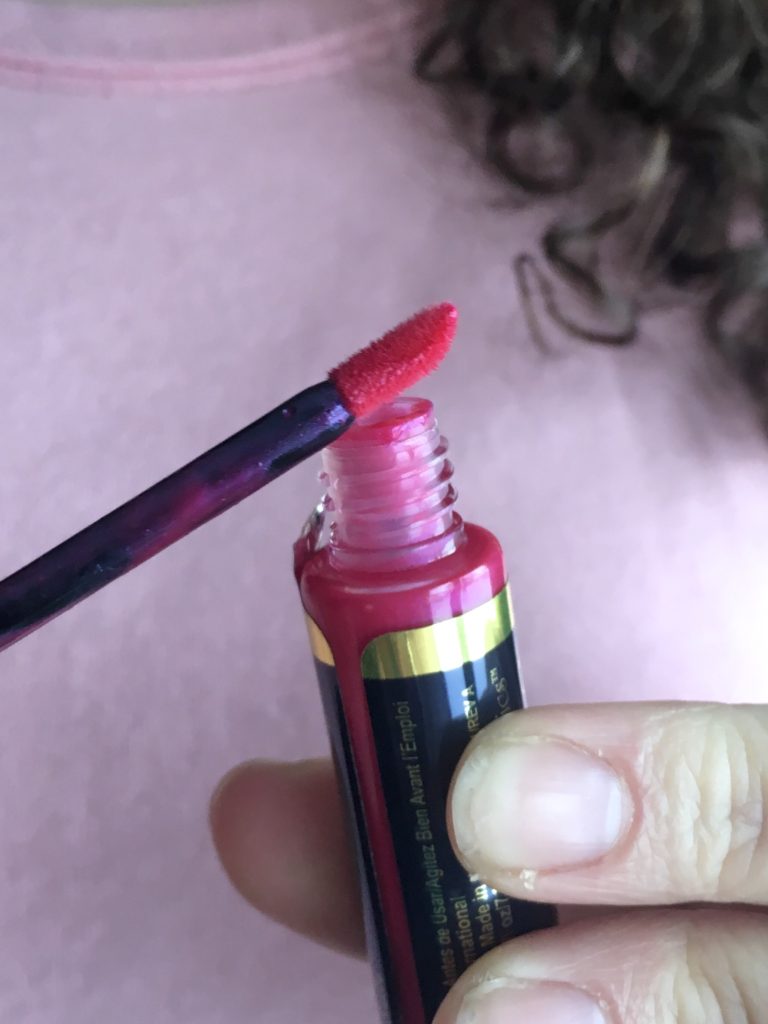
Step 4. Shake up your Lipsense. This step is important. It will mix all of the color particles in your Lipsense so that you get a smooth application and even color. I recommend shaking your tube for about 30 seconds or so.
Step 5. Scrape all of the excess product from your Lipsense wand. You don’t need or want that much product. The magic results are going to be achieved by doing 3 very THIN layers of Lipsense.
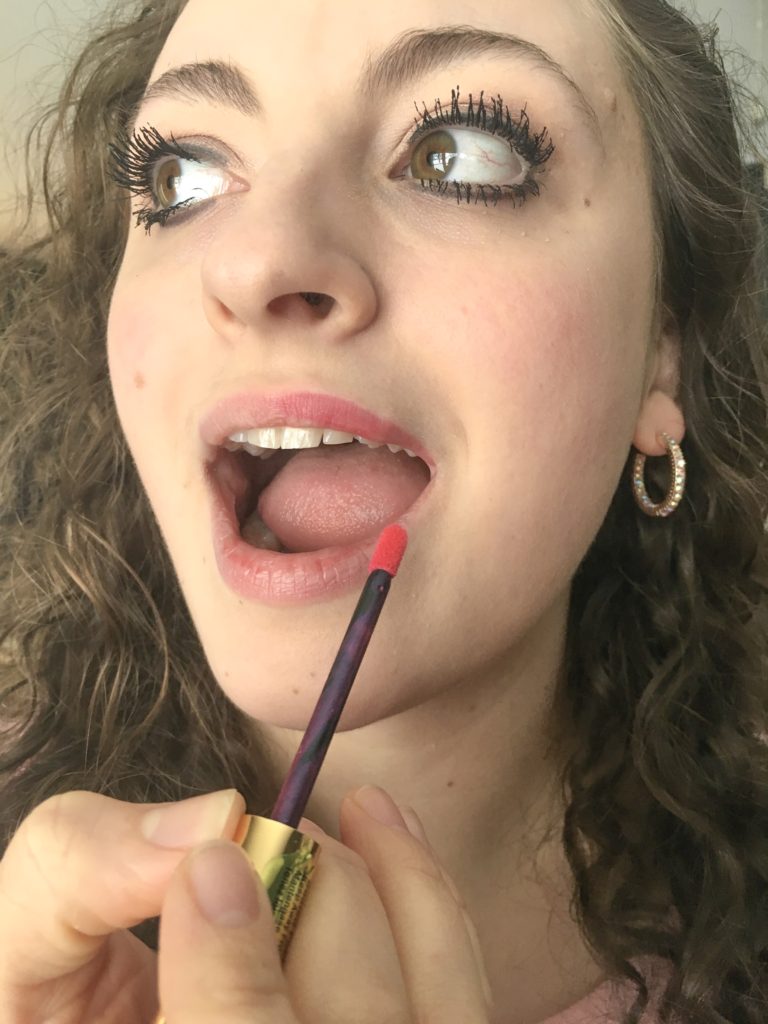
Step 6. Assume the position. You want to keep your lips spread apart and stretched out so that you don’t have any wrinkles or lines in your lips so that you can get a very even application of color.

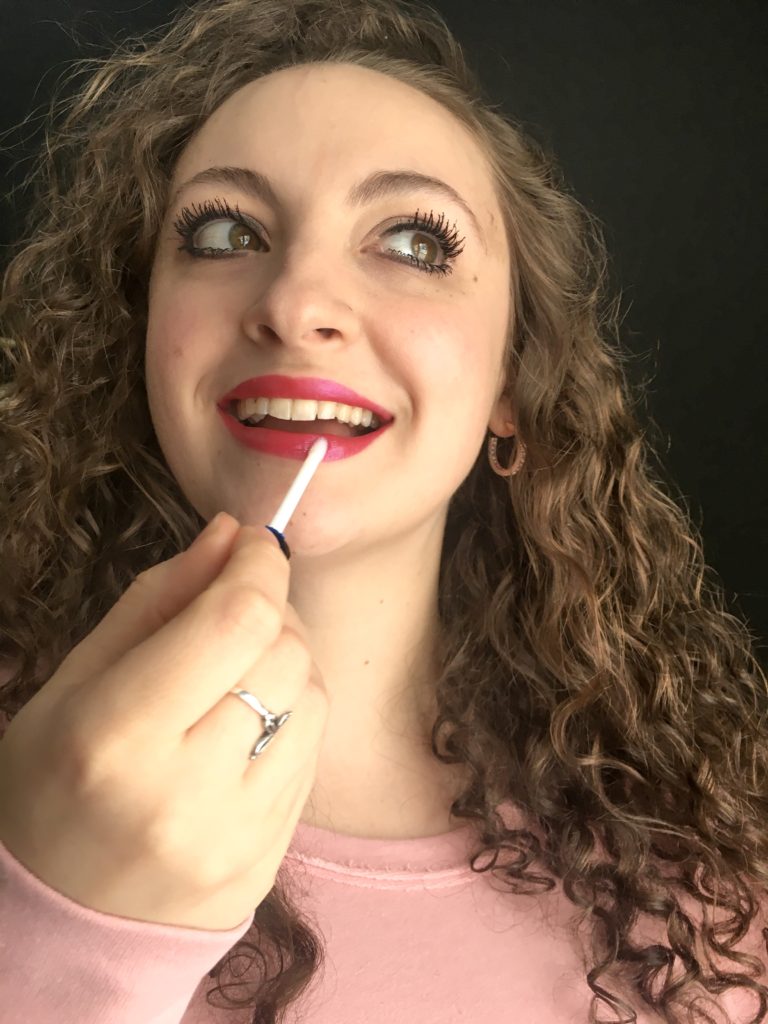
Step 7. Apply your first layer of Lipsense. Use only a single stroke going in one direction. Do not go back and forth. I start at the middle of my upper lip and go down one side. Then I go back to the top and do a stroke down the other side. Then I do a stroke across my bottom lips. I also do a stroke on the inner part of my lip, the “waterline” to get every part of my lip a thin, even coat of Lipsense, without going back over what I have already done.
Step 8. Let your first layer dry. This takes about 10 seconds. Not long at all, but it can sometimes feel like a long time when you are in a rush to put your face on. But trust me, the 10 second wait time is worth it in the end when you get 12 plus hours of smudge free lipcolor. After about 10 seconds or so, I usually just touch my lips with my finger to check that it is dry. If it is, continue to Step 9, if it isn’t, let it dry longer.
Step 9. Apply your second layer. Use the same technique as you did for layer 1. The reason you apply 3 layers is because layer 1 will get naturally broken down by your body. Layer 3 will get broken down by your saliva, food, napkins, kissing, the environment, etc. So layer 2 is protected in between those two layers and is how your Lipsense color will last all day!
Step 10. Once layer 2 is dry, repeat for your third layer and let your third layer dry.
Step 11. Time to gloss! Take your glossy gloss and gloss away! There is no special technique to this part, I just like to apply a LOT of gloss right after application.
Step 12. Enjoy your gorgeous, smudge-proof lips! Remember to keep applying your gloss throughout the day for hydration, and also protection. I like to gloss before and after I eat, and whenever my lips feel like they could use more moisture.


I hope you are not overwhelmed by this process! Once you get used to it, it take just a couple of minutes, which is totally worth it in order to have beautiful, smudge-free lips all day!
I hope you all have a great Valentine’s Day and get lots of kisses! XOXO