I recently read a novel titled “What the Wind Knows” by Amy Harmon. I must say, it is not typically the kind of book I read, but I absolutely loved it. It is historical fiction, which is my type of book, but it also has an aspect that I usually shy away from.
It started off like any good novel that I would read. Set in America, a young woman is dealing with the loss of her beloved Irish grandfather. She sets out to Ireland to spread his ashes and say a final goodbye. Up to this point it was very sad, and moving and I did not see what was coming next.
Time traveling.
I don’t read time travel books. It’s too much for me to wrap my brain around. I can’t comprehend it and so I usually steer clear from those books. But I was already invested in this story. So I continued and boy, am I glad I did!
She finds herself in Ireland at a time that was two generations before her. At first she can’t figure out how to get back, but then as she spends more time there she decides she might like to stay. Although, it gets to be quite dangerous for her as people begin to grow suspicious of who she really is and how she seems to know about things that have not happened yet.
One reason that I was scared to finish this book was because I couldn’t see how the author could end it on a happy note and I NEED my books to have happy endings. I was not disappointed. The night I finished this book I had to stop reading about 3 different times because I couldn’t see the page through my tears. I cried so hard. But it was SUCH an AMAZING ending.
This book covered a lot of Irish historical events and figures, which I was not well-informed about before reading, but feel like I am more now after reading. I fully enjoyed it without knowing much about the actual historical events, and I think you would still enjoy it if you were an expert on Irish history.
I know this is a very vague book review as far as the plot, but I don’t want to give too much away because it was so fascinating to figure it out along the way as you read it! And I seriously hope you read it!
I think this book is the perfect balance of loss, heartache, sadness, love, romance, excitement, adventure, danger, and of course an emotional, moving ending. Happy reading!!!
It was one of those days. It had been one of those weeks. It was my third 12 hour shift in a row. I had one hour to go. I was done. I just wanted to go home. After three days of constant business, half staff, and an insane amount of case loads, I was ready to check out and start my two week vacation. I looked at the clock. 10:30. Only one more hour. So close to freedom, I thought I was in the clear without having to do another super crazy case.
I was wrong. We got the call for an emergency surgery. I started setting up for it. Just as I got the room prepared, we got another call. Scratch that, a more urgent emergency was coming in. Change of plans. I start doing the necessary preparations to change procedures.
Then we found out why this particular patient was coming in. She had done something horrific. Terrible. Indescribable. I couldn’t wrap my mind around it. But now she needed medical help.
My attitude changed immediately. My mind running wild with thoughts I’ve never had about any patient before. I didn’t want to help her. I didn’t want to bust my exhausted butt trying to save her. She deserved what she had coming to her. I couldn’t speak to her because I was afraid of what I would say. I looked at her with contempt.
It should have been a simple surgery to fix the problem. But of course, this time there were complications. I was annoyed. The room was high stress. I was running here and there, getting things that the doctors needed. I didn’t want to do this. I wanted to be clocking out, not running around, working hard to save this person that I had no respect for.
When things calmed down a bit, I was just looking at her on the operating table. I was glaring at her with contempt. How could this person do such a thing and then come to the hospital and expect me to do absolutely everything to help her?
And then God spoke to me, “I love her.”
I don’t think I’ve ever heard a message from God so clearly in my life before. There, in the middle of that chaotic OR, I was so completely convicted of all of the things I had just been thinking of her. Here I had been judging her and thinking terrible thoughts about how I didn’t want to help her, and how I thought she didn’t deserve it. I was thinking those things about someone that God loves. Someone He died for! He loves her as much as he loves me!
I was blown away and I just wanted to cry. And cry I did. This profound realization of the overwhelming, unconditional love of God just blew my mind. Sometimes I wish I could tell you what she did. Just so you could understand my feelings, but it doesn’t matter what she did. Her sin that I thought was so disgusting and vile and terrible. It was the same as my sins. To God, our sins are equal. And his love for us is equal.
I was so blown away by God’s grace. I went home and cried to my husband. I don’t think I slept at all. I thought about it the minute I woke up. I cried to my mom and sister the next day. How amazing is His Grace. How profound is His Love.
That moment in the OR that I thought was just another annoyingly busy night has changed me. I will remember that moment forever. And I hope I never forget the magnitude of God’s love.
It’s nurse’s week. Happy Nurse’s Week to all my fellow nurses! For those of you who don’t know, I am a nurse and have been for 5 and a half years now. I can’t even believe it. Some days I think I’ve seen it all in my short 5 and half years, and other days I still feel like a newbie with a lot more to learn.
I have thought about this post a lot. I have thought about all the ways I could write it and express all my feelings and frustrations about being a nurse, and even now, as I begin to write, I don’t even know which way I’m going to go with it, so here goes.
Being a nurse has, by far, been the hardest thing I’ve done in my life thus far. It has been the most stressful thing. It has been the most physically, emotionally, and mentally exhausting thing. Talk about a struggle. I’m really making this sound appealing, aren’t I? Well, it’s true. It’s also true that being a nurse isn’t for everyone, so I thought I would make up a list of reasons why you shouldn’t become a nurse. Here we go. Read the list all the way until the end.
Don’t become a nurse if you don’t want to take care of 6 patients at a times, all of which are very ill and need you at the same time.
Don’t become a nurse if you don’t want to take care of the 6 patients above and also have to be in charge of your unit. Which requires figuring out staffing assignments, helping your other staff nurses with their patients, being their resource, and dealing with management, administration, assigning admissions, and doing damage control with unhappy patients and families.
Don’t become a nurse if you don’t want to find your patient passed away in his sleep and have to prepare his body for the morgue.
Don’t become a nurse if you don’t want to see abused and neglected children get so injured, and then get discharged right back into the situation that they came from.
Don’t become a nurse if you can’t stomach seeing a skull cap cut off to try to control a head bleed.
Don’t become a nurse if you don’t want surgeons to yell at you on a daily basis.
Don’t become a nurse if you want to work in a fully staffed department. That’s not happening.
Don’t become a nurse if you don’t want your manager to question you on why you haven’t updated the white board when you just spent 12 overnight hours just trying to keep your patients alive.
Don’t become a nurse if you don’t want to take work home with you. We all do.
Don’t become a nurse if you don’t want to do CPR on a healthy 22 year old who got shot in the chest.
Don’t become a nurse if you don’t want to cry with a patient’s family as they prepare to take their child off life support.
Don’t become a nurse if you don’t want to see a 3 year old smile for the first time after their open heart surgery.
Don’t become a nurse if you don’t want to watch a patient walk for the first time in 4 months since their car accident.
Don’t become a nurse if you don’t want to celebrate with parents as their baby finally graduates from the NICU.
Don’t become a nurse if you don’t want to feel the excitement of hearing “we got a pulse” after completing a code.
Don’t become a nurse if you don’t want to see a baby take it’s first breath
Don’t become a nurse if you don’t like to get handmade cards from your pediatric patients thanking you for your care.
Don’t become a nurse if you don’t want to see your long term dialysis patient finally get a new kidney.
Don’t become a nurse if you don’t want to help a new mother breastfeed for the first time.
Don’t become a nurse if you don’t want the satisfaction of saving a life after doing an emergency open heart surgery.
This list could go on and on and on. But my points is: don’t become a nurse if the second half of this list won’t make up for the things on the first half of the list. Because guess what? You’re going to get both. You’re going to get the long, hard hours. The loss. The frustration. The tears. The pain. The abuse. But you’ll also get the smiles. The gratefulness. The hugs. I would say that I get about one of those amazingly good days for every 5 of those painfully bad days. But I am still a nurse because it’s worth it. That one good day is worth all the other bad ones.
I didn’t intend for this post to be negative, I intended for it to be truthful and eye-opening. This nurse’s week, recognize the nurses around you realizing that they chose to become a nurse for the reasons on the latter half of this list. But they still have to face the reasons on the first half of the list every. single. day. And it’s hard. But we do it. Being a nurse has been my most Splendid Struggle yet. Happy Nurse’s Week!
I am so excited to share my thoughts and feelings about a book that I read last month! The Nightingaleby Kristen Hannah was recommended to me by several of my coworkers. The book had passed around from person to person and everybody raved about it, so I was so looking forward to my turn to read it.
It isn’t a new release. In fact, it was released in 2015, but it just recently showed up on my radar, and boy am I glad it did. The Nightingale is historic fiction that starts off set in America in the 1990’s and then soon transports you to France during World War 2 at the time of the German occupation of France. The book takes you through the stories of two French sisters and all of their struggles and persecution during the War.
I am a huge fan of historical fiction, and I absolutely love books about World War 2 and this was by far, one of my most favorite books I have ever read. I loved reading about the war from a French perspective, which I had never done before.
I don’t want to give anything away for you in this book, because I hope you go and read it for yourself, because this is absolutely one of my most favorite books I’ve ever read. It really grabbed my attention right away within the first few chapters and continued to hold my attention throughout the entire thing. It was one of those books that I would think about as soon as I woke up, or when I was at work, or doing housework. I just couldn’t get my mind off of it, and I couldn’t wait until I would have time to read more.
It really conveys so much emotion. I got so teary throughout the book, but by the end of the book I was bawling so hard I couldn’t even see the words, so I had to take breaks from reading to wipe my tears so that I could finish the page. I didn’t even know I could cry so hard while reading a book! But don’t get me wrong, that’s a good thing! I love when a book touches my emotions like that. I was almost sad when I finished it, because for a few days it felt like the story was a part of my own world, I thought about it so much and connected with the characters so much, it felt like I knew them. I was sad when it was finished, and I couldn’t be transported to their world anymore.
If you love books with war, read this book. If you love books with love stories, read this book. If you love a good cry, read this book. If you love historical fiction, read this book. If you’re bored, read this book. Just find a reason to go read this book. I promise you, you won’t be let down. It definitely gets 5 stars in my book.
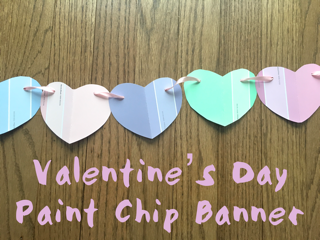
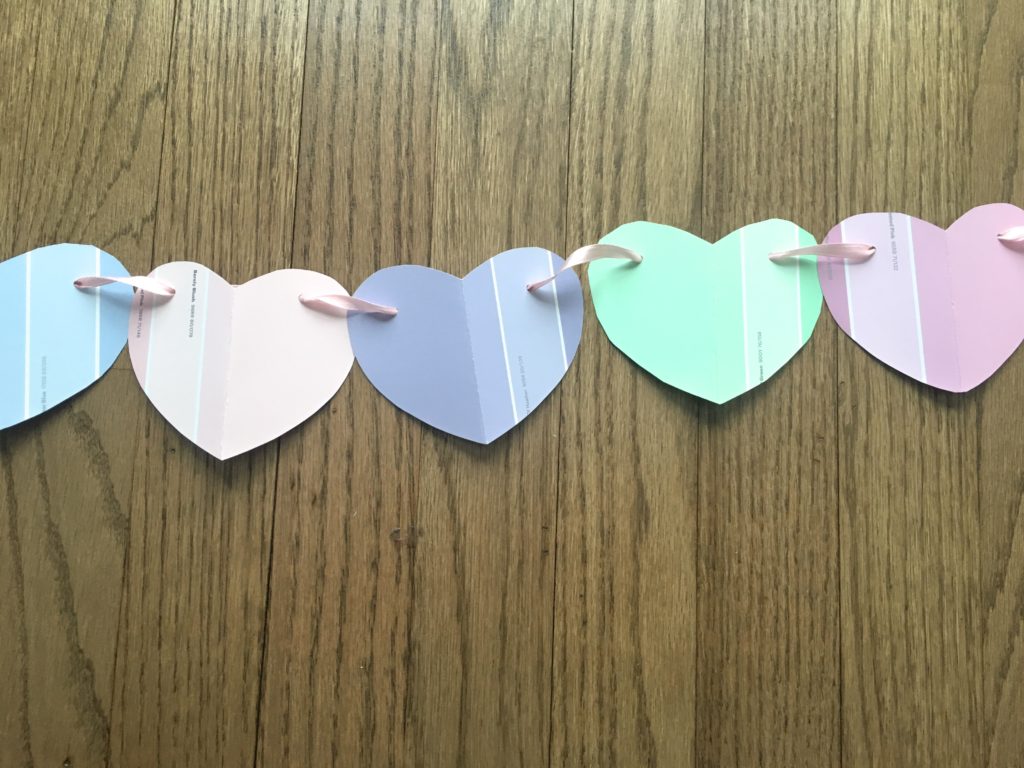
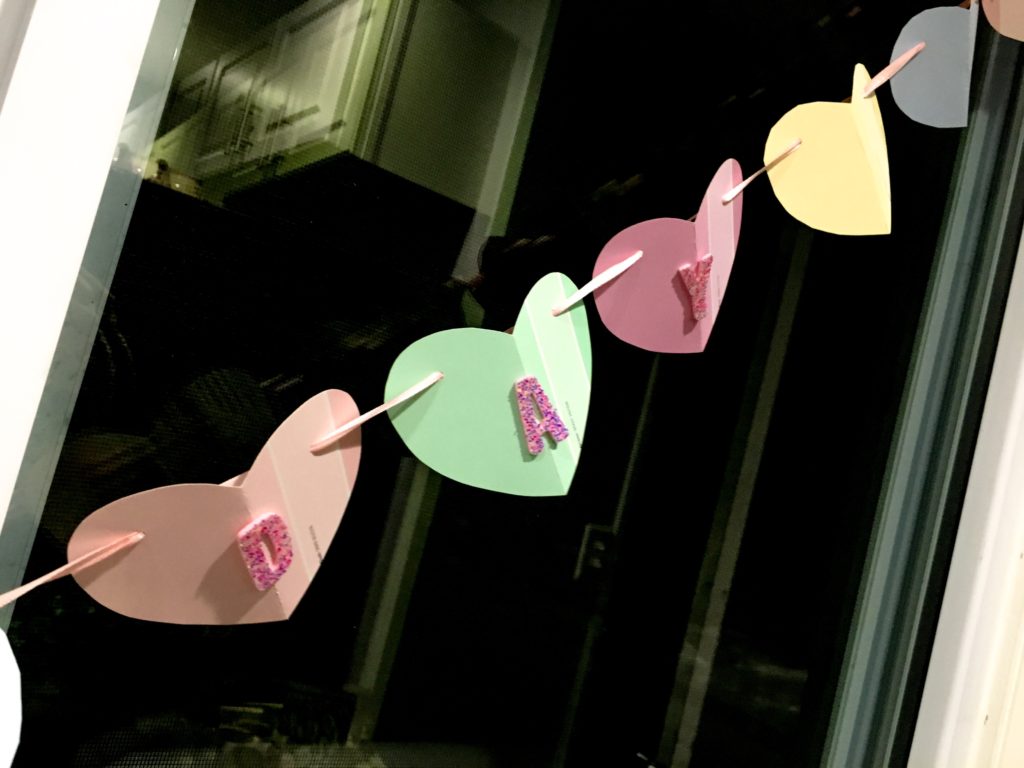
I love hanging up banners for any and every holiday! Two Christmases ago, I made a banner out of paint chips and I loved it, so I decided to create one for Valentine’s Day. I love using paint chips for several different reasons. First, they’re free! Which makes this a super affordable craft. Second, you can use any color scheme of paint chips you desire, so you’re guaranteed to match your room no matter what colors of decor you have!
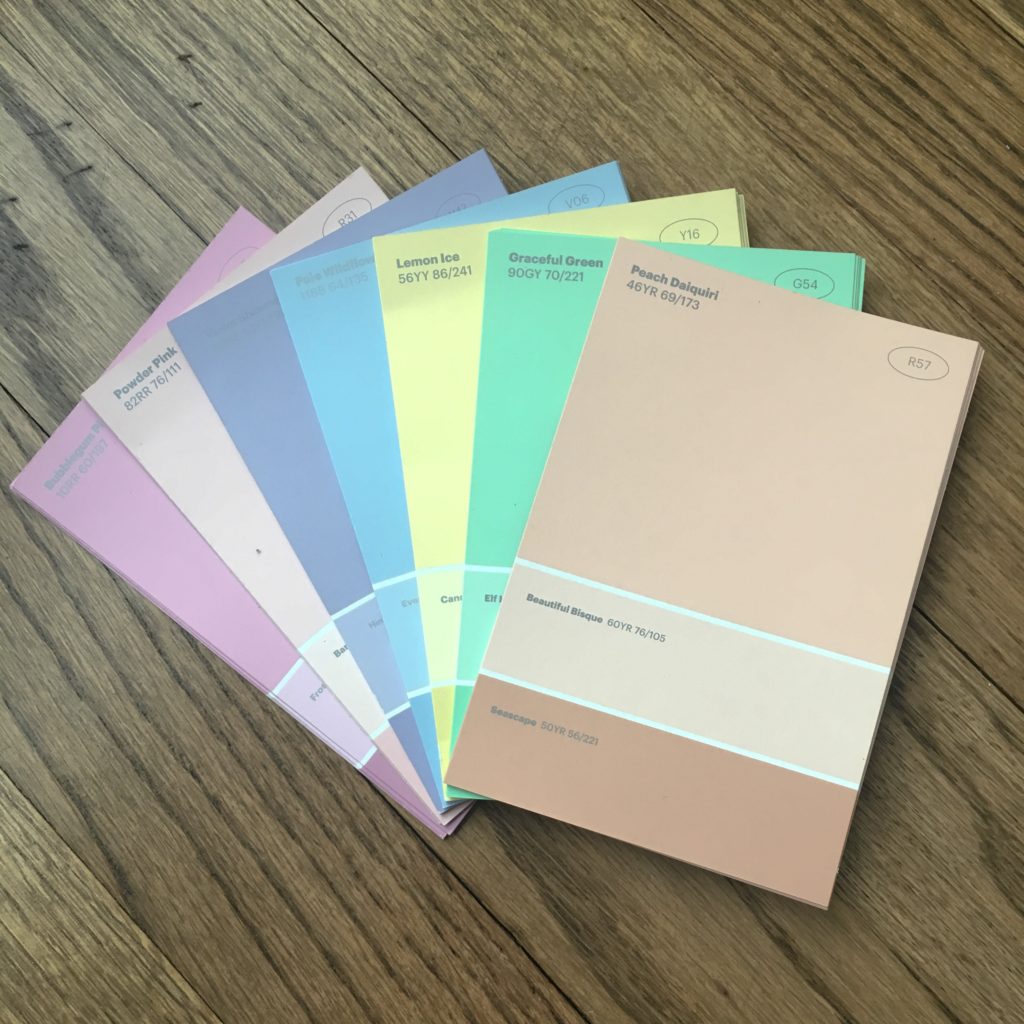
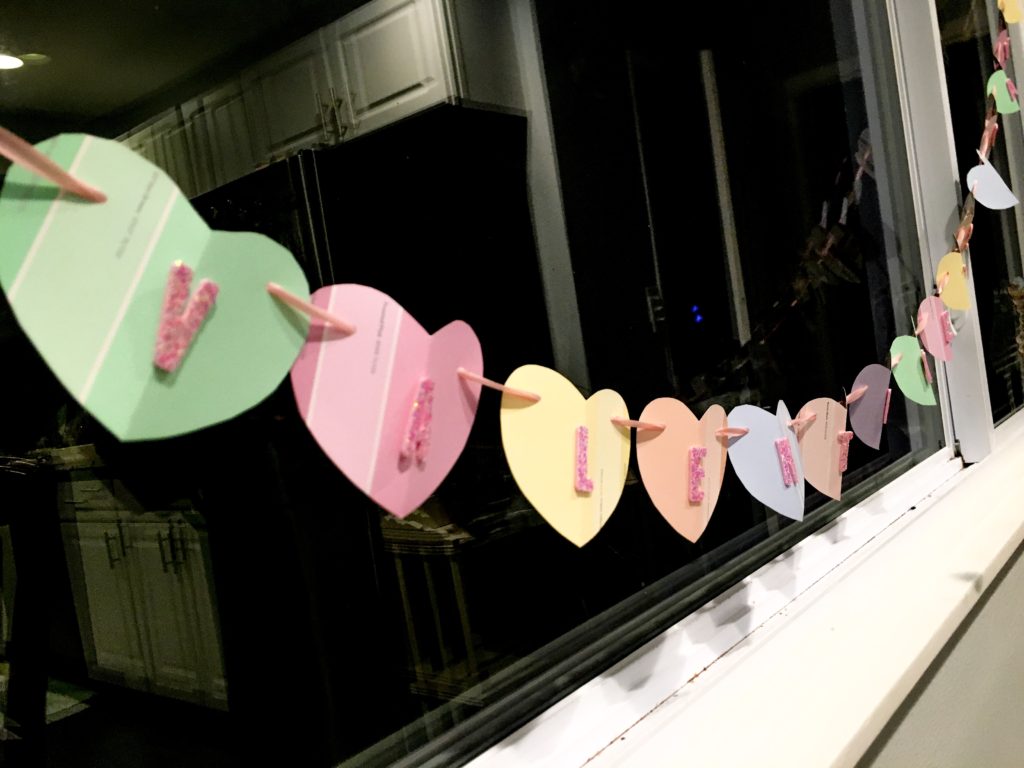
I wanted this banner in my kitchen over the big window, so I went to the store and picked out paint chips of several different pastels, all of which match my kitchen.
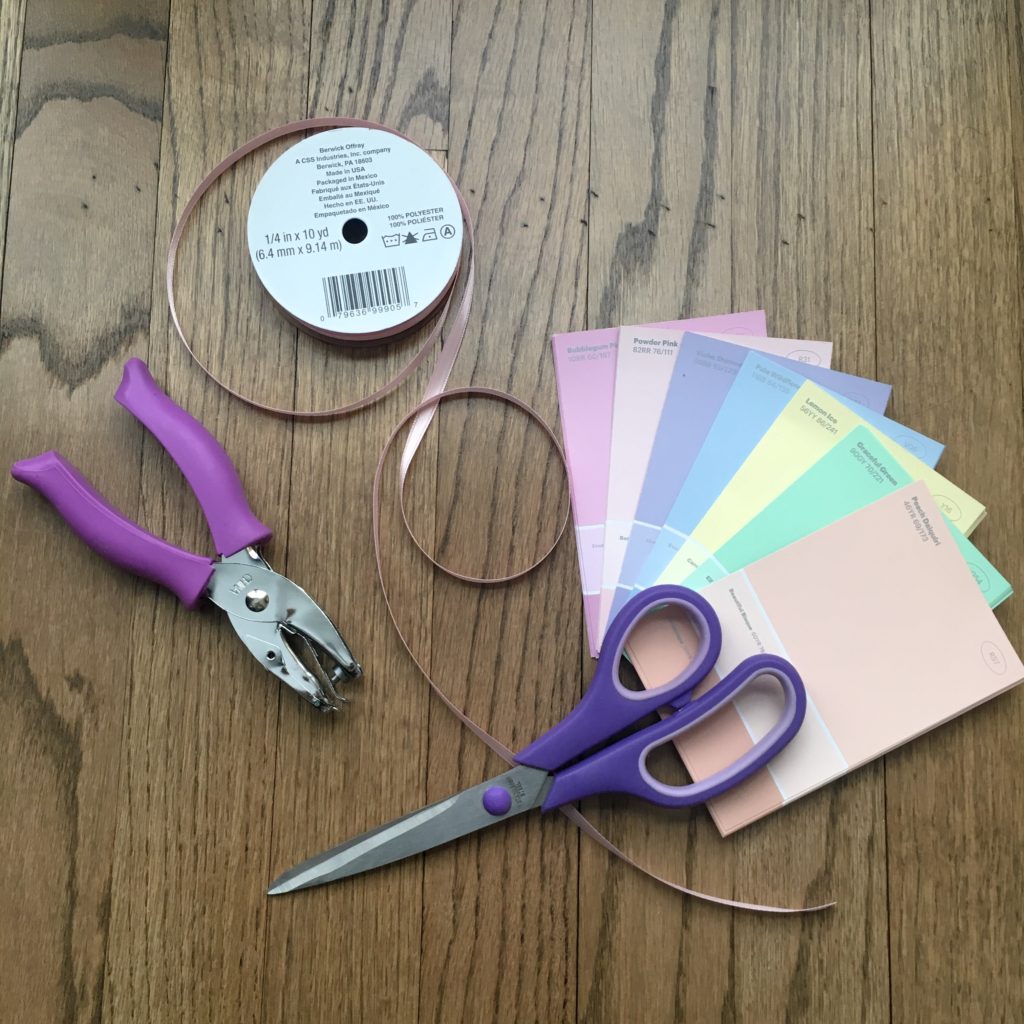
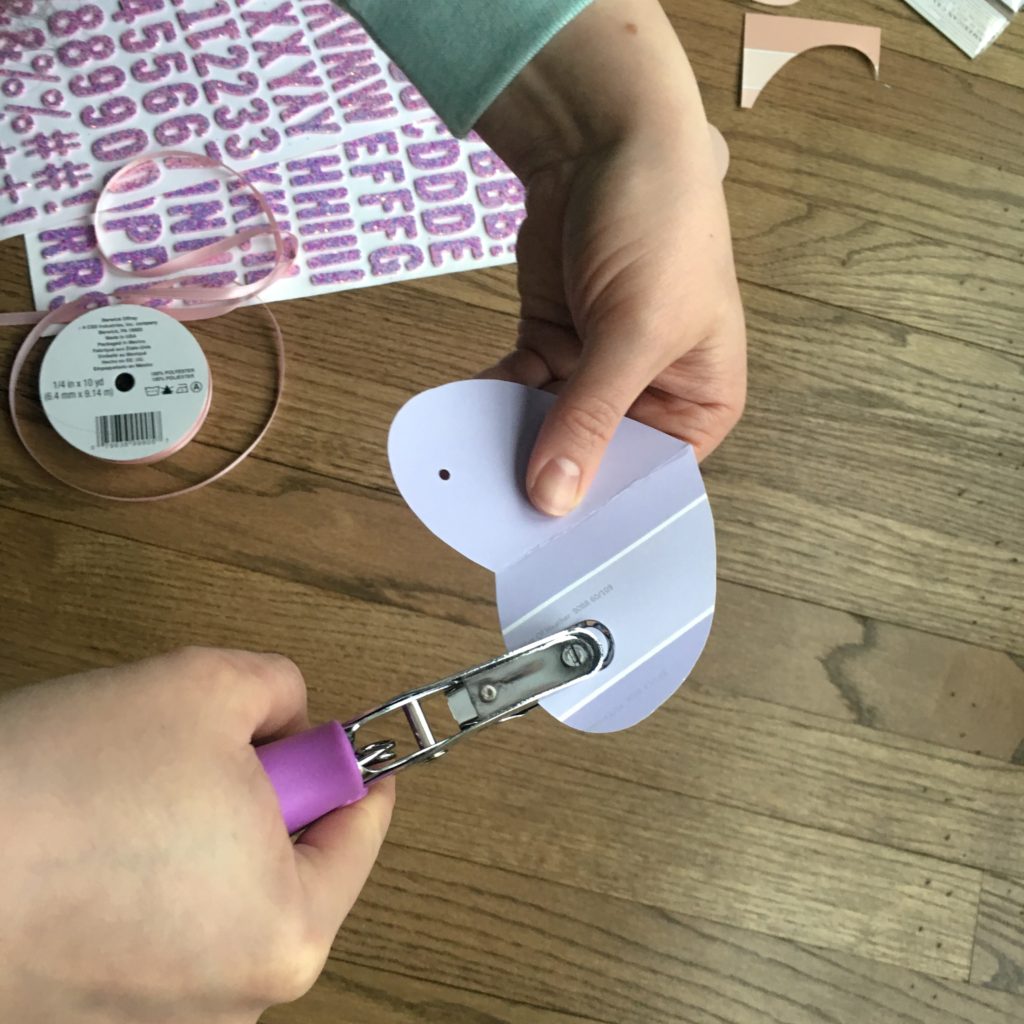
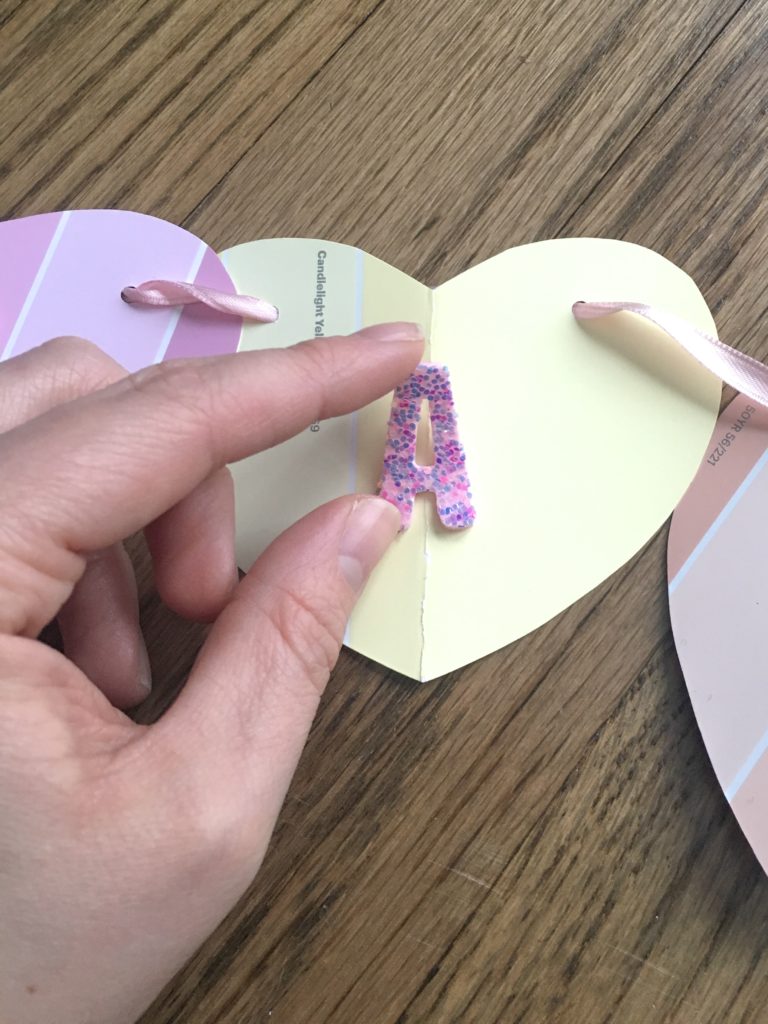
While I was at the store I also picked up some pink ribbon, letter stickers, and a hole punch.
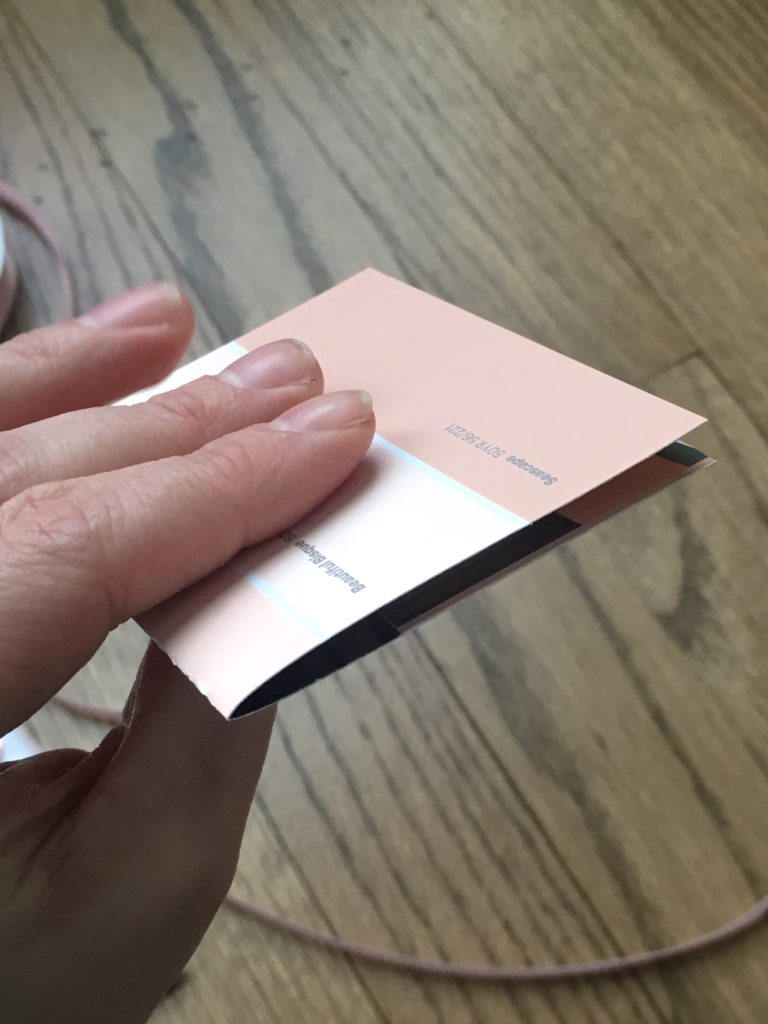
First, start by folding your paint chips in half.
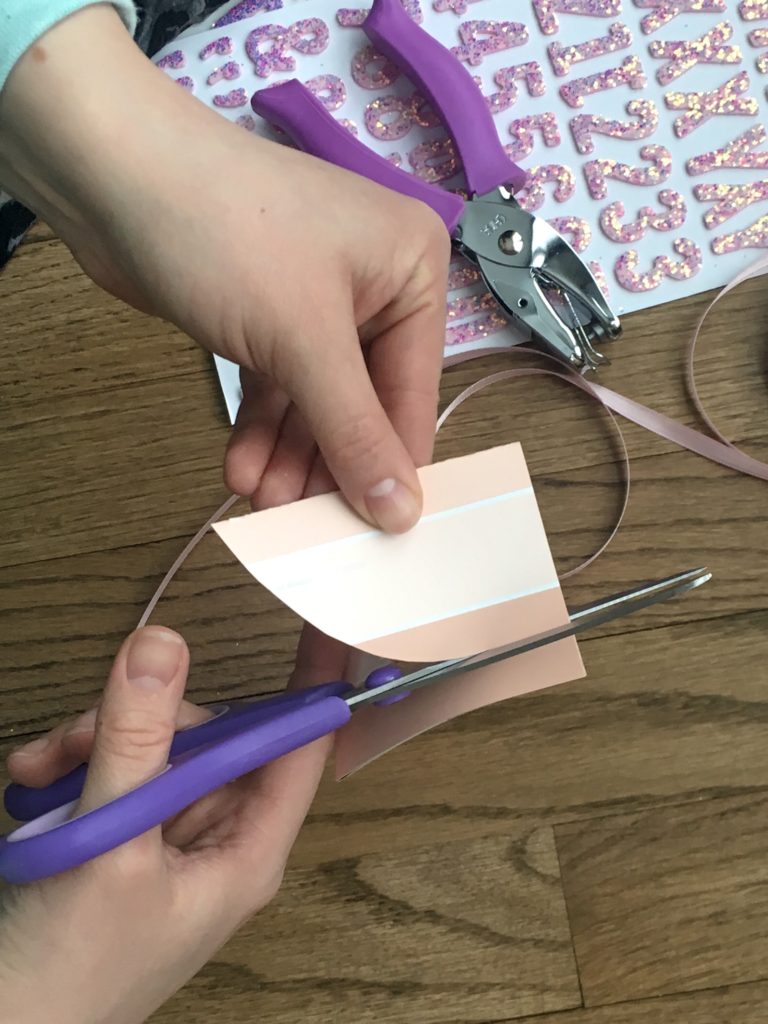
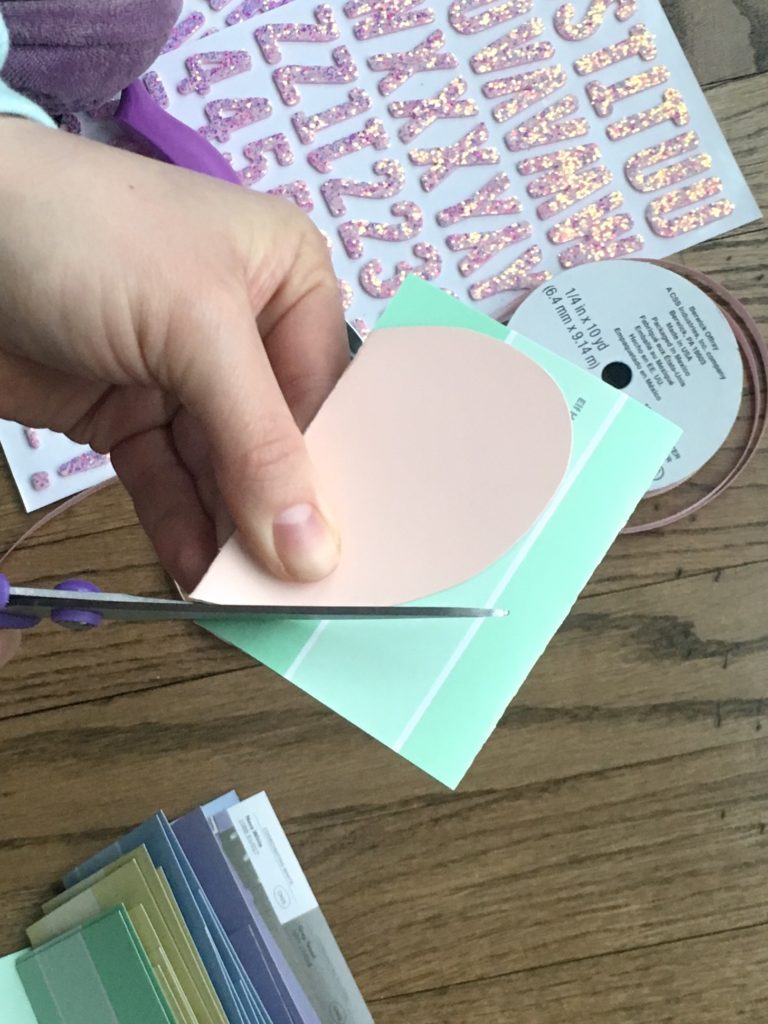
Then, I cut out the shape of half of a heart with scissors.
When I got a heart shape that I was happy with, I used this as my guide to cut around on all of the other paint chips so that they were the same.
You definitely don’t need to do this. You could use a stencil, or template if you want, but half of a heart is pretty easy to freehand, so I just did that. You could also just freehand every heart and have each one be a little different. Totally up to you.
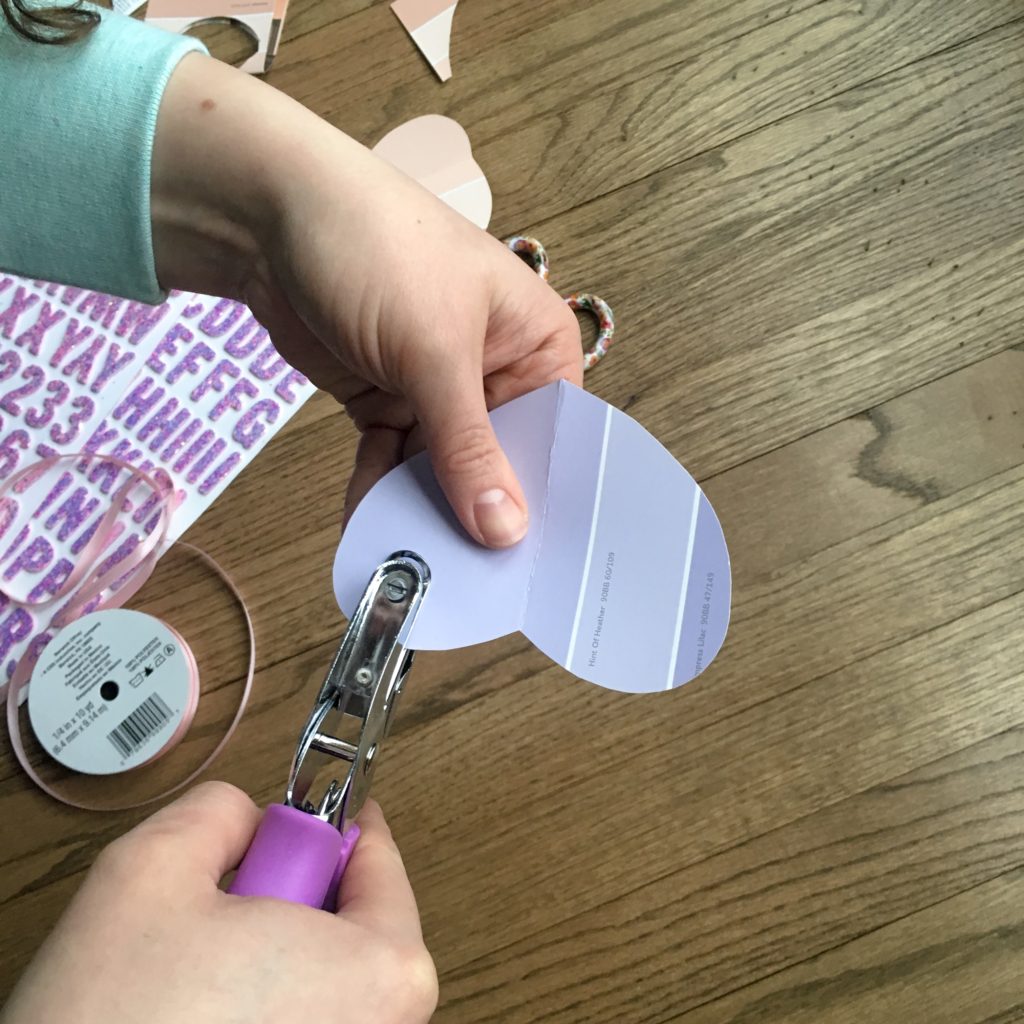
Once I had all of the hearts cut out, I took the hole punch and punched two holes in each heart.
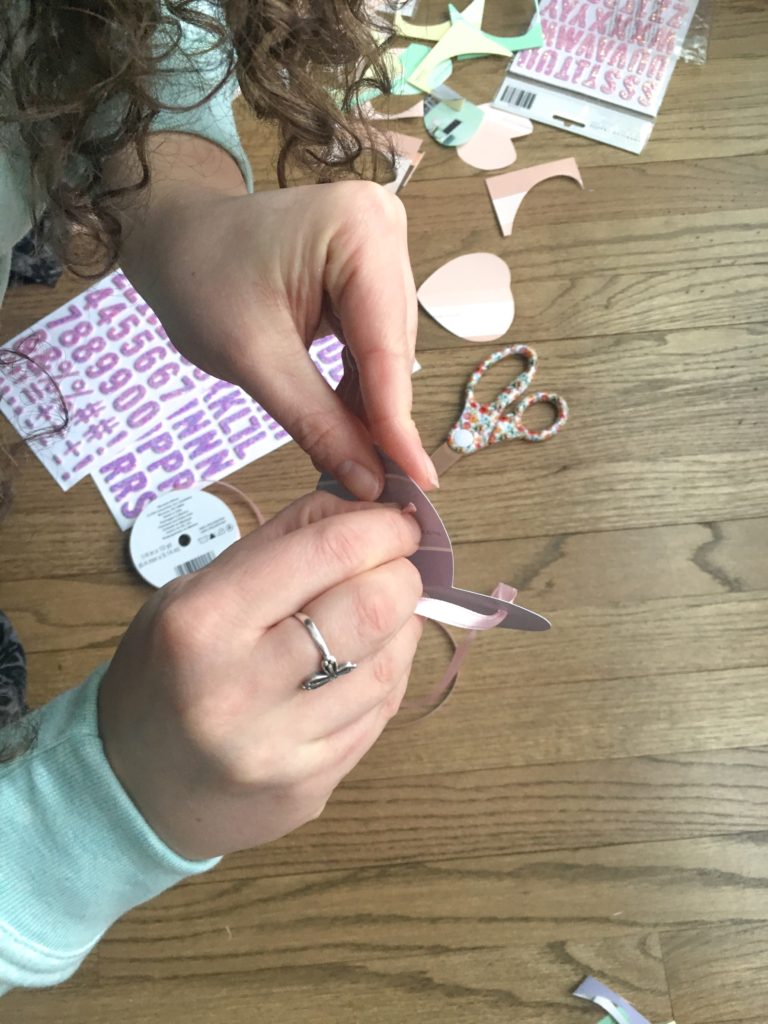
Then, I threaded the ribbon through the holes.
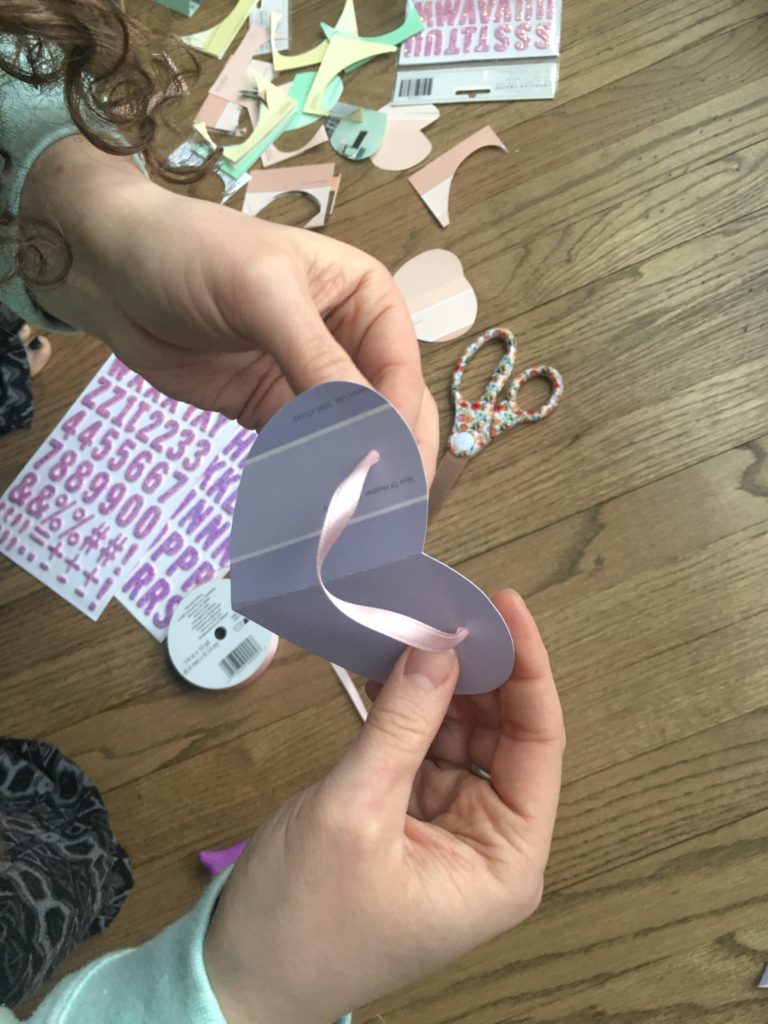
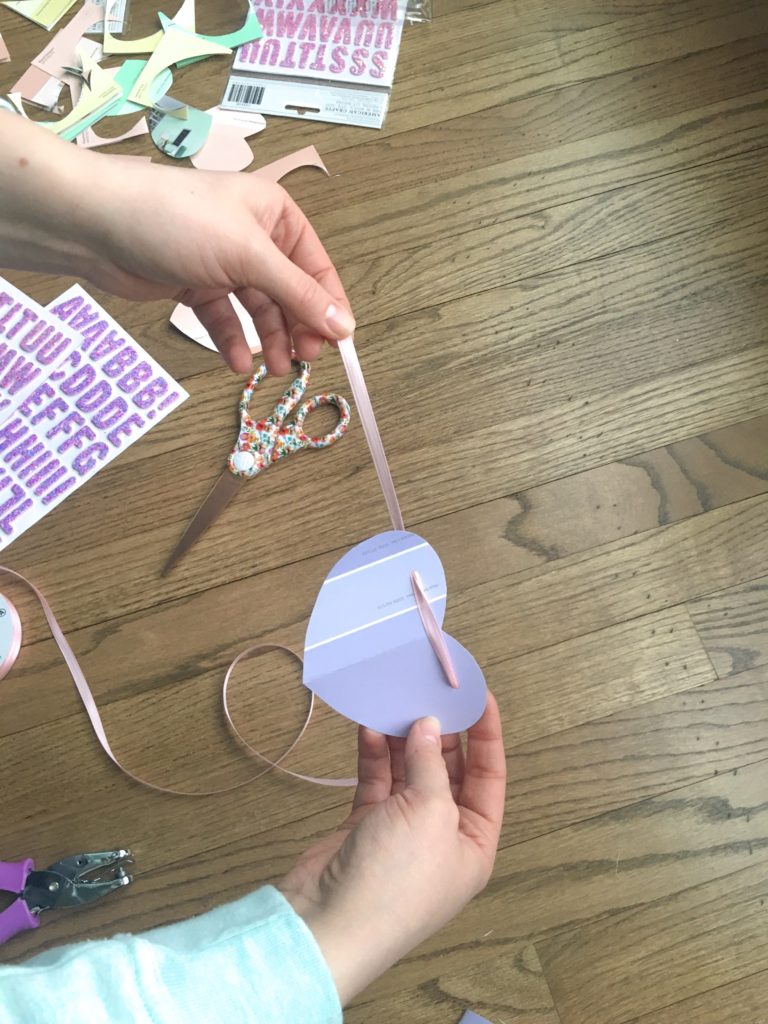
I started out with the ribbon on the front of the hearts, but I decided I liked the look better when the ribbon was behind the heart. Again, this is up to you.
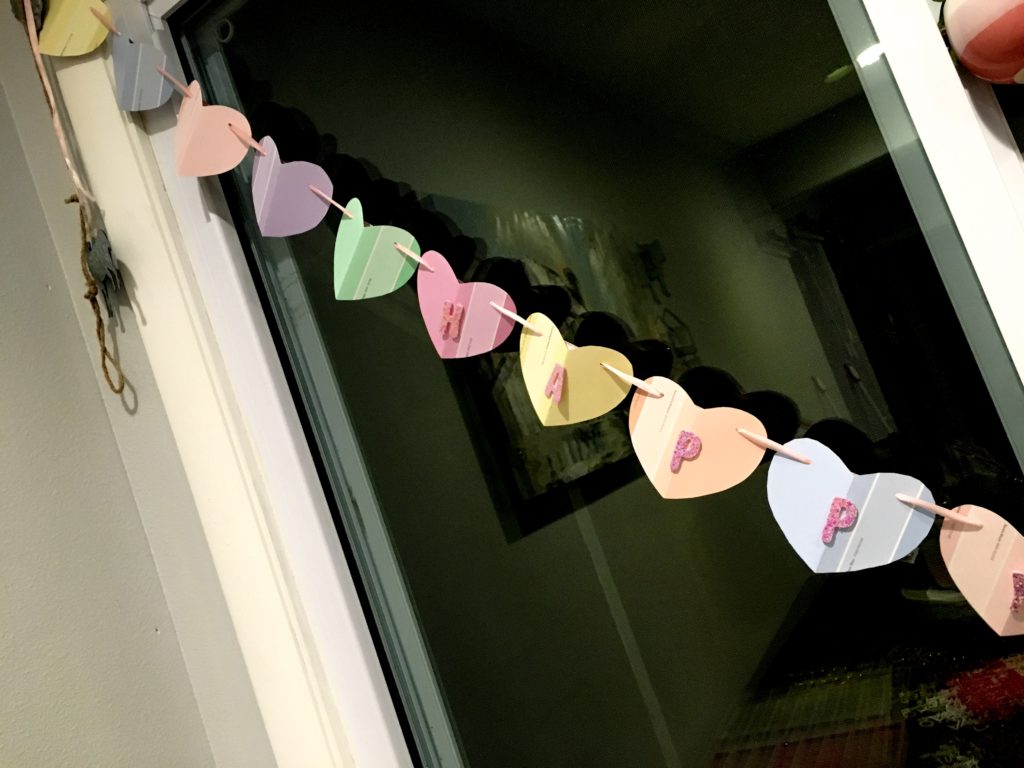
Once I had all the hearts strung, I used the pink, glittery letter stickers to spell out “Happy Valentine’s Day.” This is totally optional, but I liked it. Another idea would be to get smaller letters and make each heart look like a Sweetheart candy with little sayings like “Call Me”, “UR A QT”, etc.
At this point, your banner is ready to hang! This is one of the simplest and quickest crafts I have done in some time and it is so adorable! Happy Valentine’s Day!!!
Valentine’s Day is just around the corner! Are you a lover of all things sweet and red and pink or are you a V-day hater? I have to admit, all of the years I spent single on Valentine’s Day, I was definitely on the hater side. It just wasn’t fun and I didn’t see the point. But being in a relationship has definitely made Valentine’s Day something to look forward to!
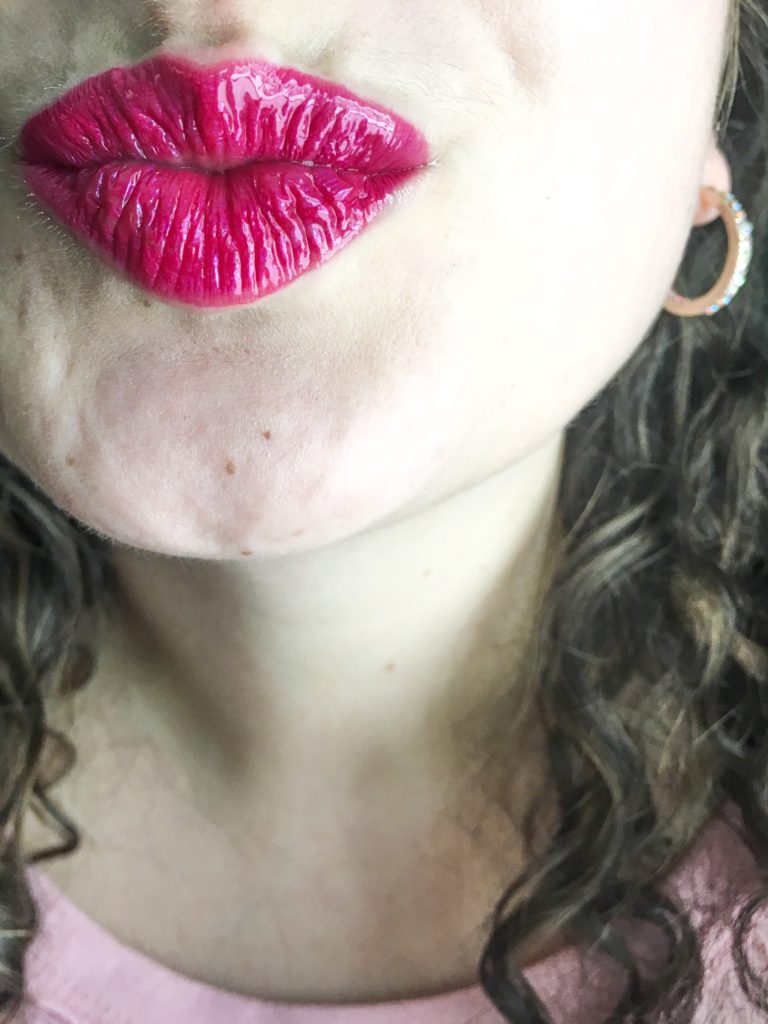
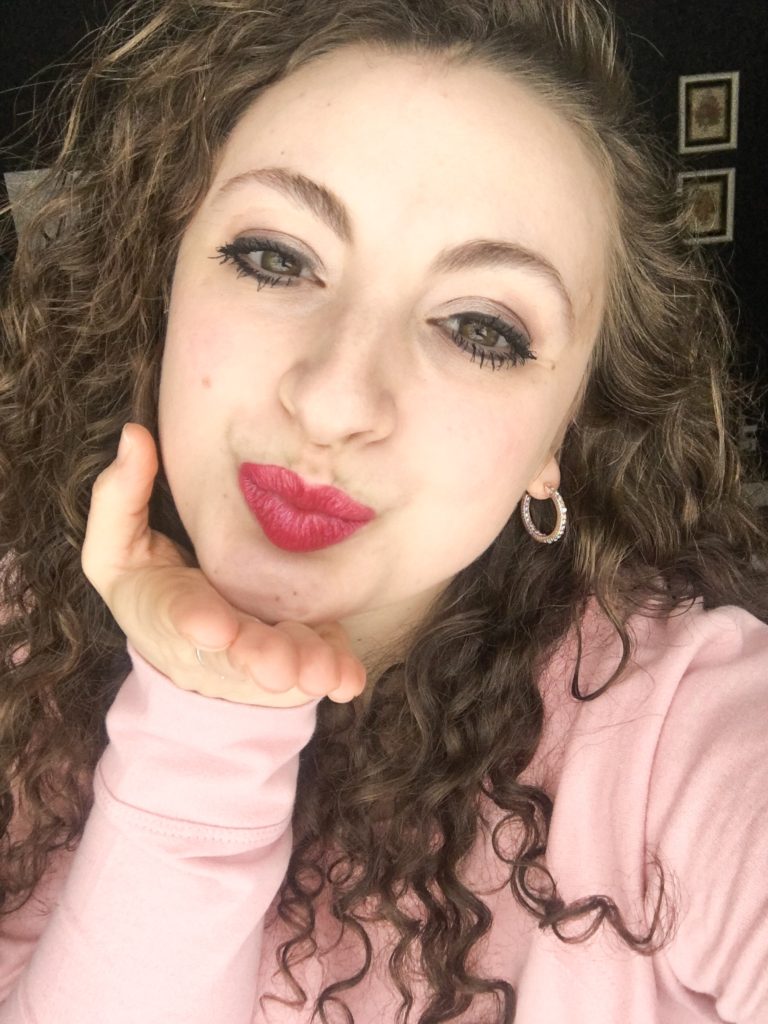
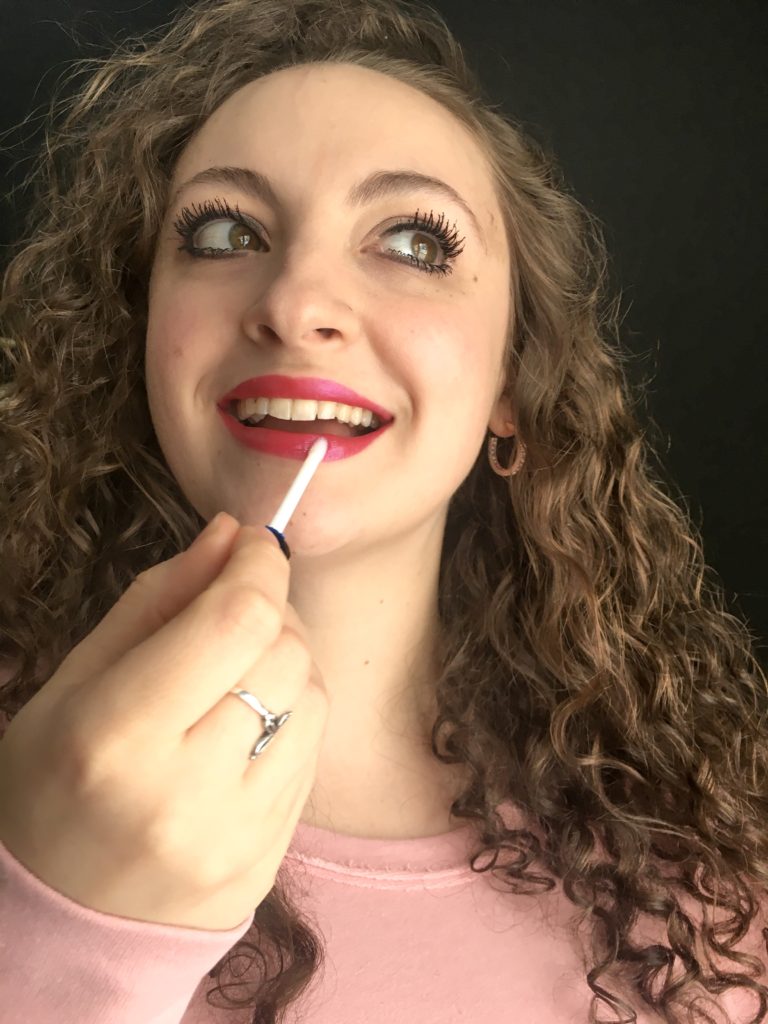
Whether you’ll be kissing your someone special this February 14th, or you’re going out for a fun Galentine’s Day dinner with your girlfriends, everyone needs a bold lipcolor to wear for the occasion. In the past, I would have hesitated on wearing a bright red or pink lipstick, especially if I was hoping for a few stolen kisses! How embarrassing to get red smudges all over your face! And what a hassle to have to keep checking your teeth throughout your date. Well, ladies, no more! I have the solution for you and I’m going to go through the process that I use for perfect, smudge-proof, kiss-proof lips that are perfect for Valentine’s Day.
Supplies you will need:
a clean cloth
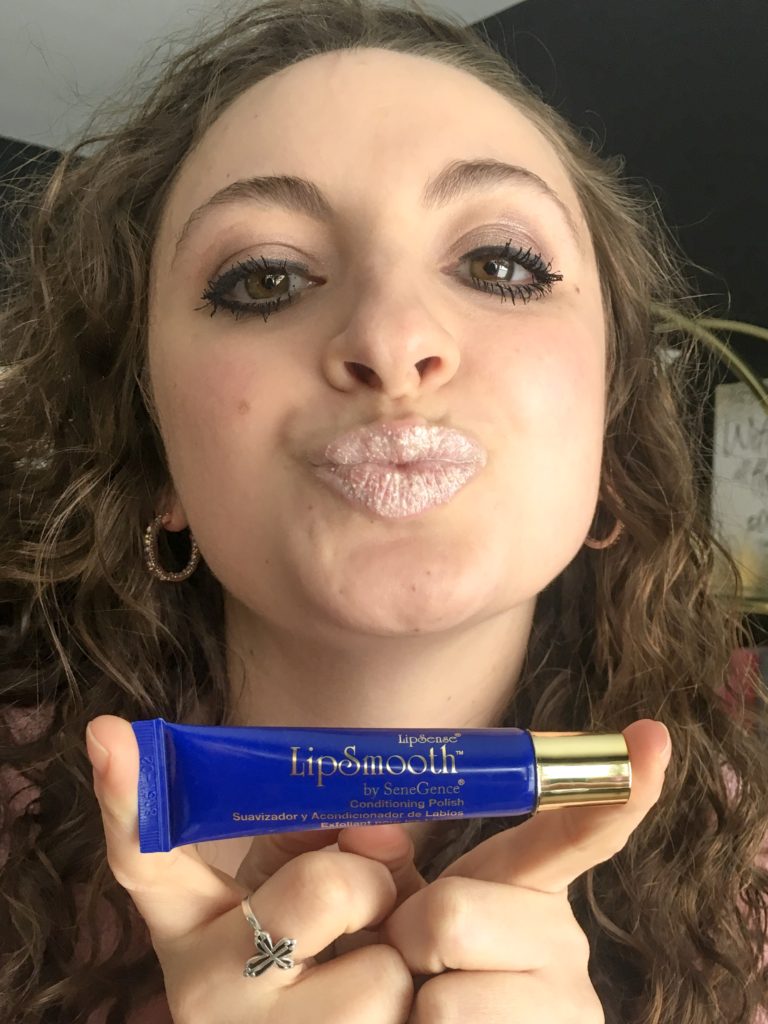
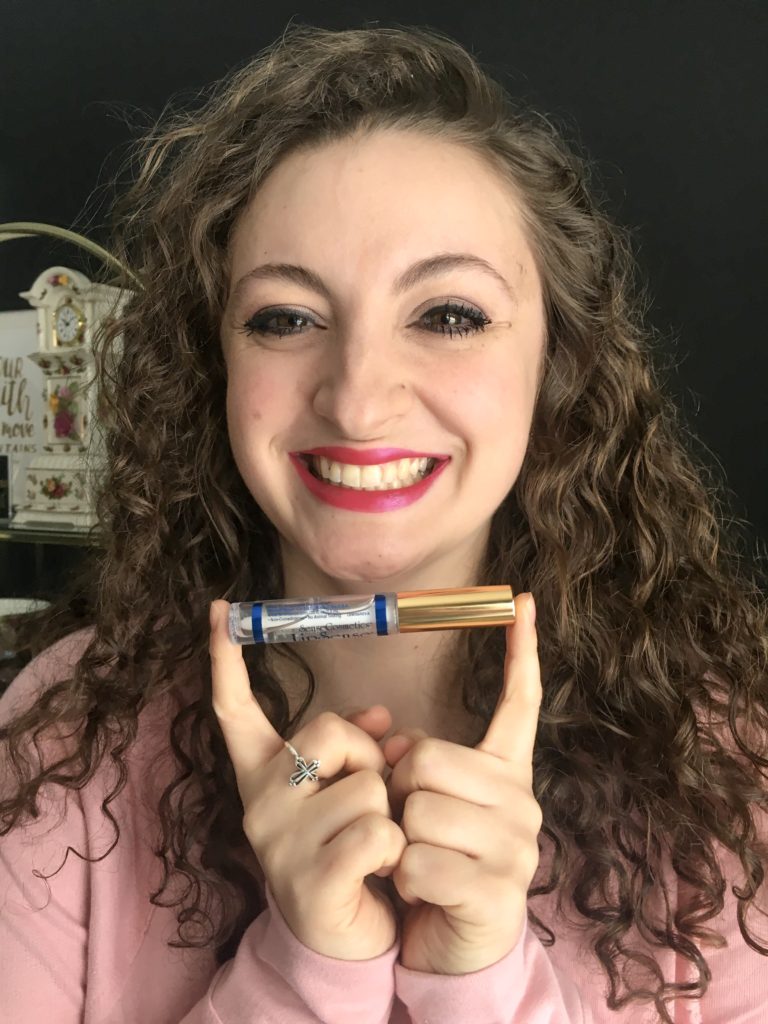
a lip scrub – I use LipSmooth Conditioning Polish
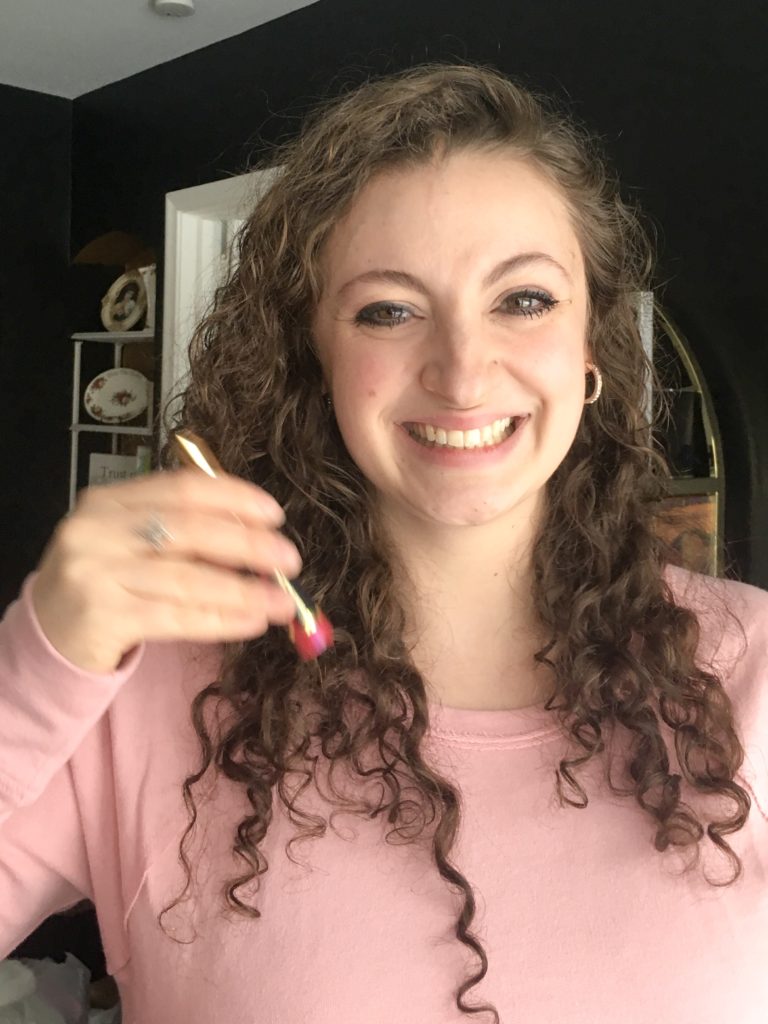
a Lipsense color of your choice – I am wearing Kiss For A Cause
a Lipsense Moisturizing gloss – I recommend the Glossy Gloss
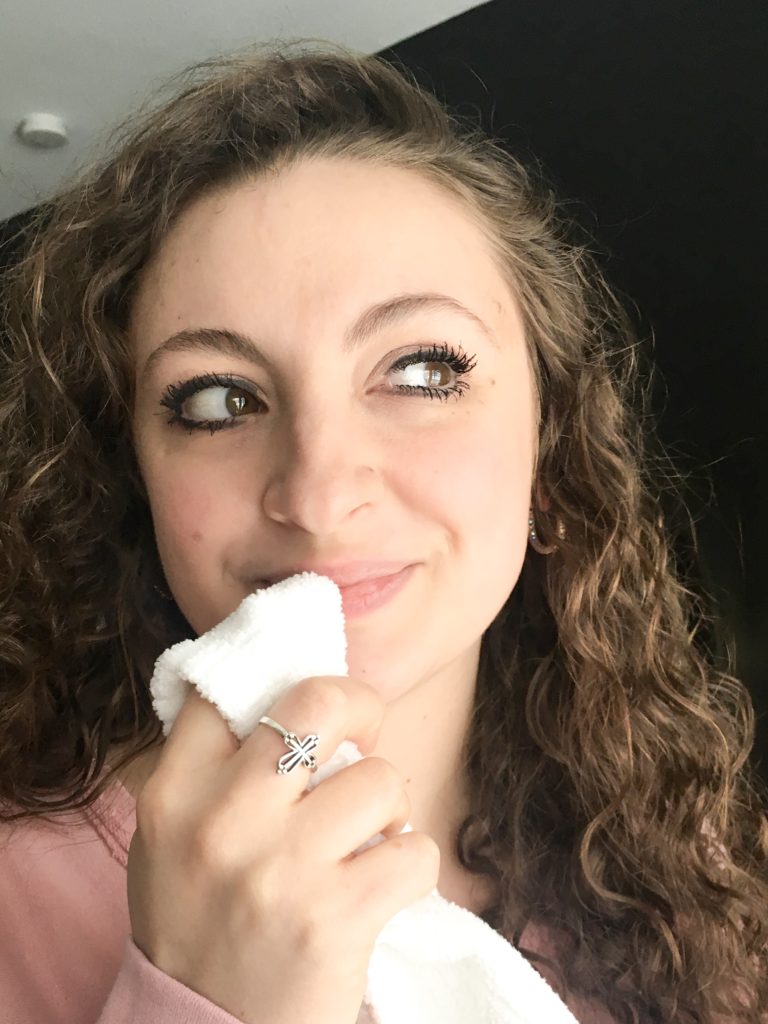
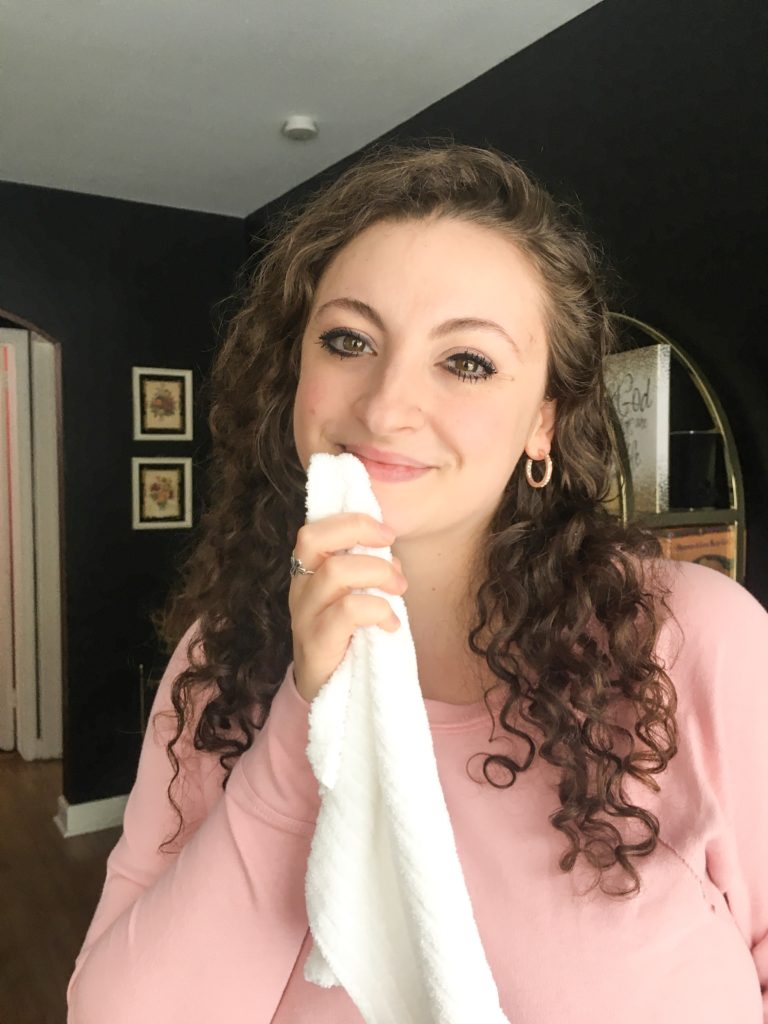
Step 1. Wipe your lips off with a clean, damp cloth. and then dry them thoroughly. You want to start with a clean surface.
Step 2. Scrub your lips with a lip scrub. I use LipSmooth Conditioning Polish. I spread it all over my lips and then rub my lips together until I can’t feel the grit anymore. This step will get rid of any dead skin cells you have hanging around on your lips to give you a nice, smooth surface for your color.
Step 3. Wipe those smooth lips clean. Use just a damp cloth and then dry them well. This is important because Lipsense will actually molecularly bond to your lips and that how the color will last so long. You don’t want there to be any residue (makeup, saliva, etc.) on your lips that the Lipsense will bond to. You want it to bond directly to your lips.
Step 4. Shake up your Lipsense. This step is important. It will mix all of the color particles in your Lipsense so that you get a smooth application and even color. I recommend shaking your tube for about 30 seconds or so.
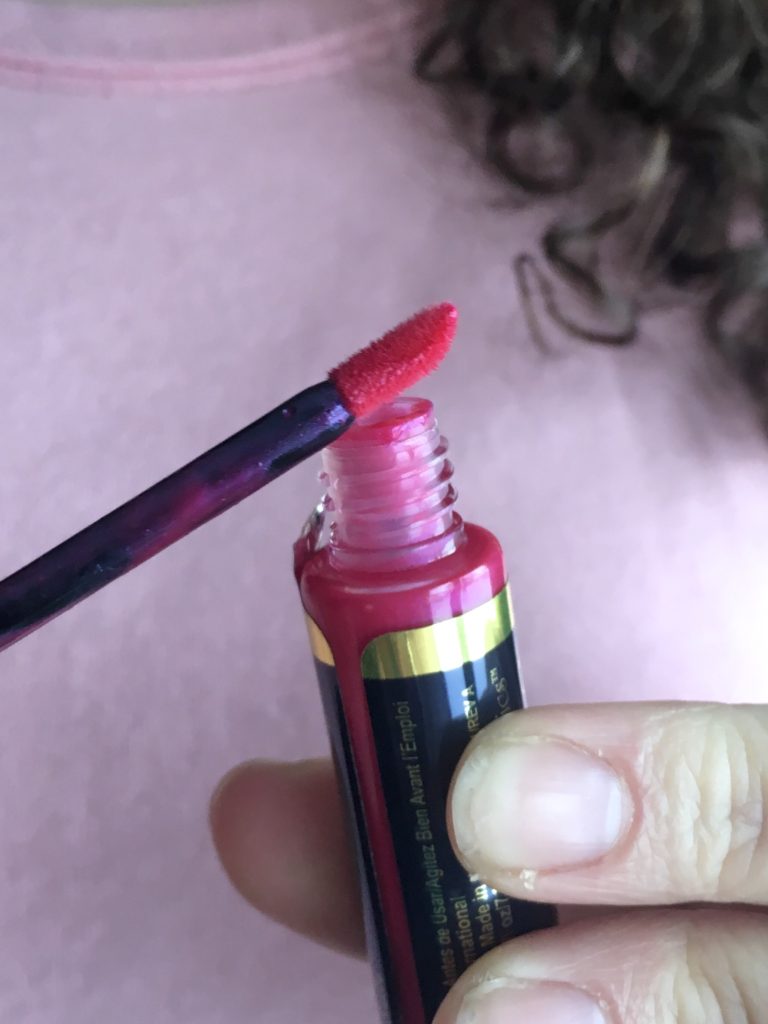
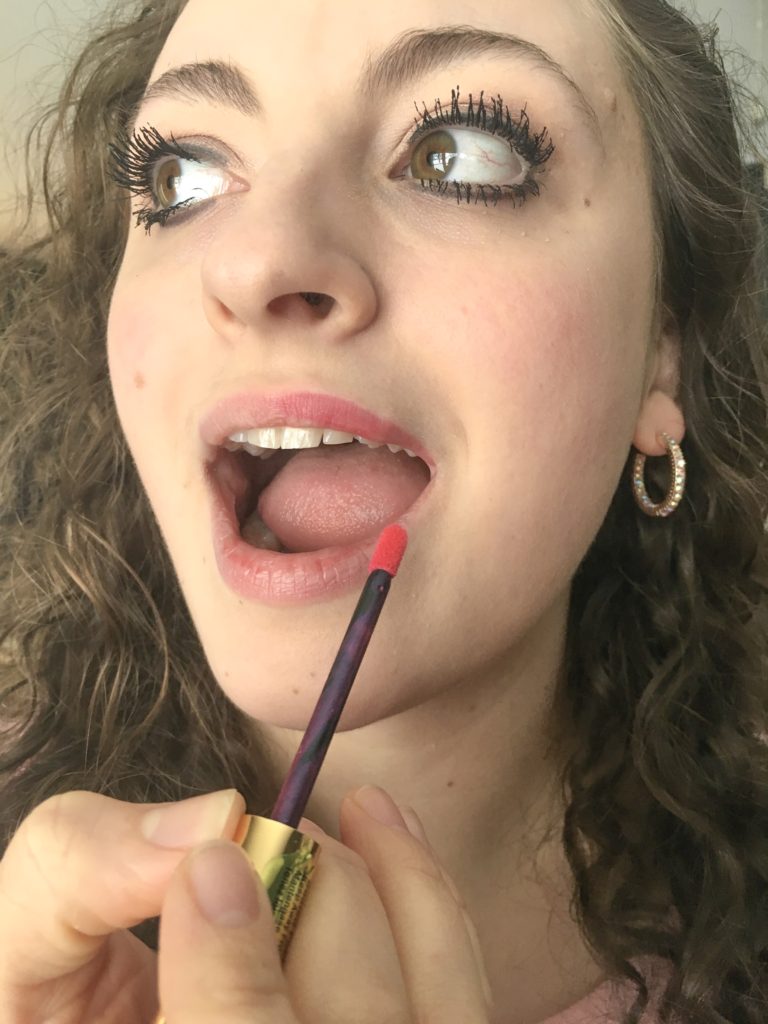
Step 5. Scrape all of the excess product from your Lipsense wand. You don’t need or want that much product. The magic results are going to be achieved by doing 3 very THIN layers of Lipsense.
Step 6. Assume the position. You want to keep your lips spread apart and stretched out so that you don’t have any wrinkles or lines in your lips so that you can get a very even application of color.
Step 7. Apply your first layer of Lipsense. Use only a single stroke going in one direction. Do not go back and forth. I start at the middle of my upper lip and go down one side. Then I go back to the top and do a stroke down the other side. Then I do a stroke across my bottom lips. I also do a stroke on the inner part of my lip, the “waterline” to get every part of my lip a thin, even coat of Lipsense, without going back over what I have already done.
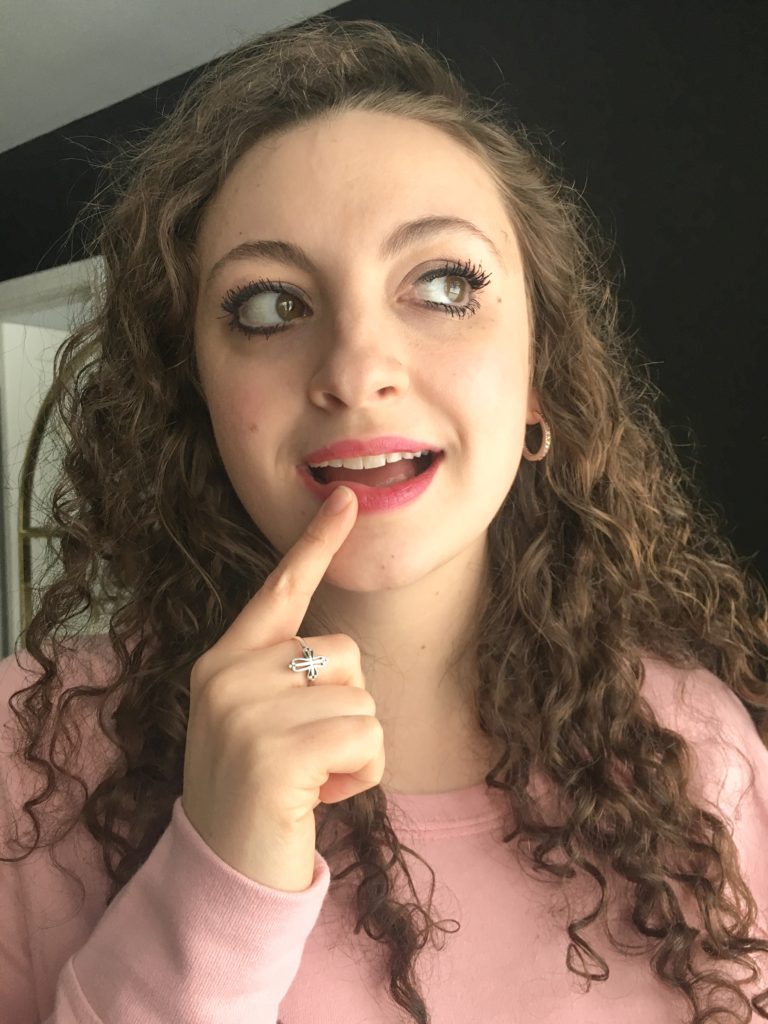
Step 8. Let your first layer dry. This takes about 10 seconds. Not long at all, but it can sometimes feel like a long time when you are in a rush to put your face on. But trust me, the 10 second wait time is worth it in the end when you get 12 plus hours of smudge free lipcolor. After about 10 seconds or so, I usually just touch my lips with my finger to check that it is dry. If it is, continue to Step 9, if it isn’t, let it dry longer.
Step 9. Apply your second layer. Use the same technique as you did for layer 1. The reason you apply 3 layers is because layer 1 will get naturally broken down by your body. Layer 3 will get broken down by your saliva, food, napkins, kissing, the environment, etc. So layer 2 is protected in between those two layers and is how your Lipsense color will last all day!
Step 10. Once layer 2 is dry, repeat for your third layer and let your third layer dry.
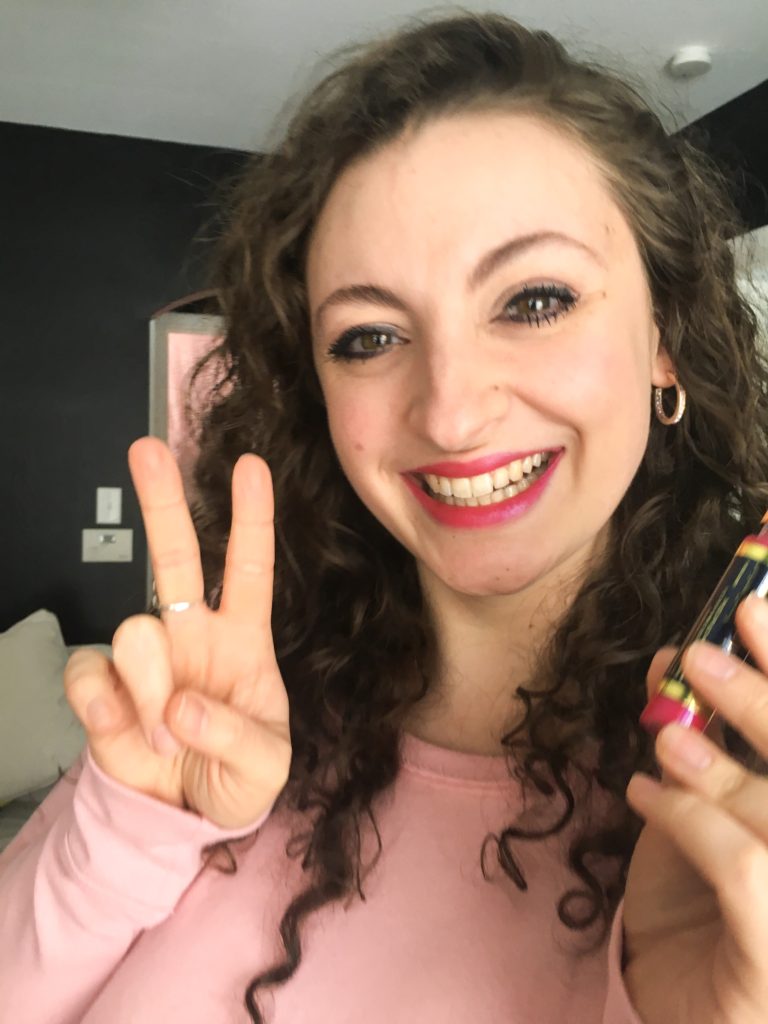
Step 11. Time to gloss! Take your glossy gloss and gloss away! There is no special technique to this part, I just like to apply a LOT of gloss right after application.
Step 12. Enjoy your gorgeous, smudge-proof lips! Remember to keep applying your gloss throughout the day for hydration, and also protection. I like to gloss before and after I eat, and whenever my lips feel like they could use more moisture.
I hope you are not overwhelmed by this process! Once you get used to it, it take just a couple of minutes, which is totally worth it in order to have beautiful, smudge-free lips all day!
I hope you all have a great Valentine’s Day and get lots of kisses! XOXO
Oh my goodness. I finally did it. I finally hit the “Launch Blog” button. Starting a blog has been something that I have wanted to do for years now. In the beginning, it just seemed like something really fun to do. A platform that I could share my thoughts, experiences, tips, and tricks. So back in 2017 I took the plunge and purchased a domain and I started drafting up some blog posts, but I soon realized that my website creating skills were seriously lacking.
I struggled to get it to look exactly how I wanted to, and because of that, I never published it publicly and I just quit working on it for a long time. Now, blogging has become sooooo popular and as I follow more bloggers everyday, I really do think I would enjoy doing what they do and I still really want to figure this out. So, one of my 2019 goals was to get this thing up and running. And I’m so proud of myself for getting this blog live in the first week of 2019.
Certainly, it is not everything I want to be. It is not perfect. Not even close. But I have decided that I will only learn by doing and that I can just keep learning as I go and keep adding things and improving things as I learn. I went ahead and published all of the previous posts that I have slowly been working on the past few years, so I hope you go back and read those. Especially this one, which explains my explanation behind the name and purpose for this blog.
I plan to continue adding to this blog and keep improving as I go, and I hope you enjoy it! Here’s to 2019 and accomplishing goals!
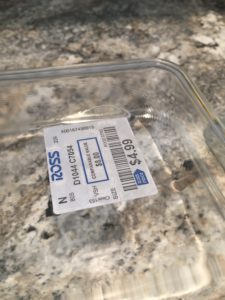
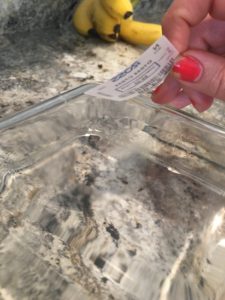
We’ve all been there. In the clearance aisle. You just hit gold with the markdowns you found. You are so proud of yourself as you take your treasures home. Only to realize that the store has placed about 12 markdown stickers right on the front of your product and they are STUCK! You then spend an hour picking and peeling. You ruin your nails (as seen in the photos) And for what? A gross, sticky residue left on! Then you scrub with soap and water and it still lingers! Ugh! Well my friends, no more. I have found the answer to getting those sticky clearance stickers off pain free!
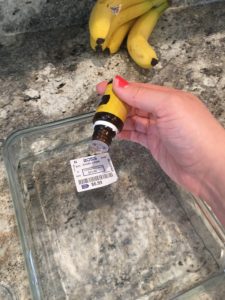
I found these perfect little glass containers to pack my lunches in, but of course they had dreaded stickers on them. I, however, did not dread taking off these stickers, because I have found a super easy, super quick solution!
First, you will need some lemon essential oil. I use Young Living. Just from research that I’ve done on essential oil, they seem to be the best quality brand, but that is also the only brand I’ve ever used. I know some people have very strong feelings about their essential oil brand, and I do not claim to be any expert, I’m just telling you what I used, and that’s Young Living. If you use a different brand, I would certainly recommend trying it for this, as I would assume it should work just as well.
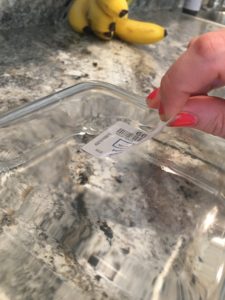
Okay, so take your Lemon essential oil and just place a few drops over the sticker. I usually just do one to two drops depending on the size of the sticker. Just make sure the whole sticker is covered with the oil and if necessary, spread it around with your finger. Then just let it sit there awhile. Go do the dishes or the laundry or something. Or sit on the couch with a cup of coffee. Later, once you’ve been productive enough, or have consumed enough caffeine, check out your sticker and see how it looks.
I find that a lot of stickers come free with the lemon oil alone if left to sit for long enough. The sticker should be completely loosed from the product and you should be able to just lift it off and wash off the excess oil from the product. If you have a particularly difficult sticker, or still have a bit of sticky residue when you lift the sticker, place a dollop of dish soap on the area and rub it in with your finger and it should come right off!
Well, we are one week into 2018. Did you make any resolutions this new year? How are they going? I have done many different types of resolutions in past years, however this year my main goal is to just be able to reflect on 2018 at this time next year and be able to say “I am a better person than I was a year ago.” I didn’t even write down a list of goals. While I LOVE making lists and writing things down, I’ve found in past years that I get a bit too ambitious around January 1st and I always make really big, unattainable goals for myself and then end up getting super discouraged! For example: last year I made a resolution to read my Bible everyday. So some days I just read it out of obligation and got nothing out of it, and once I missed a day and “failed” my resolution , I just kind of gave up! So I challenge you to avoid trying to hold yourself to such high standards that it is impossible to maintain, and just be happy trying to improve yourself a little at a time! Even if at the end of the year you look back and see that you’ve only improved in one tiny thing (maybe your skincare habits) hey, you improved! And you didn’t “fail” all your crazy resolutions. By all means, if crazy, strict, resolutions are your thing, and they work for you, then more power to you. Go for it. I admire you. If you’re more like me, here’s a list of things to give you ideas on areas to improve on in 2018.
A healthier diet (classic)
A regular workout regime (I mean, would it really be new years if we didn’t list that one?)
A better skincare routine (stop sleeping in your mascara!)
A more diverse recipe repertoire (try something new!)
A cleaner house
Become a regular flosser!
Read more books!
Start a journal
Become more organized (start with one small area and do one area at a time)
Spend more time volunteering
Travel
Try a new hobby
I would love to hear what your New Year Resolutions are! What areas are you trying to improve on this year?
Well, it’s only 5 days until Christmas! Have you got all your gifts bought? No? Need some inspiration? I hear you. I give you (drumroll please) the romantic date night at home gift basket!
Gift baskets are one of my favorite things to put together and give! See example here.
Gift baskets are wonderful because you can adjust their contents depending on your price range, plus they are just adorable in general and so fun to put together.
This year for Christmas I decided to make this gift basket for Alex’s parents. I wanted the theme to be “romantic date night at home” which was inspired by a floating waterproof Bluetooth speaker that I found for them that I thought would be perfect for their hottub. (Now obviously I know that not every has a hottub, but that is why gift baskets are so great! You can personalize them for whoever you’re giving them to!)
Anywho, here’s what I put in their basket. I just picked things that I thought they would enjoy using on a night at home with eachother. You could definitely adjust these items to fit the personality of who you’re gifting it to, but for the most part I think all of these things are pretty well liked universally so it makes a great gift no matter how well you know the couple. (Side note: this is also a great way to gift a couple instead of each person individually! Two for one! Yay!)
Waterproof floating Bluetooth speaker (for hot tub!)
A candle (for ambience)
Bottle of wine (duh)
Matching slippers (to wear to hot tub!)
Ingredients for a romantic Italian dinner: pasta, pasta sauce, garlic cloves, garlic flavored olive oil, garlic powder grinder (I like garlic okay!?!)
A movie (for snuggle time)
Dessert: I chose different varieties of chocolate truffles and pirouette cookies
A Christmas basket and Christmas sign (for holiday cheer!)
I hope this gives you some inspiration! Here are some other ideas of items you could put in your date night gift basket:
A blanket
Matching robes or pajamas
Chocolate covered strawberries
Champagne
Fresh flowers
An album, iTunes gift card, or CD for some romantic tunes