Books

The Nightingale – A Book Review

I am so excited to share my thoughts and feelings about a book that I read last month! The Nightingale by Kristen Hannah was recommended to me by several of my coworkers. The book had passed around from person to person and everybody raved about it, so I was so looking forward to my turn to read it.

It isn’t a new release. In fact, it was released in 2015, but it just recently showed up on my radar, and boy am I glad it did. The Nightingale is historic fiction that starts off set in America in the 1990’s and then soon transports you to France during World War 2 at the time of the German occupation of France. The book takes you through the stories of two French sisters and all of their struggles and persecution during the War.

I am a huge fan of historical fiction, and I absolutely love books about World War 2 and this was by far, one of my most favorite books I have ever read. I loved reading about the war from a French perspective, which I had never done before.

I don’t want to give anything away for you in this book, because I hope you go and read it for yourself, because this is absolutely one of my most favorite books I’ve ever read. It really grabbed my attention right away within the first few chapters and continued to hold my attention throughout the entire thing. It was one of those books that I would think about as soon as I woke up, or when I was at work, or doing housework. I just couldn’t get my mind off of it, and I couldn’t wait until I would have time to read more.

It really conveys so much emotion. I got so teary throughout the book, but by the end of the book I was bawling so hard I couldn’t even see the words, so I had to take breaks from reading to wipe my tears so that I could finish the page. I didn’t even know I could cry so hard while reading a book! But don’t get me wrong, that’s a good thing! I love when a book touches my emotions like that. I was almost sad when I finished it, because for a few days it felt like the story was a part of my own world, I thought about it so much and connected with the characters so much, it felt like I knew them. I was sad when it was finished, and I couldn’t be transported to their world anymore.

If you love books with war, read this book. If you love books with love stories, read this book. If you love a good cry, read this book. If you love historical fiction, read this book. If you’re bored, read this book. Just find a reason to go read this book. I promise you, you won’t be let down. It definitely gets 5 stars in my book.

Crafts

Valentine’s Day Paint Chip Banner

I love hanging up banners for any and every holiday! Two Christmases ago, I made a banner out of paint chips and I loved it, so I decided to create one for Valentine’s Day. I love using paint chips for several different reasons. First, they’re free! Which makes this a super affordable craft. Second, you can use any color scheme of paint chips you desire, so you’re guaranteed to match your room no matter what colors of decor you have!

I wanted this banner in my kitchen over the big window, so I went to the store and picked out paint chips of several different pastels, all of which match my kitchen.

While I was at the store I also picked up some pink ribbon, letter stickers, and a hole punch.

First, start by folding your paint chips in half.

Then, I cut out the shape of half of a heart with scissors.

When I got a heart shape that I was happy with, I used this as my guide to cut around on all of the other paint chips so that they were the same.

You definitely don’t need to do this. You could use a stencil, or template if you want, but half of a heart is pretty easy to freehand, so I just did that. You could also just freehand every heart and have each one be a little different. Totally up to you.

Once I had all of the hearts cut out, I took the hole punch and punched two holes in each heart.

Then, I threaded the ribbon through the holes.

I started out with the ribbon on the front of the hearts, but I decided I liked the look better when the ribbon was behind the heart. Again, this is up to you.

Once I had all the hearts strung, I used the pink, glittery letter stickers to spell out “Happy Valentine’s Day.” This is totally optional, but I liked it. Another idea would be to get smaller letters and make each heart look like a Sweetheart candy with little sayings like “Call Me”, “UR A QT”, etc.

At this point, your banner is ready to hang! This is one of the simplest and quickest crafts I have done in some time and it is so adorable! Happy Valentine’s Day!!!

Tips and Tricks

How To Get Perfect, Smudge-Proof Valentine’s Day Lips

Valentine’s Day is just around the corner! Are you a lover of all things sweet and red and pink or are you a V-day hater? I have to admit, all of the years I spent single on Valentine’s Day, I was definitely on the hater side. It just wasn’t fun and I didn’t see the point. But being in a relationship has definitely made Valentine’s Day something to look forward to!

Whether you’ll be kissing your someone special this February 14th, or you’re going out for a fun Galentine’s Day dinner with your girlfriends, everyone needs a bold lipcolor to wear for the occasion. In the past, I would have hesitated on wearing a bright red or pink lipstick, especially if I was hoping for a few stolen kisses! How embarrassing to get red smudges all over your face! And what a hassle to have to keep checking your teeth throughout your date. Well, ladies, no more! I have the solution for you and I’m going to go through the process that I use for perfect, smudge-proof, kiss-proof lips that are perfect for Valentine’s Day.

Supplies you will need:

  • a clean cloth
  • a lip scrub – I use LipSmooth Conditioning Polish
  • a Lipsense color of your choice – I am wearing Kiss For A Cause
  • a Lipsense Moisturizing gloss – I recommend the Glossy Gloss

Step 1. Wipe your lips off with a clean, damp cloth. and then dry them thoroughly. You want to start with a clean surface.

Step 2. Scrub your lips with a lip scrub. I use LipSmooth Conditioning Polish. I spread it all over my lips and then rub my lips together until I can’t feel the grit anymore. This step will get rid of any dead skin cells you have hanging around on your lips to give you a nice, smooth surface for your color.

Step 3. Wipe those smooth lips clean. Use just a damp cloth and then dry them well. This is important because Lipsense will actually molecularly bond to your lips and that how the color will last so long. You don’t want there to be any residue (makeup, saliva, etc.) on your lips that the Lipsense will bond to. You want it to bond directly to your lips.

Step 4. Shake up your Lipsense. This step is important. It will mix all of the color particles in your Lipsense so that you get a smooth application and even color. I recommend shaking your tube for about 30 seconds or so.

Step 5. Scrape all of the excess product from your Lipsense wand. You don’t need or want that much product. The magic results are going to be achieved by doing 3 very THIN layers of Lipsense.

Step 6. Assume the position. You want to keep your lips spread apart and stretched out so that you don’t have any wrinkles or lines in your lips so that you can get a very even application of color.

Step 7. Apply your first layer of Lipsense. Use only a single stroke going in one direction. Do not go back and forth. I start at the middle of my upper lip and go down one side. Then I go back to the top and do a stroke down the other side. Then I do a stroke across my bottom lips. I also do a stroke on the inner part of my lip, the “waterline” to get every part of my lip a thin, even coat of Lipsense, without going back over what I have already done.

Step 8. Let your first layer dry. This takes about 10 seconds. Not long at all, but it can sometimes feel like a long time when you are in a rush to put your face on. But trust me, the 10 second wait time is worth it in the end when you get 12 plus hours of smudge free lipcolor. After about 10 seconds or so, I usually just touch my lips with my finger to check that it is dry. If it is, continue to Step 9, if it isn’t, let it dry longer.

Step 9. Apply your second layer. Use the same technique as you did for layer 1. The reason you apply 3 layers is because layer 1 will get naturally broken down by your body. Layer 3 will get broken down by your saliva, food, napkins, kissing, the environment, etc. So layer 2 is protected in between those two layers and is how your Lipsense color will last all day!

Step 10. Once layer 2 is dry, repeat for your third layer and let your third layer dry.

Step 11. Time to gloss! Take your glossy gloss and gloss away! There is no special technique to this part, I just like to apply a LOT of gloss right after application.

Step 12. Enjoy your gorgeous, smudge-proof lips! Remember to keep applying your gloss throughout the day for hydration, and also protection. I like to gloss before and after I eat, and whenever my lips feel like they could use more moisture.

I hope you are not overwhelmed by this process! Once you get used to it, it take just a couple of minutes, which is totally worth it in order to have beautiful, smudge-free lips all day!

I hope you all have a great Valentine’s Day and get lots of kisses! XOXO

Self-Improvement

Launch Day – Finally

Oh my goodness. I finally did it. I finally hit the “Launch Blog” button. Starting a blog has been something that I have wanted to do for years now. In the beginning, it just seemed like something really fun to do. A platform that I could share my thoughts, experiences, tips, and tricks. So back in 2017 I took the plunge and purchased a domain and I started drafting up some blog posts, but I soon realized that my website creating skills were seriously lacking.

I struggled to get it to look exactly how I wanted to, and because of that, I never published it publicly and I just quit working on it for a long time. Now, blogging has become sooooo popular and as I follow more bloggers everyday, I really do think I would enjoy doing what they do and I still really want to figure this out. So, one of my 2019 goals was to get this thing up and running. And I’m so proud of myself for getting this blog live in the first week of 2019.

Certainly, it is not everything I want to be. It is not perfect. Not even close. But I have decided that I will only learn by doing and that I can just keep learning as I go and keep adding things and improving things as I learn. I went ahead and published all of the previous posts that I have slowly been working on the past few years, so I hope you go back and read those. Especially this one, which explains my explanation behind the name and purpose for this blog.

I plan to continue adding to this blog and keep improving as I go, and I hope you enjoy it! Here’s to 2019 and accomplishing goals!

Tips and Tricks

The BEST Way to Remove Store Stickers from Products

We’ve all been there. In the clearance aisle. You just hit gold with the markdowns you found. You are so proud of yourself as you take your treasures home. Only to realize that the store has placed about 12 markdown stickers right on the front of your product and they are STUCK! You then spend an hour picking and peeling. You ruin your nails (as seen in the photos)  And for what? A gross, sticky residue left on! Then you scrub with soap and water and it still lingers! Ugh! Well my friends, no more. I have found the answer to getting those sticky clearance stickers off pain free!

I found these perfect little glass containers to pack my lunches in, but of course they had dreaded stickers on them. I, however, did not dread taking off these stickers, because I have found a super easy, super quick solution!

First, you will need some lemon essential oil. I use Young Living. Just from research that I’ve done on essential oil, they seem to be the best quality brand, but that is also the only brand I’ve ever used. I know some people have very strong feelings about their essential oil brand, and I do not claim to be any expert, I’m just telling you what I used, and that’s Young Living. If you use a different brand, I would certainly recommend trying it for this, as I would assume it should work just as well.

Okay, so take your Lemon essential oil and just place a few drops over the sticker. I usually just do one to two drops depending on the size of the sticker. Just make sure the whole sticker is covered with the oil and if necessary, spread it around with your finger. Then just let it sit there awhile. Go do the dishes or the laundry or something. Or sit on the couch with a cup of coffee. Later, once you’ve been productive enough, or have consumed enough caffeine, check out your sticker and see how it looks.


I find that a lot of stickers come free with the lemon oil alone if left to sit for long enough. The sticker should be completely loosed from the product and you should be able to just lift it off and wash off the excess oil from the product. If you have a particularly difficult sticker, or still have a bit of sticky residue when you lift the sticker, place a dollop of dish soap on the area and rub it in with your finger and it should come right off!

Self-Improvement

A New Year, A Better You

Well, we are one week into 2018. Did you make any resolutions this new year? How are they going? I have done many different types of resolutions in past years, however this year my main goal is to just be able to reflect on 2018 at this time next year and be able to say “I am a better person than I was a year ago.” I didn’t even write down a list of goals. While I LOVE making lists and writing things down, I’ve found in past years that I get a bit too ambitious around January 1st and I always make really big, unattainable goals for myself and then end up getting super discouraged! For example: last year I made a resolution to read my Bible everyday. So some days I just read it out of obligation and got nothing out of it, and once I missed a day and “failed” my resolution , I just kind of gave up! So I challenge you to avoid trying to hold yourself to such high standards that it is impossible to maintain, and just be happy trying to improve yourself a little at a time! Even if at the end of the year you look back and see that you’ve only improved in one tiny thing (maybe your skincare habits) hey, you improved! And you didn’t “fail” all your crazy resolutions. By all means, if crazy, strict, resolutions are your thing, and they work for you, then more power to you. Go for it. I admire you. If you’re more like me, here’s a list of things to give you ideas on areas to improve on in 2018.

  • A healthier diet (classic)
  • A regular workout regime (I mean, would it really be new years if we didn’t list that one?)
  • A better skincare routine (stop sleeping in your mascara!)
  • A more diverse recipe repertoire (try something new!)
  • A cleaner house
  • Become a regular flosser!
  • Read more books!
  • Start a journal
  • Become more organized (start with one small area and do one area at a time)
  • Spend more time volunteering
  • Travel
  • Try a new hobby

I would love to hear what your New Year Resolutions are! What areas are you trying to improve on this year?

Crafts, Gift Ideas, Tips and Tricks

Date Night At Home Gift Basket

Well, it’s only 5 days until Christmas! Have you got all your gifts bought? No? Need some inspiration? I hear you. I give you (drumroll please) the romantic date night at home gift basket!

Gift baskets are one of my favorite things to put together and give! See example here.

Gift baskets are wonderful because you can adjust their contents depending on your price range, plus they are just adorable in general and so fun to put together.

This year for Christmas I decided to make this gift basket for Alex’s parents. I wanted the theme to be “romantic date night at home” which was inspired by a floating waterproof Bluetooth speaker that I found for them that I thought would be perfect for their hottub. (Now obviously I know that not every has a hottub, but that is why gift baskets are so great! You can personalize them for whoever you’re giving them to!)

Anywho, here’s what I put in their basket. I just picked things that I thought they would enjoy using on a night at home with eachother. You could definitely adjust these items to fit the personality of who you’re gifting it to, but for the most part I think all of these things are pretty well liked universally so it makes a great gift no matter how well you know the couple. (Side note: this is also a great way to gift a couple instead of each person individually! Two for one! Yay!)

  • Waterproof floating Bluetooth speaker (for hot tub!)
  • A candle (for ambience)
  • Bottle of wine (duh)
  • Matching slippers (to wear to hot tub!)
  • Ingredients for a romantic Italian dinner: pasta, pasta sauce, garlic cloves, garlic flavored olive oil, garlic powder grinder (I like garlic okay!?!)
  • A movie (for snuggle time)
  • Dessert: I chose different varieties of chocolate truffles and pirouette cookies

A Christmas basket and Christmas sign (for holiday cheer!)

I hope this gives you some inspiration! Here are some other ideas of items you could put in your date night gift basket:

  • A blanket
  • Matching robes or pajamas
  • Chocolate covered strawberries
  • Champagne
  • Fresh flowers
  • An album, iTunes gift card, or CD for some romantic tunes
  • Lotion or massage oil

Have fun putting together your gift basket!

Faith

Daily Consecration

A few weeks ago we had a guest speaker at church. He spoke out of Joshua 3:5

“Then Joshua told the people, ‘Consecrate yourselves, for tomorrow the Lord will do amazing things among you. “

Now, this is nothing I haven’t heard before. Growing up in church, I know that you’re supposed to consecrate yourself to the Lord. I know you’re supposed to “take up your cross” daily, and “offer your body as a living sacrifice.” I know all this, and yet it was one of those sermons that just made it seem like I was really understanding it for the first time, or at least the first time in a long time.

I’m not going to try to preach to you the same wonderful sermon I heard. Pastor Bruce did an amazing job of that already. You can listen to the full sermon here.

After listening to that sermon I knew that I haven’t been giving myself to the Lord everyday. But I wanted to. So I started being intentional about it. But I wanted to do something realistic and also meaningful. For example, in the past I’ve made it a goal to read my Bible every single day for a year. So for many months I read everyday out of obligation. I knew that some of those days I did not retain one word of what I was reading. And then eventually, I had a super busy day and I forgot to read! So then I started to read less and less because “what’s the point if I’m not going to retain it anyway? I’ve already failed my goal.”

So I decided I can manage 5 minutes a day. I can. I take 5 minutes and intentionally pray. And I take that time to consecrate my day to God. Some days I just sit at the kitchen table and spend those five minutes to completely focused on God and my prayer to him. Other days, I do it while I’m making my breakfast or fixing my bed. And you know what? Some days I forget. And that’s okay!

I have found a few things that work best for me and I encourage you to try different things and find what is best for you. For me, praying out loud is soooooo helpful. It keeps my mind from wandering and helps me realize what’s actually on my heart. Also, it is usually best for me to do it either while I am still in bed I  the morning and haven’t become distracted by other things, or during breakfast when I just sit alone and have a cup of coffee with God.

I can honestly say, the days that I intentionally consecrate myself and my day to God are SO much better than the days I don’t. If I find myself struggling with a particular choice during the day, it is so much easier to make the right choice after I’ve dedicated myself to Him. And the days that I mess up the worst are usually the days I didn’t spend one on one time with Him. Not always, but usually.

Do you consecrate yourself daily? If love to hear what works for you. If you don’t, then I hope you try it. Trust me, it’s a life changer.

Faith, Self-Improvement

Taking Thanksgiving For Granted

It’s the night before Thanksgiving. I’m going to confess something. I’ve never really liked Thanksgiving all that much. I’ve never told many people that because I feel like a completely terrible person. The one holiday that’s supposed to be about giving thanks and being grateful for what we have. I mean, if you know me, you know that I LOVE food. Yet, somehow I am usually not very impressed with Thanksgiving food. It’s just not my first choice. I’ve always just kind of liked to think of Thanksgiving as a part of the Christmas festivities! Now Christmas. That’s where it’s at! Am I right?

Anyway, I go along with Thanksgiving and it’s always nice enough, but do you know what part I dread the most? I am literally so ashamed to tell you. You know the part where we go around the table and tell everyone what we are most thankful for? That’s it. That’s the moment. I hate it when it comes to me and I have to think of an answer. It’s not that I don’t have a lot to be thankful for, it’s that every answer I come up with sounds so generic. Like I’m reciting a memorized answer for a quiz. Family? So generic! Are you just sucking up to all the relatives sitting around the table? A good career? Well honestly, work has been pretty rough lately and it’s the reason I’m not with my family or my boyfriend this holiday, so I don’t know that I can 100% truthfully say I’m thankful for my job. Friends? So cliche! Plus, I don’t act like I’m very thankful for them, since I hardly ever call them. Anyway, you get my point. Anytime I try to answer this question I feel like every answer comes across as generic and cliche and insincere. So I hate it.  I don’t want my answer to sound so boring and superficial.

But today I’ve been thinking. I’ve been trying to think about it with a different perspective. Today I realized that I should be thankful that I have so many different options to answer that question with. And I realized why all of those answers sound generic and insincere to me. Because I take them for granted! I take my large, loving family for granted. I take my warm, cozy house for granted. I take my amazing friends for granted. I take the ginormous feast of turkey and stuffing that I somehow always get, even the years that I’m working at the hospital on Thanksgiving for granted. For some reason I always felt like I needed some mind-blowing thing to be thankful for. Like “I’m thankful I was miraculously cured from cancer”. When in reality, I should be so thankful that I’ve never had to hope for a miraculous cure because, thankfully, I’ve never had cancer!

This Thanksgiving I want to stop taking all of the blessings in my everyday life for granted and start being genuinely thankful for them. I hope you do the same. Happy Thanksgiving!

Crafts, Gift Ideas, Tips and Tricks

Thanks for “Bee-ing” So Sweet Gift Basket

I purchased a house two months ago now. I can’t believe it’s already been two months!  Anyway, my house is conveniently only three doors away from one of my very best friends from high school! I still can hardly believe my luck. I knew that living so close to Liz and her husband would be so fun and exciting, but I never could have dreamed what incredibly generous neighbors they would be.

The night I moved in, I went out to dinner with Alex. I didn’t rush right home because honestly, I was a bit nervous and scared to be in a new place all by myself. But I needn’t have worried. When I got home I found a beautiful gift basket on my front steps.  
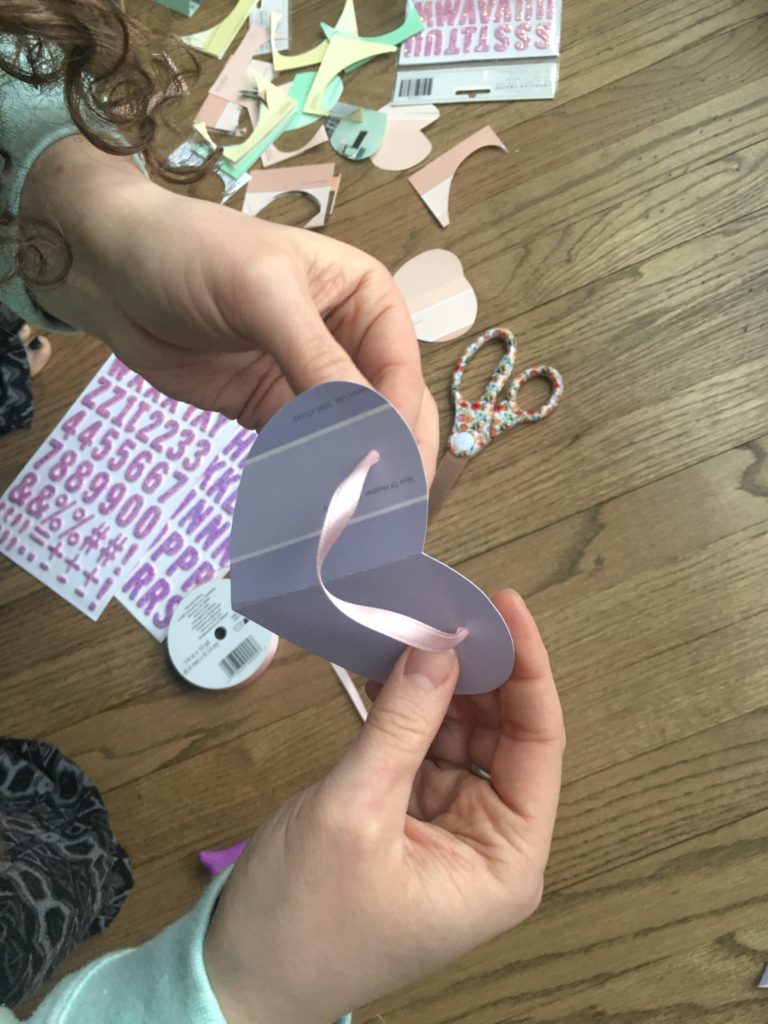
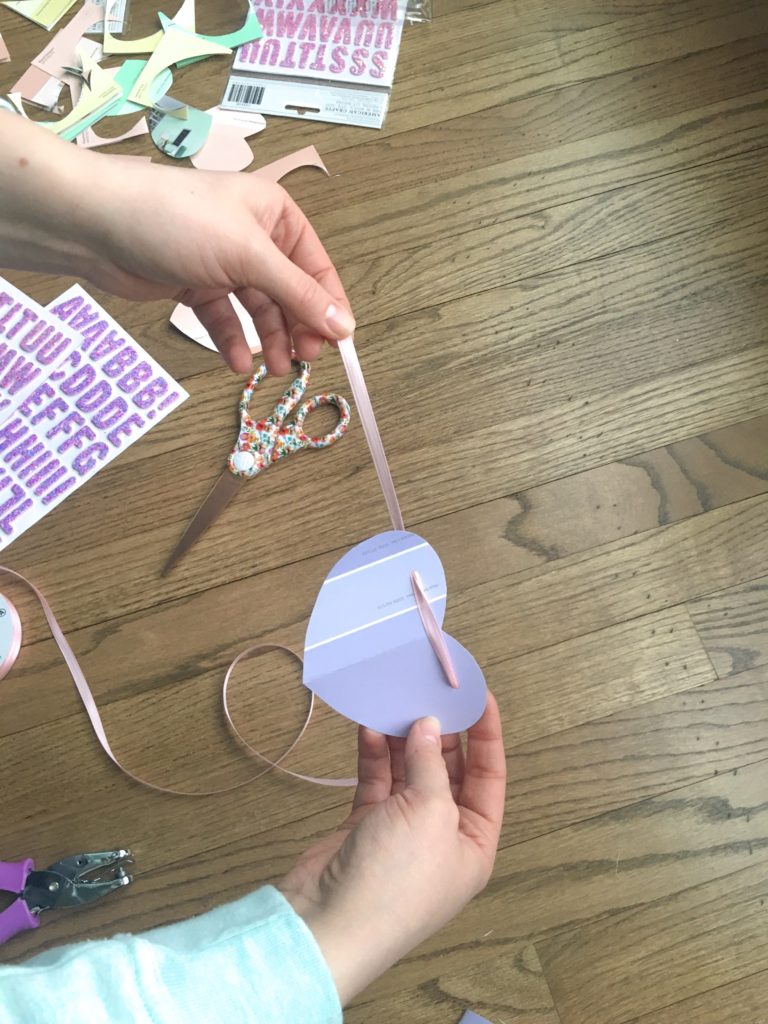
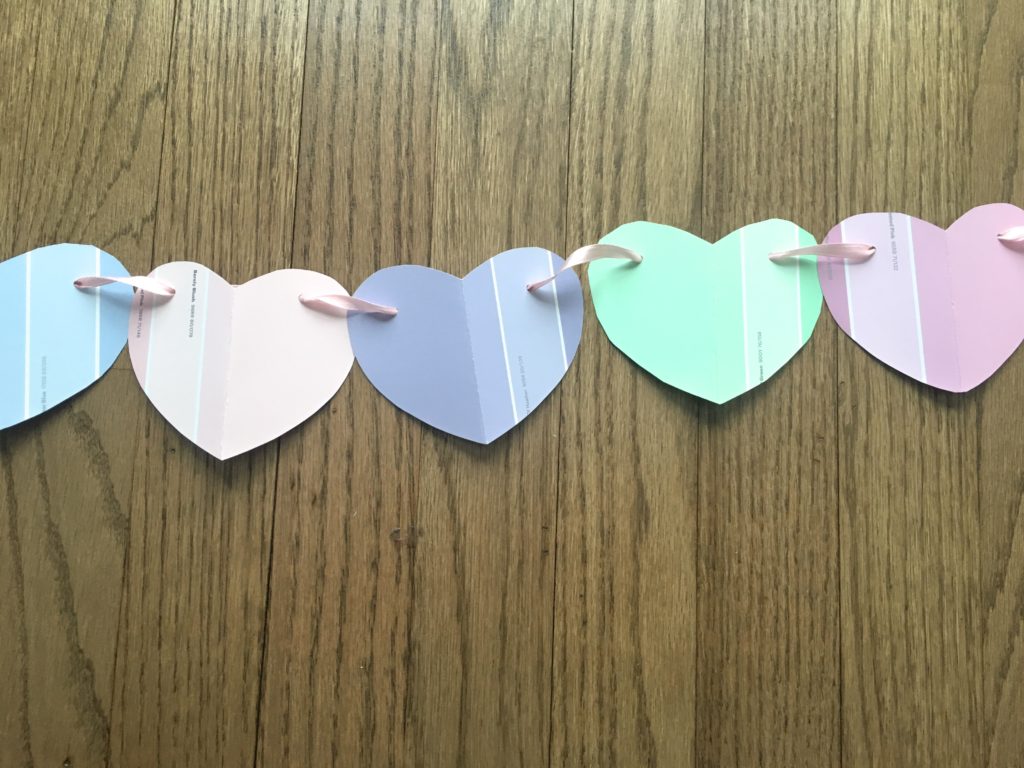
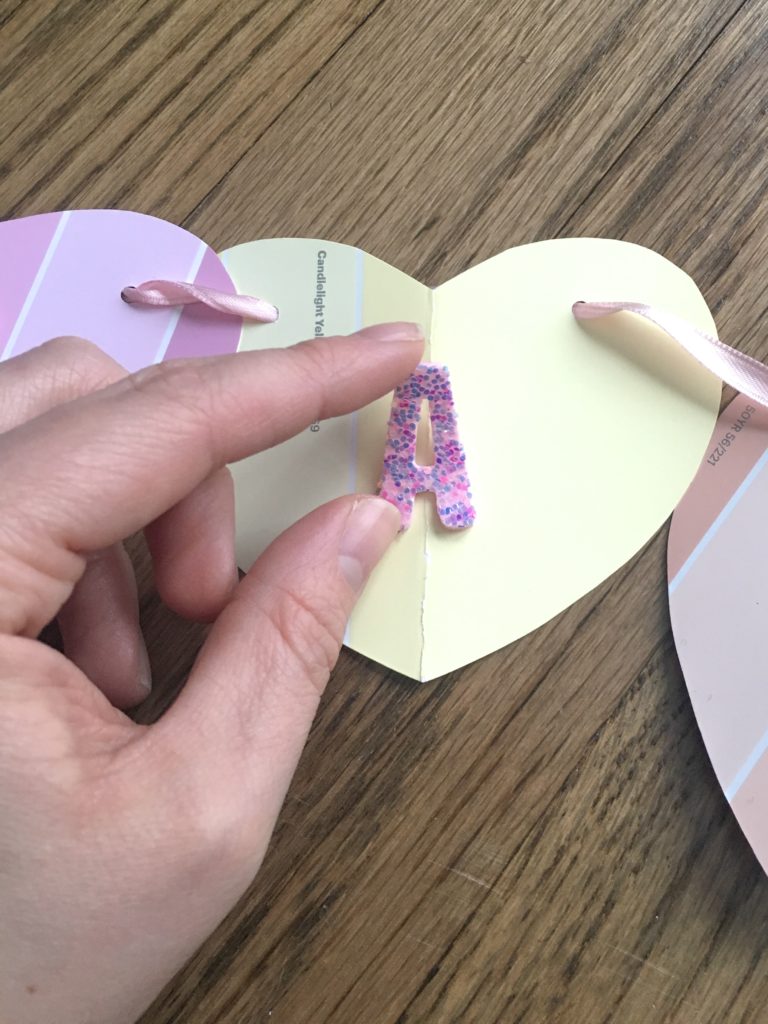
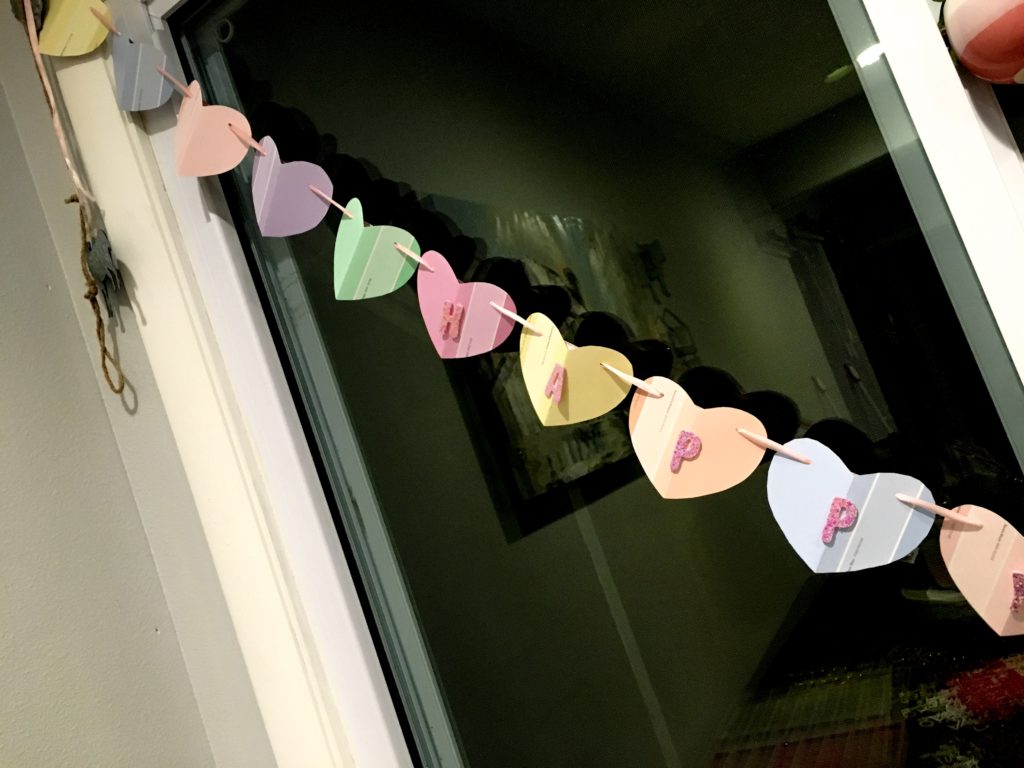
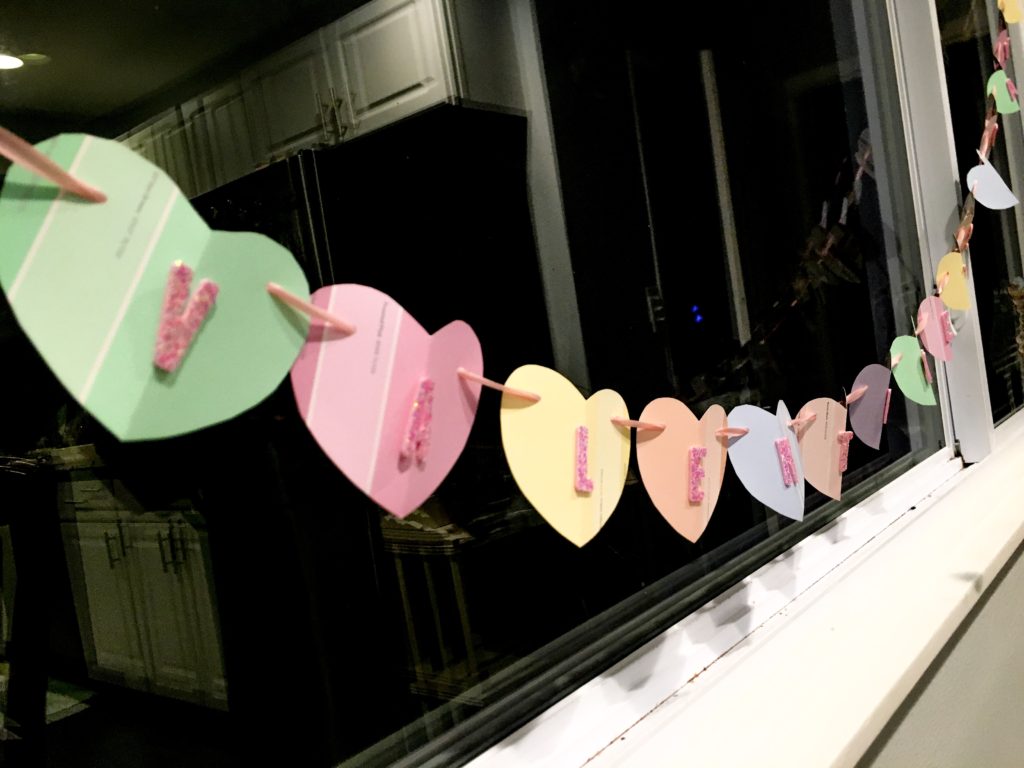
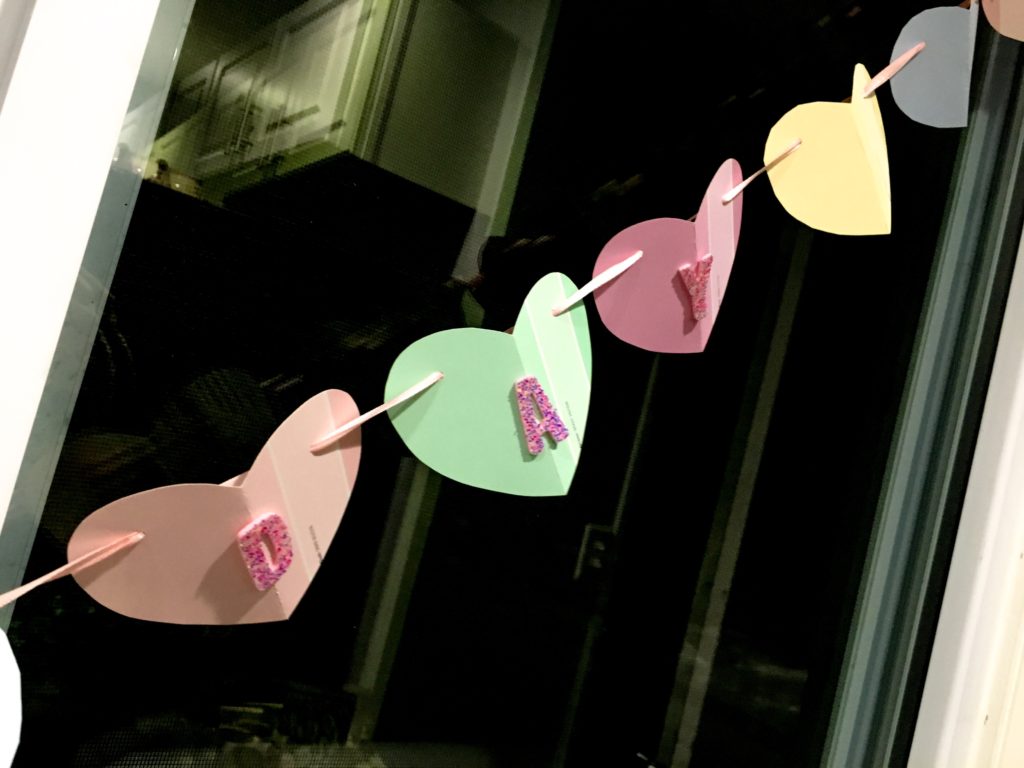
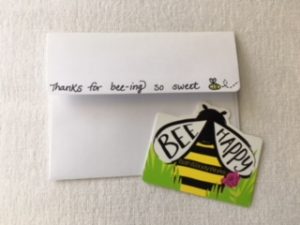
It was so incredible and generous! I was blown away and completely comforted knowing I had such great friends so close by.

Then just last week I came home from work to find Liz mowing my grass, raking my leaves, and filling up five bags worth of twigs and leaves! With all that she’s done for me, I knew I wanted to do something special for her to show my appreciation, but what? I didn’t have a clue until I came adds this cosmetic bag from Bath and Body Works.

I couldn’t not buy this bag! I instantly envisioned the gift basket I could make with it. While I was at the Bath and Body Works store, I also bought some honey hand lotion and honey soap (pictured inside the bag) as well as a “bee happy” hand cream! They also had adorable “bee happy” gift cards, so I had them load one of those up so Liz could get some things of her choice too.

Then I bought a honey bear of local honey, some Burt’s Bees honey lip balm and face mask, as well as some honey cinnamon almonds.

To tie together the theme I just used a plain notes are that I already had that sort of matched the cosmetic bag. I drew little bees and colored them in with colored pencils, and wrote “Thanks for bee-ing so sweet” .

Once I finished, I stuck everything in this adorable little basket that came from the dollar store! (Shhh…..don’t tell Liz).

This basket was so much fun to put together! I hope this gave you some ideas on how you can brighten someone’s day. If you can’t find a cosmetic bag to go with this theme, that’s okay! This basket would still be adorable without it. Some other ideas of things you could pick in this basket would be more variety of Burt’s Bees products, baked honey cookies, sugar cookies decorated like bees, a honey pot, honey sticks, Winnie the Pooh products, or really anything that you love or think is cute!